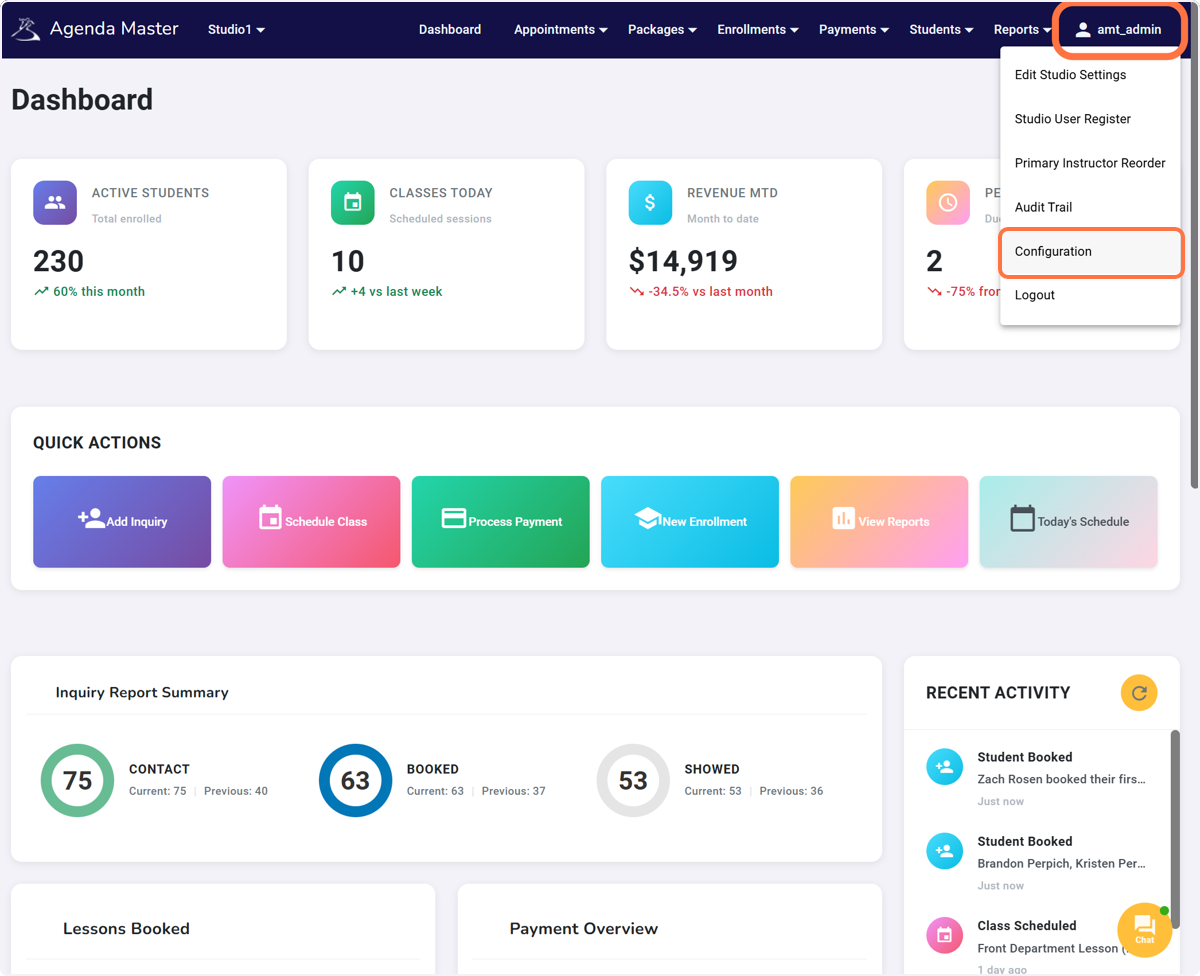
Go to Username and Click on Configuration #
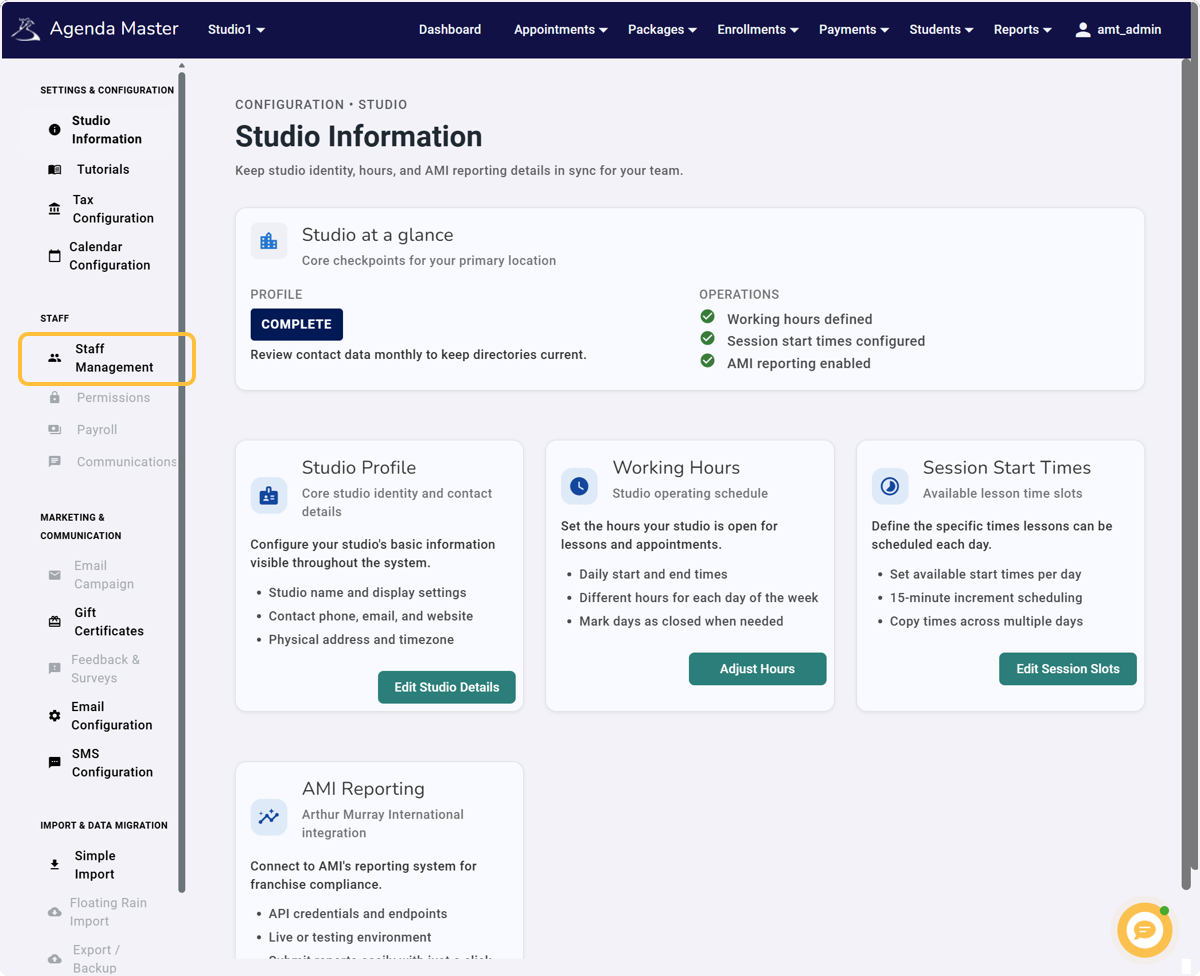
Click on Staff Management #
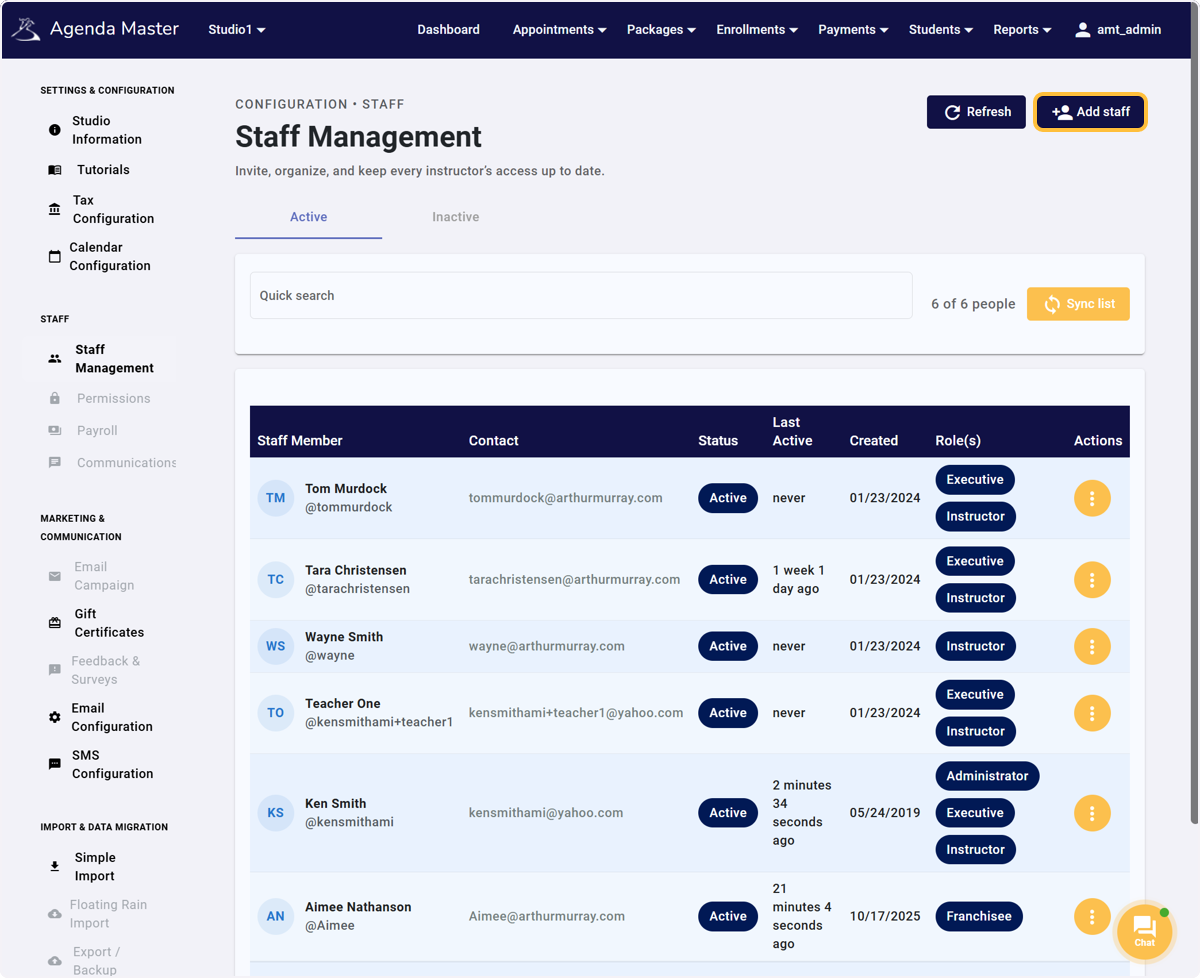
Click on Add staff #
Fill in the new Staff Members Information #
This begins to build their employment profile, but will be crucial for Reporting as well. Create ANY Unique Username you want. (You’ll have to remember it.) Add their personal email and phone number and verify that they are marked active. Click Save when finished.
If they have worked for you, or another school previously, please mark “NO”. (For Now)
You can add a password for each staff member later.
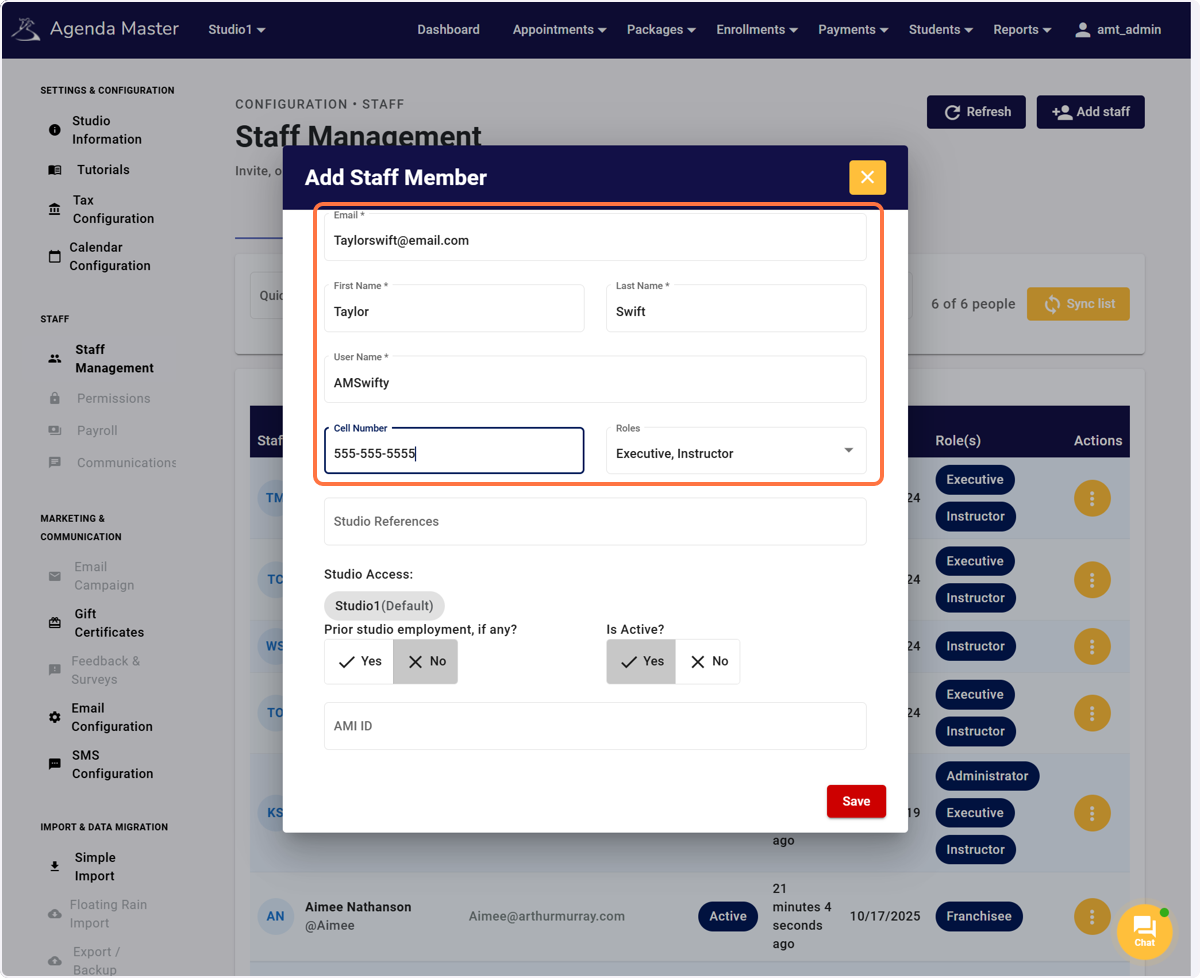
Click on Save #
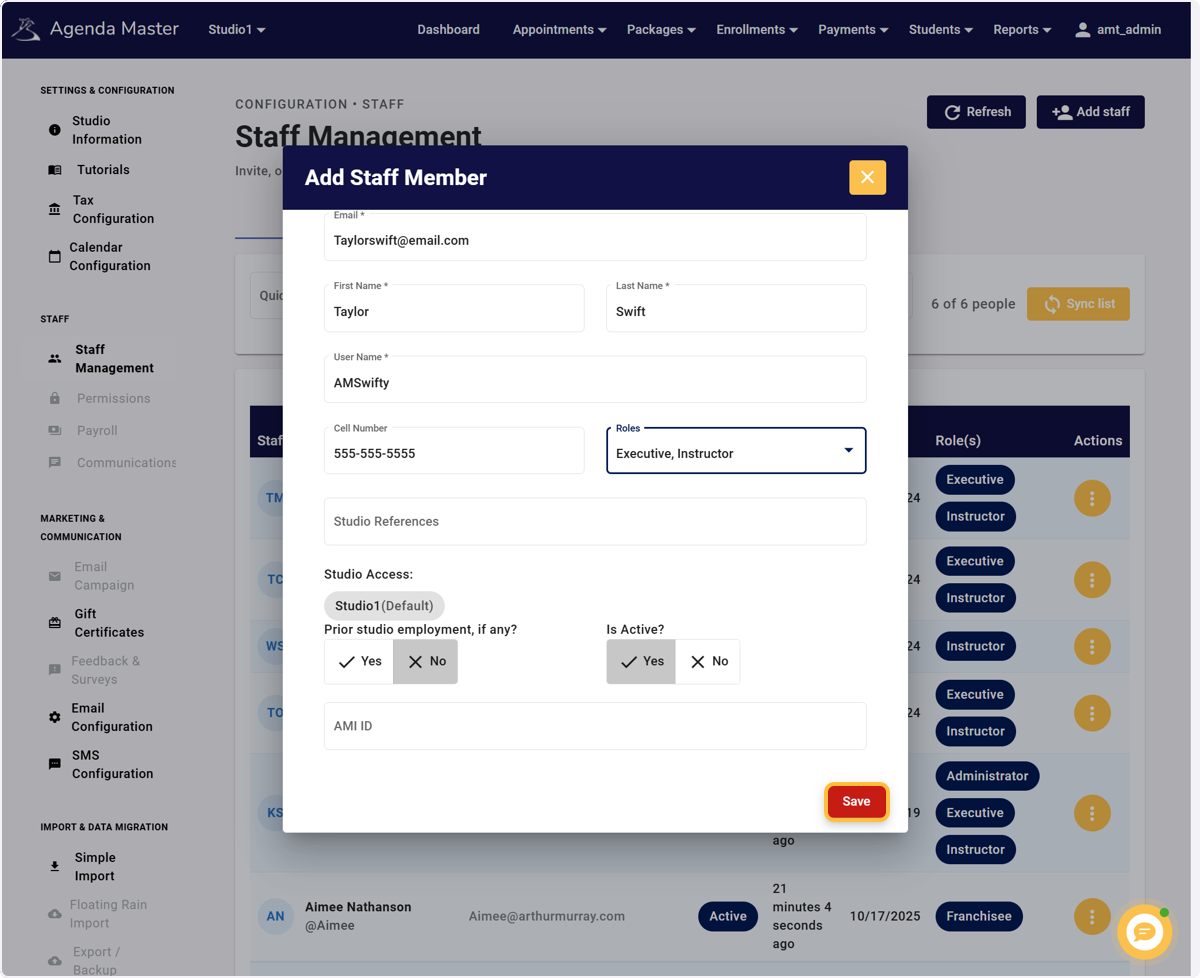
Verify that they populate – Exit if done. #
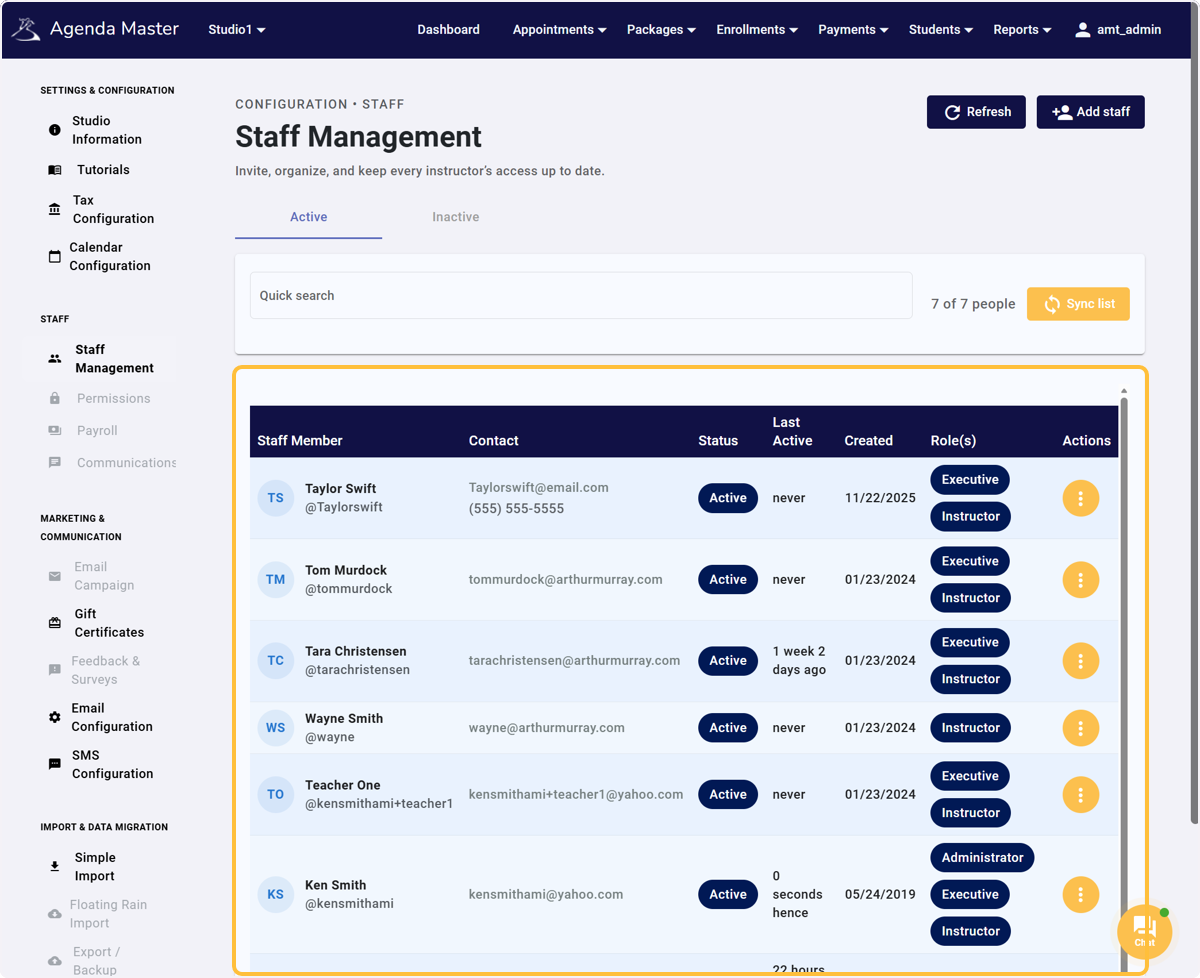
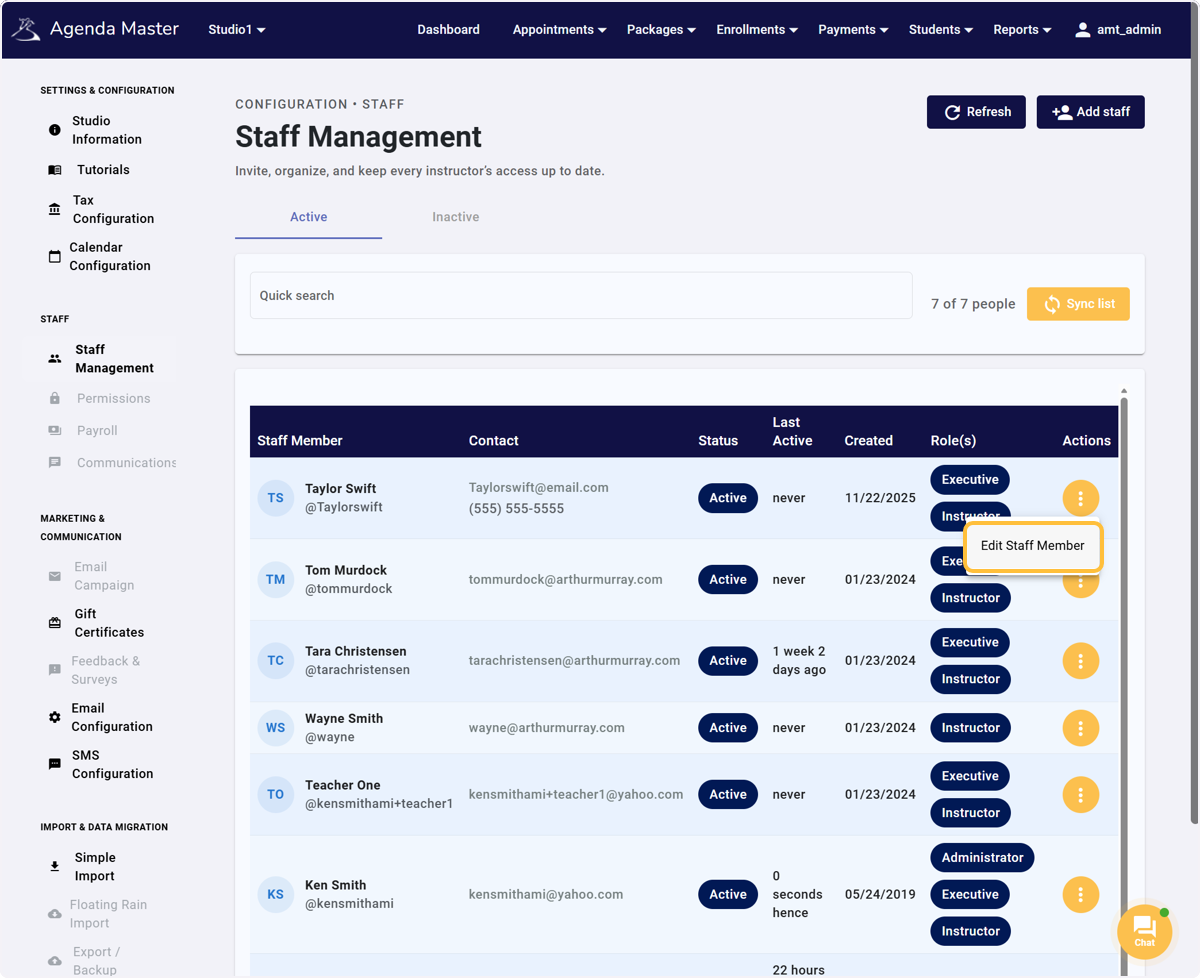
To EDIT a staff member’s information: Click on the golden Action button #
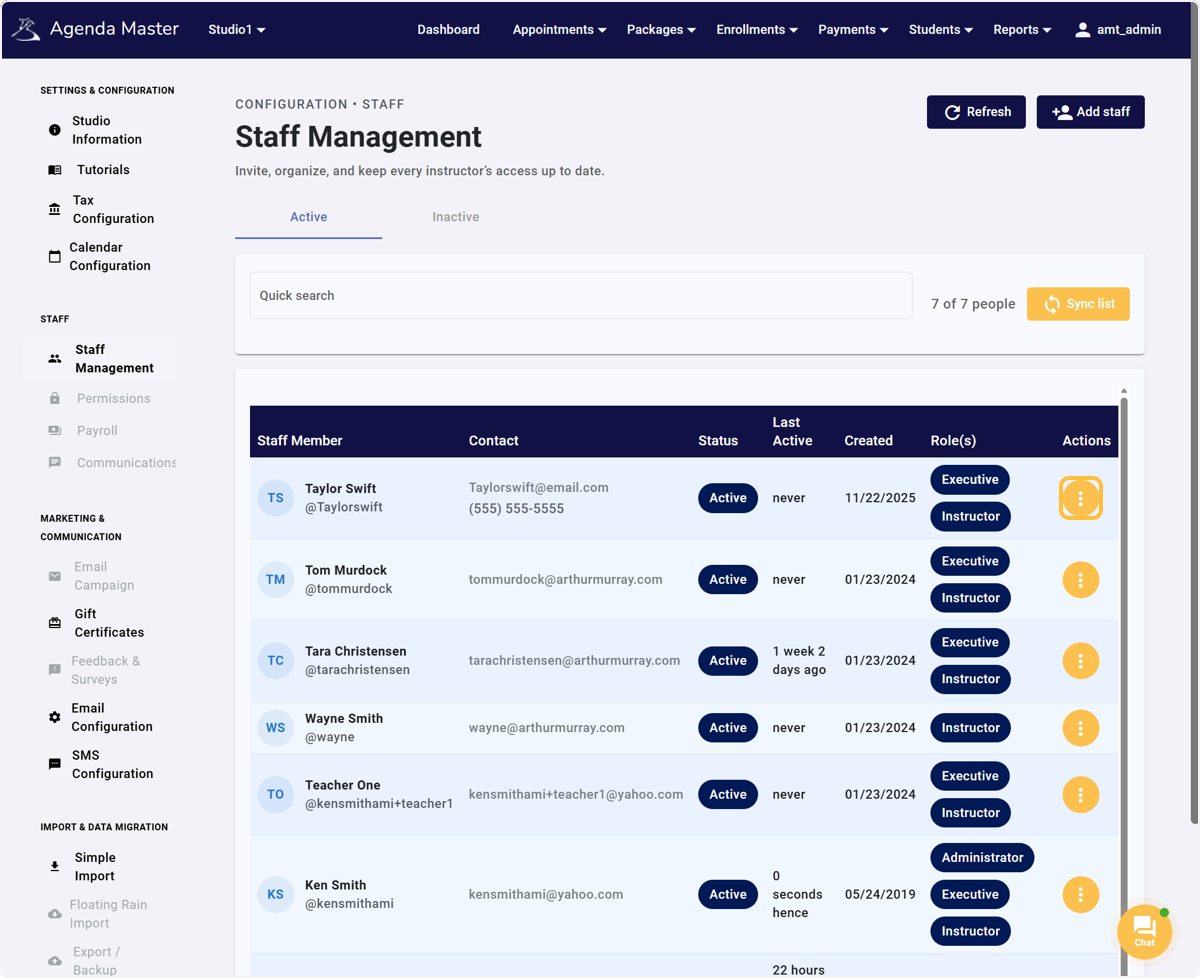
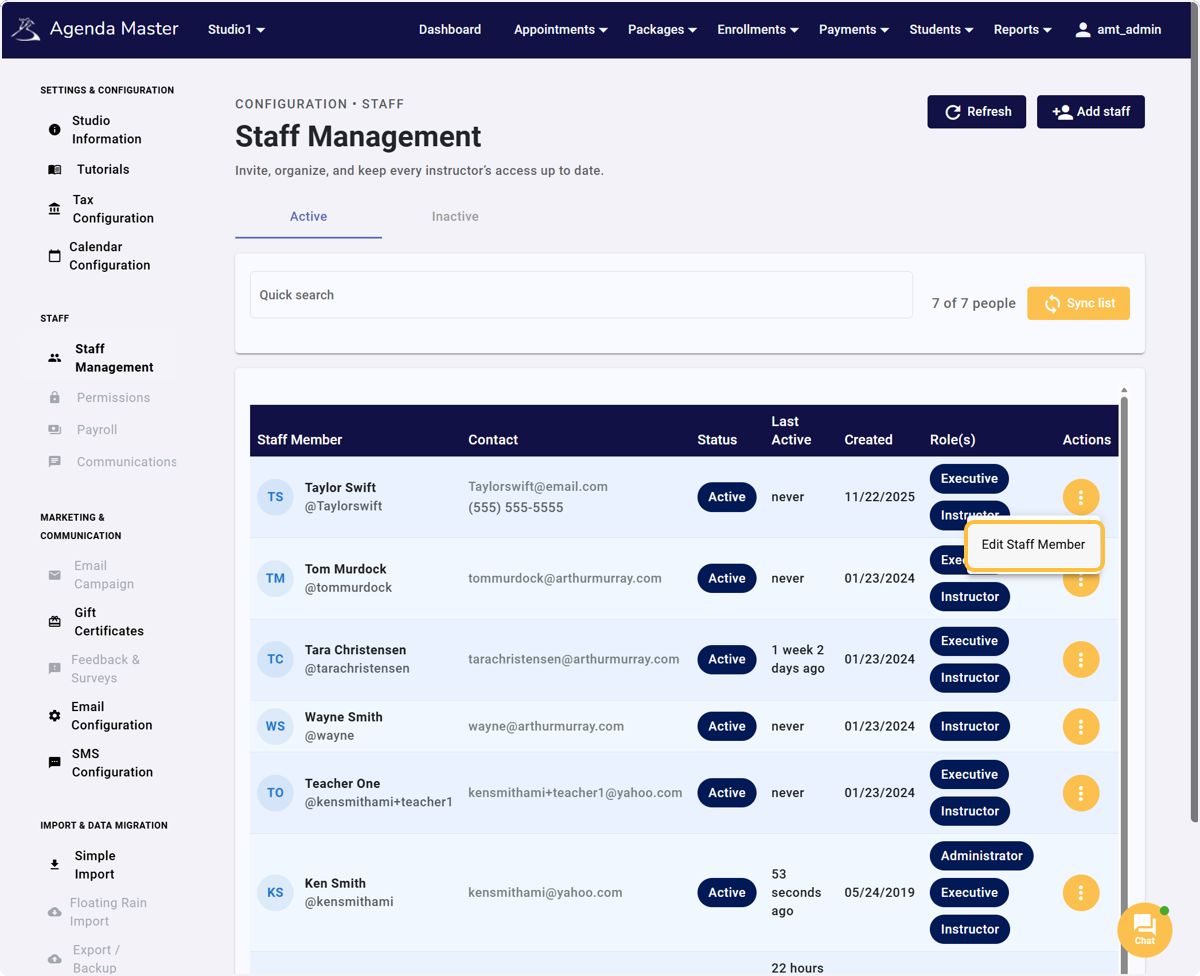
Click on Edit Staff Member #
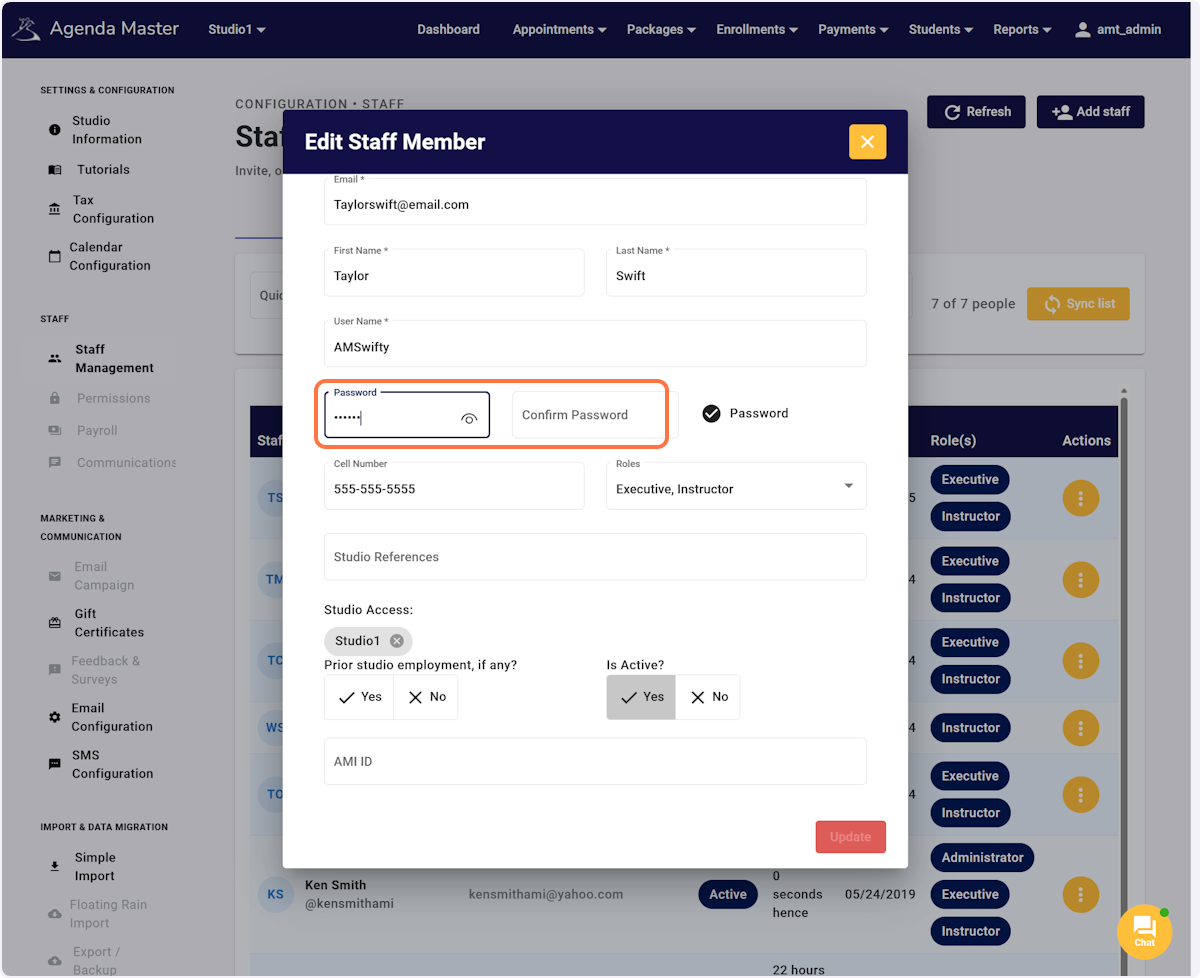
Edit the Information that needs to be changed/added #
This is where you can add a password, if you want. – Please make sure you hit update after the changes are made.
**Not every staff member needs access to the system RIGHT AWAY.
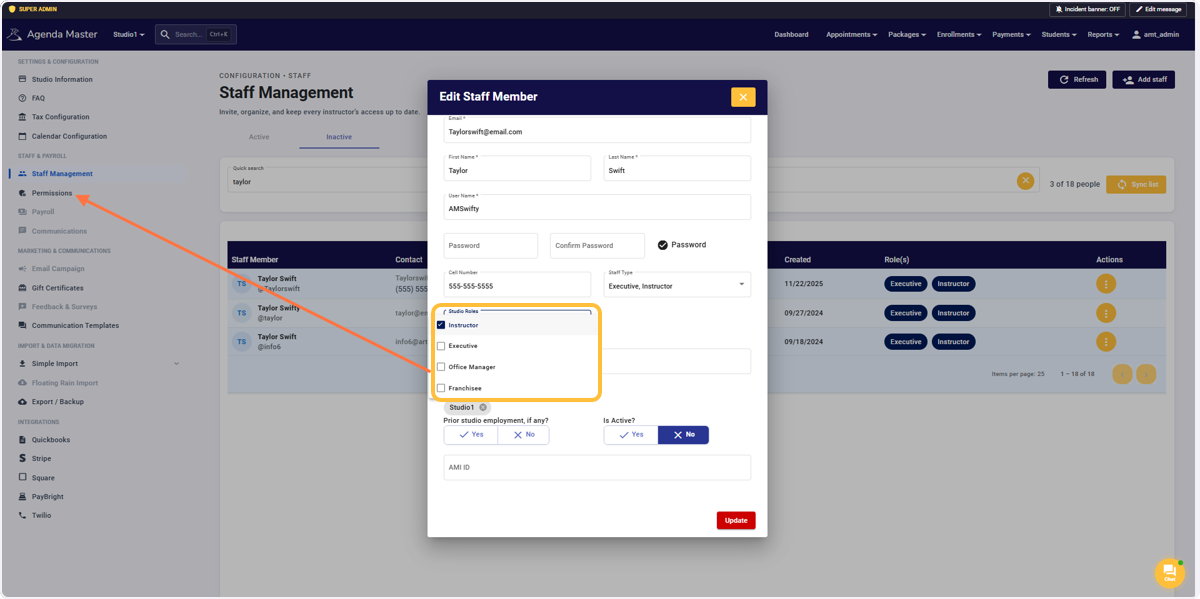
Staff Access/Permissions #
Open the “Studio Roles” field and give the staff member access to the specific views/actions in the program. Each “role” can be adjusted based on your franchisees wants/needs.
Choose Instructor, Executive, Office Manager, Franchisee. (Instructor defaults to VIEW ONLY)
***See Staff Roles/Permissions for more instructions in the FAQ’s
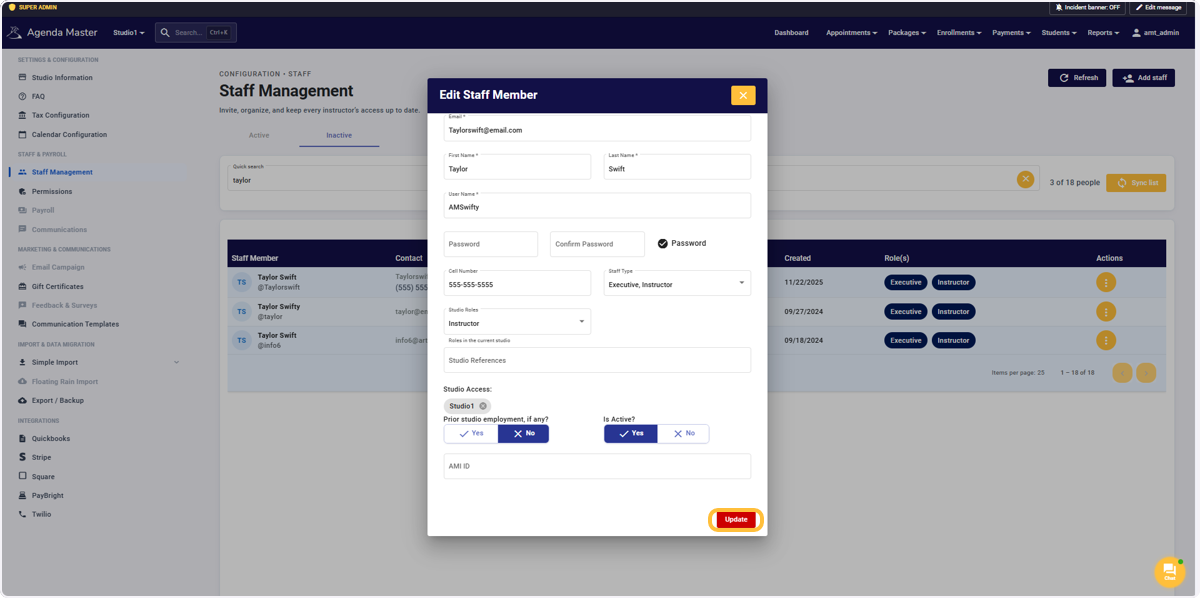
Click on Update #
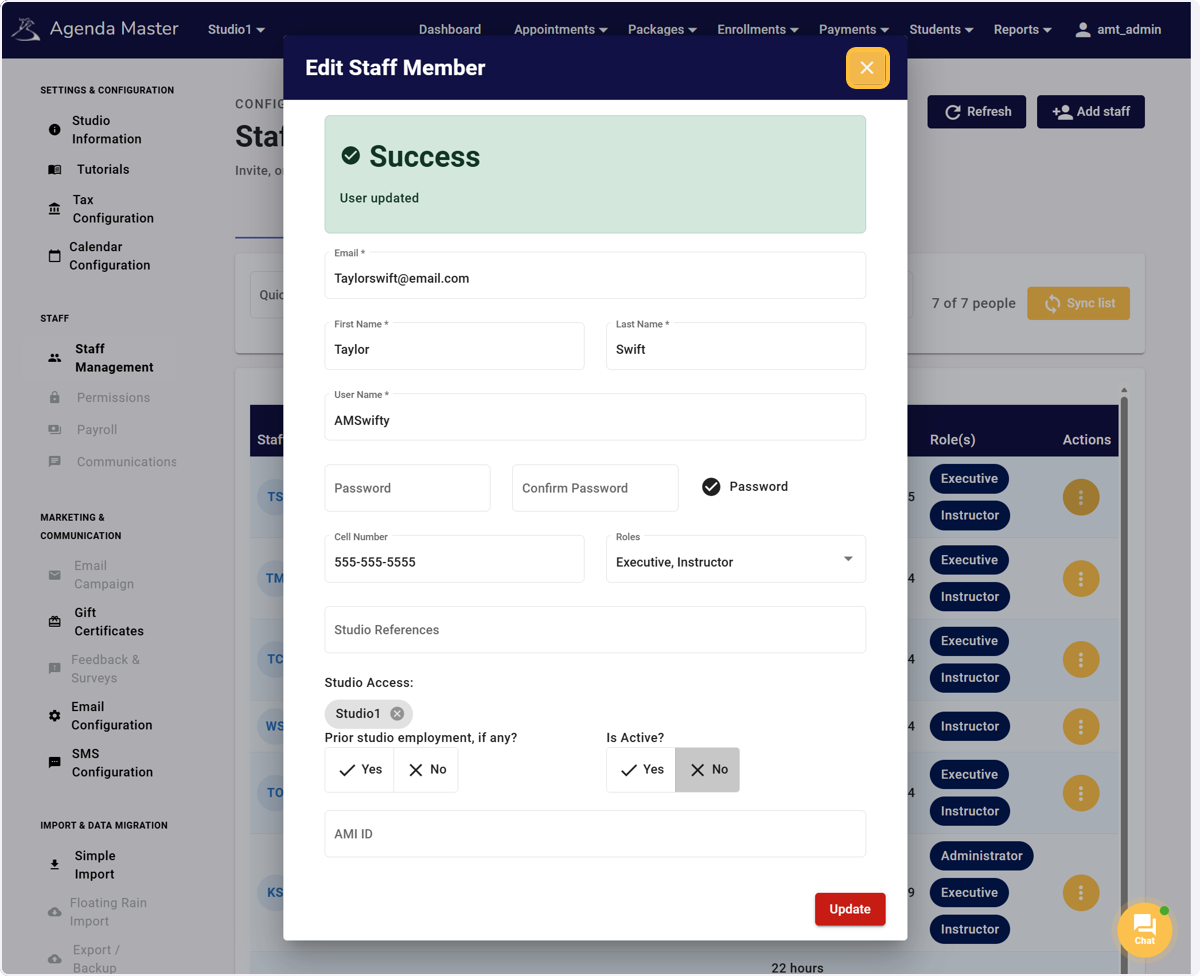
These “Success” banners will pop up after each successful edit/addition. #
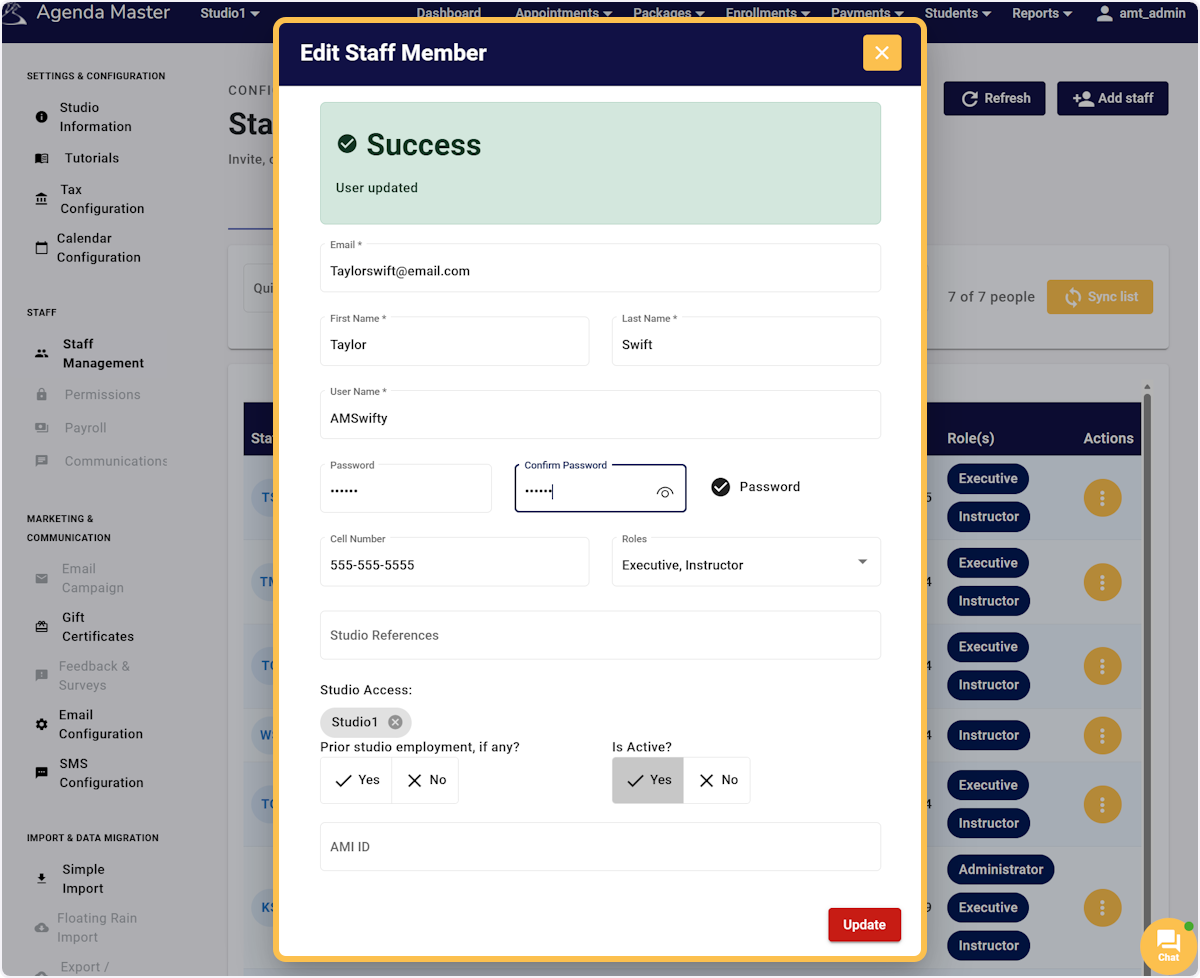
Click on close #
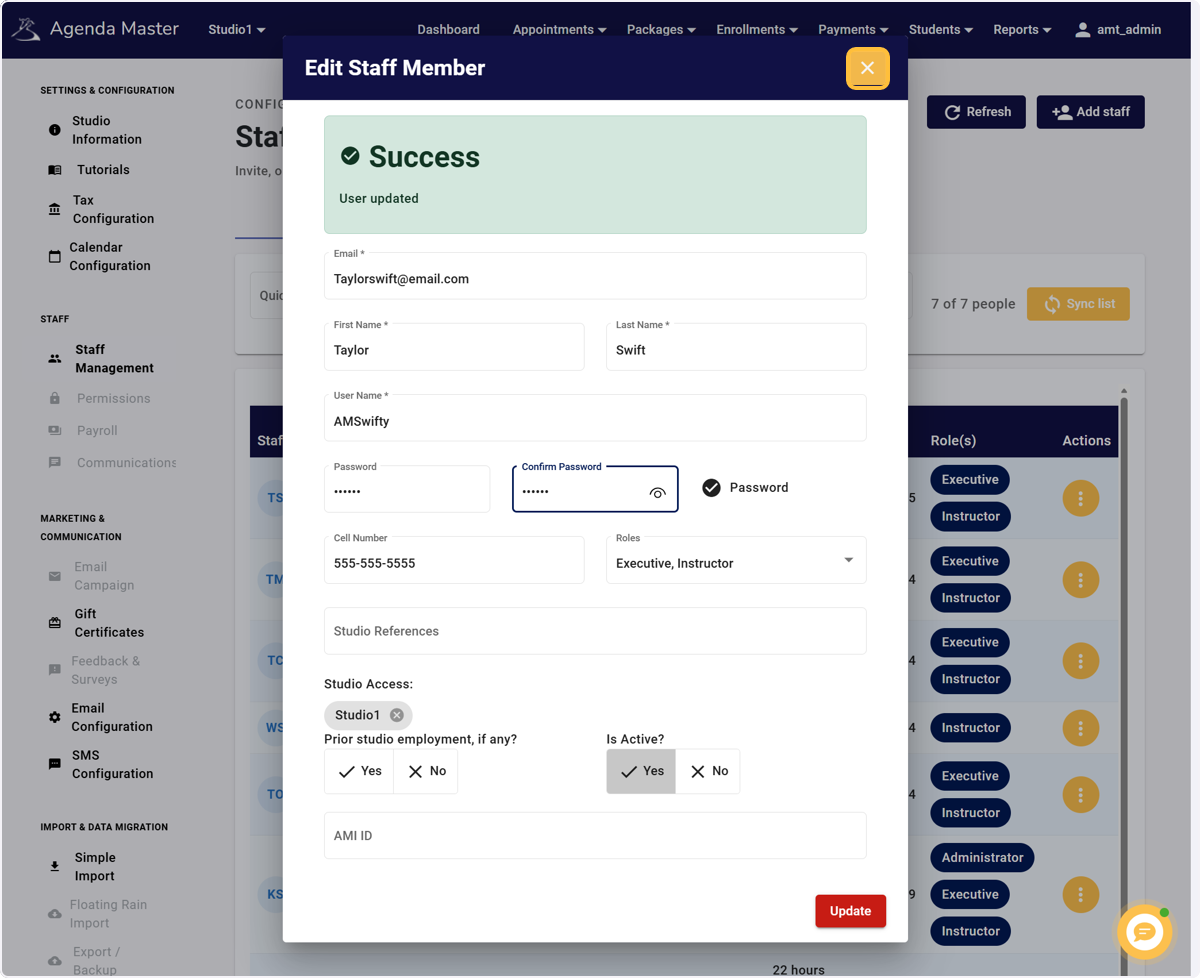
To REMOVE a staff member from the Day View: DON’T DELETE….Click EDIT #
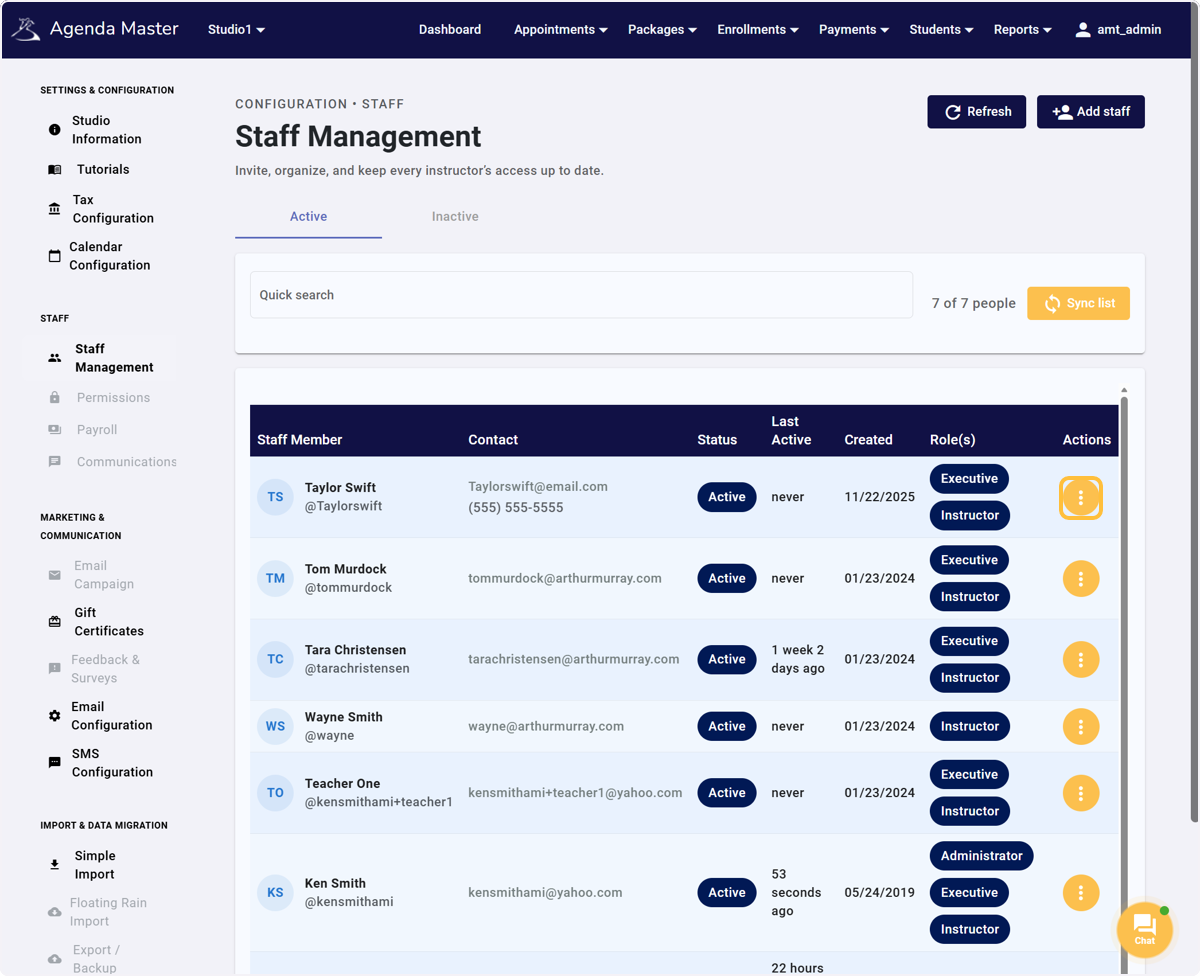
Click on Edit Staff Member #
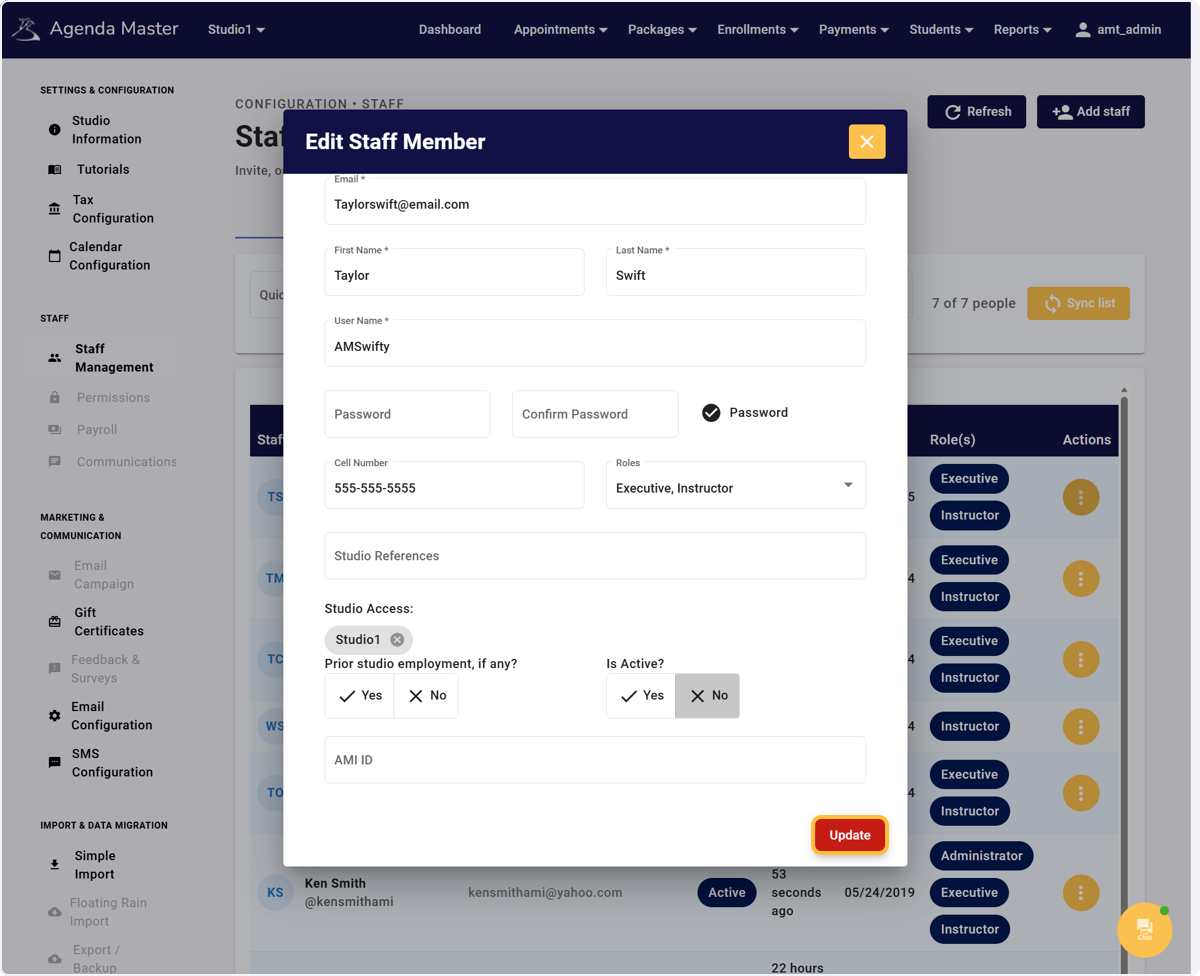
Mark them an Inactive by choosing “No”. Then hit update. #
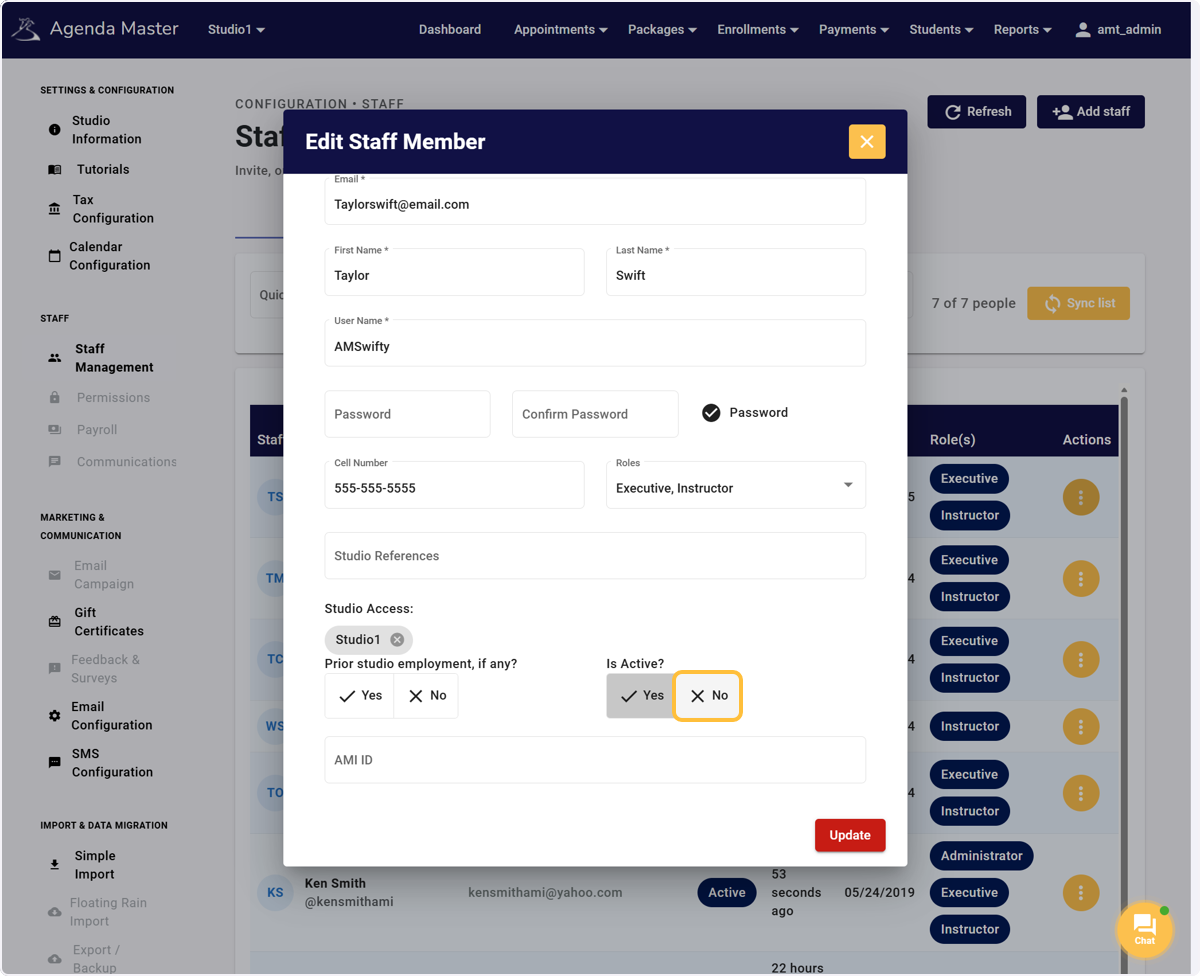
Click on Update #
Click on close #
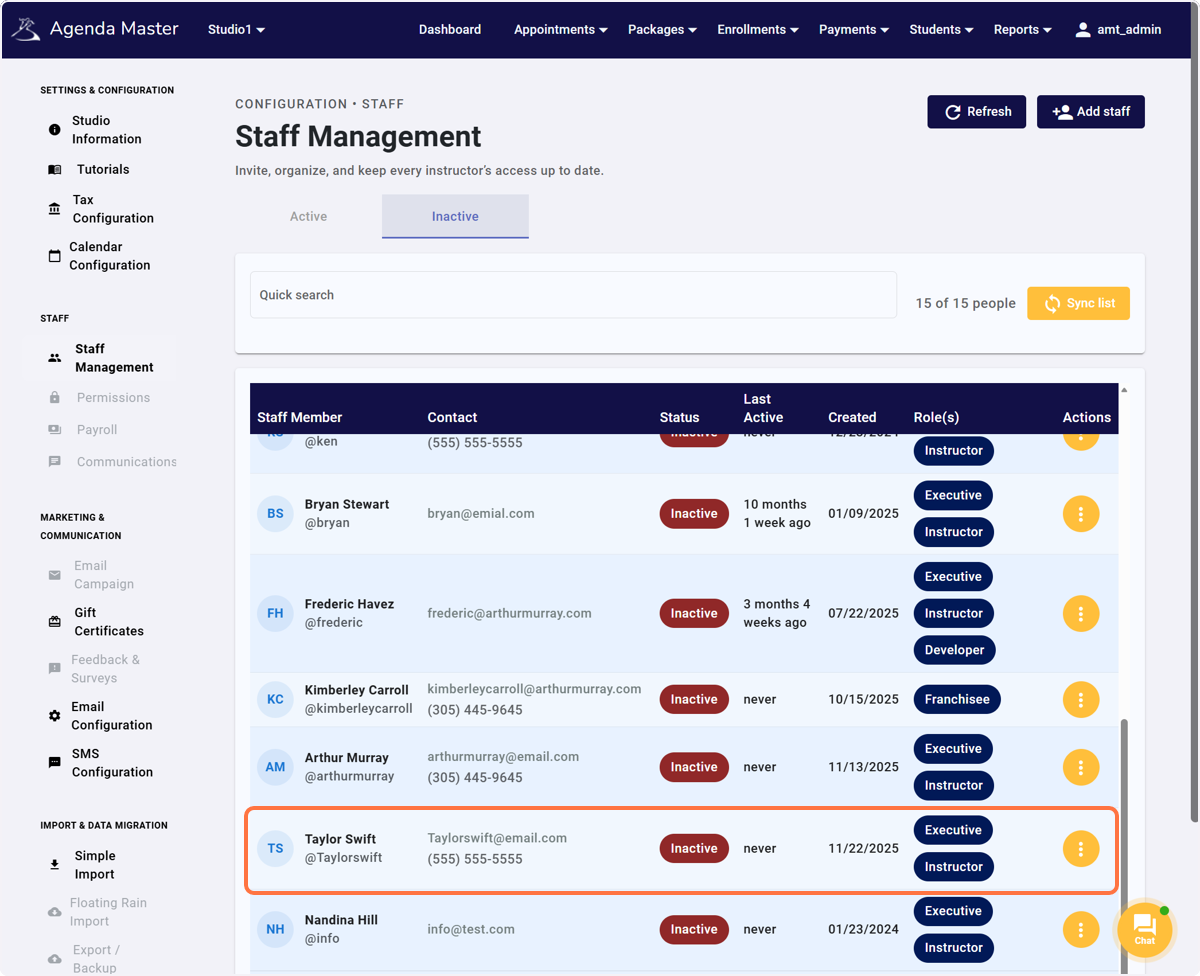
Click on Inactive #
The teachers have been “Ghosted” and will not be seen on the Day View nor be available for use.
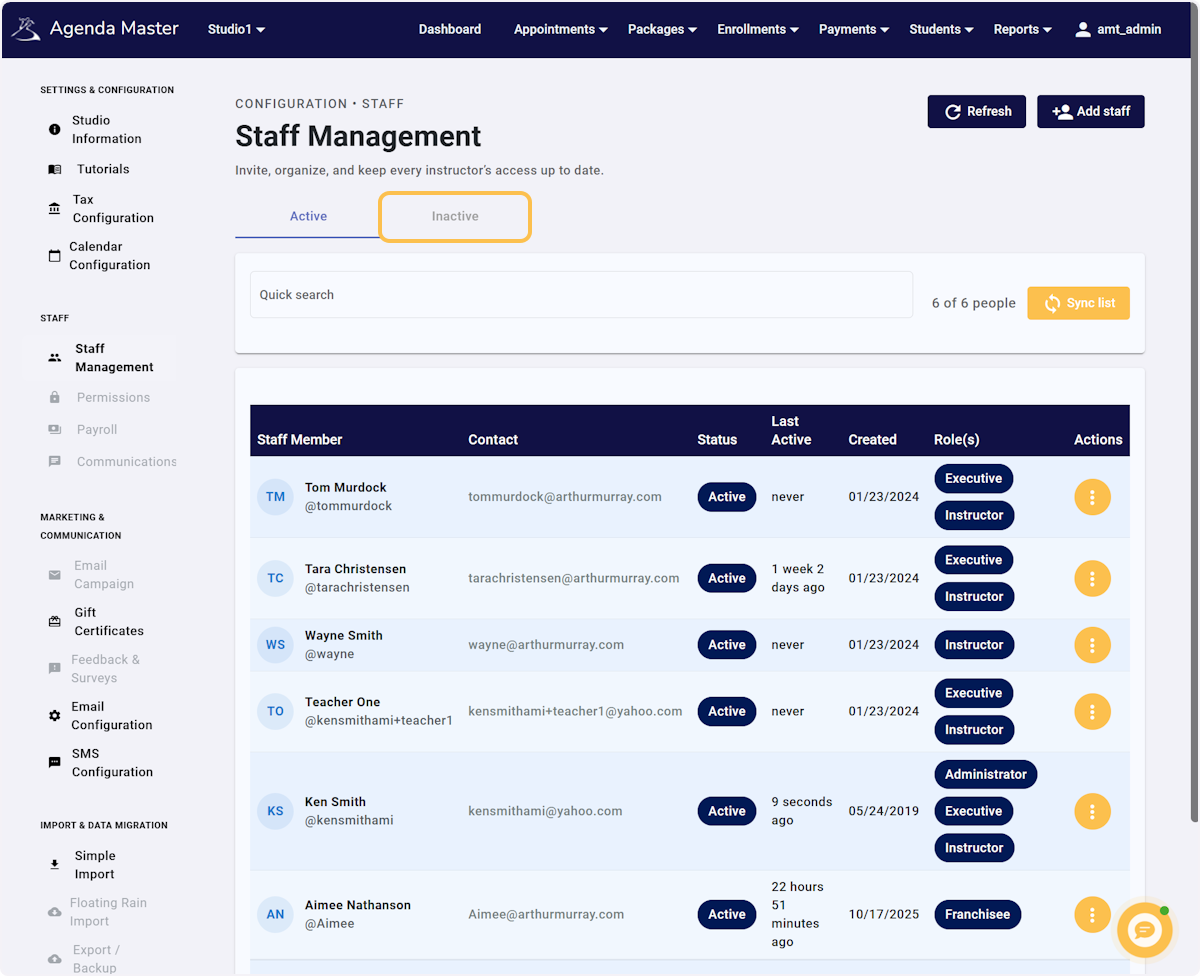
Inactive Staff members records are still in the system, they just cannot be used. #
To return them to being Active, reverse these last steps.