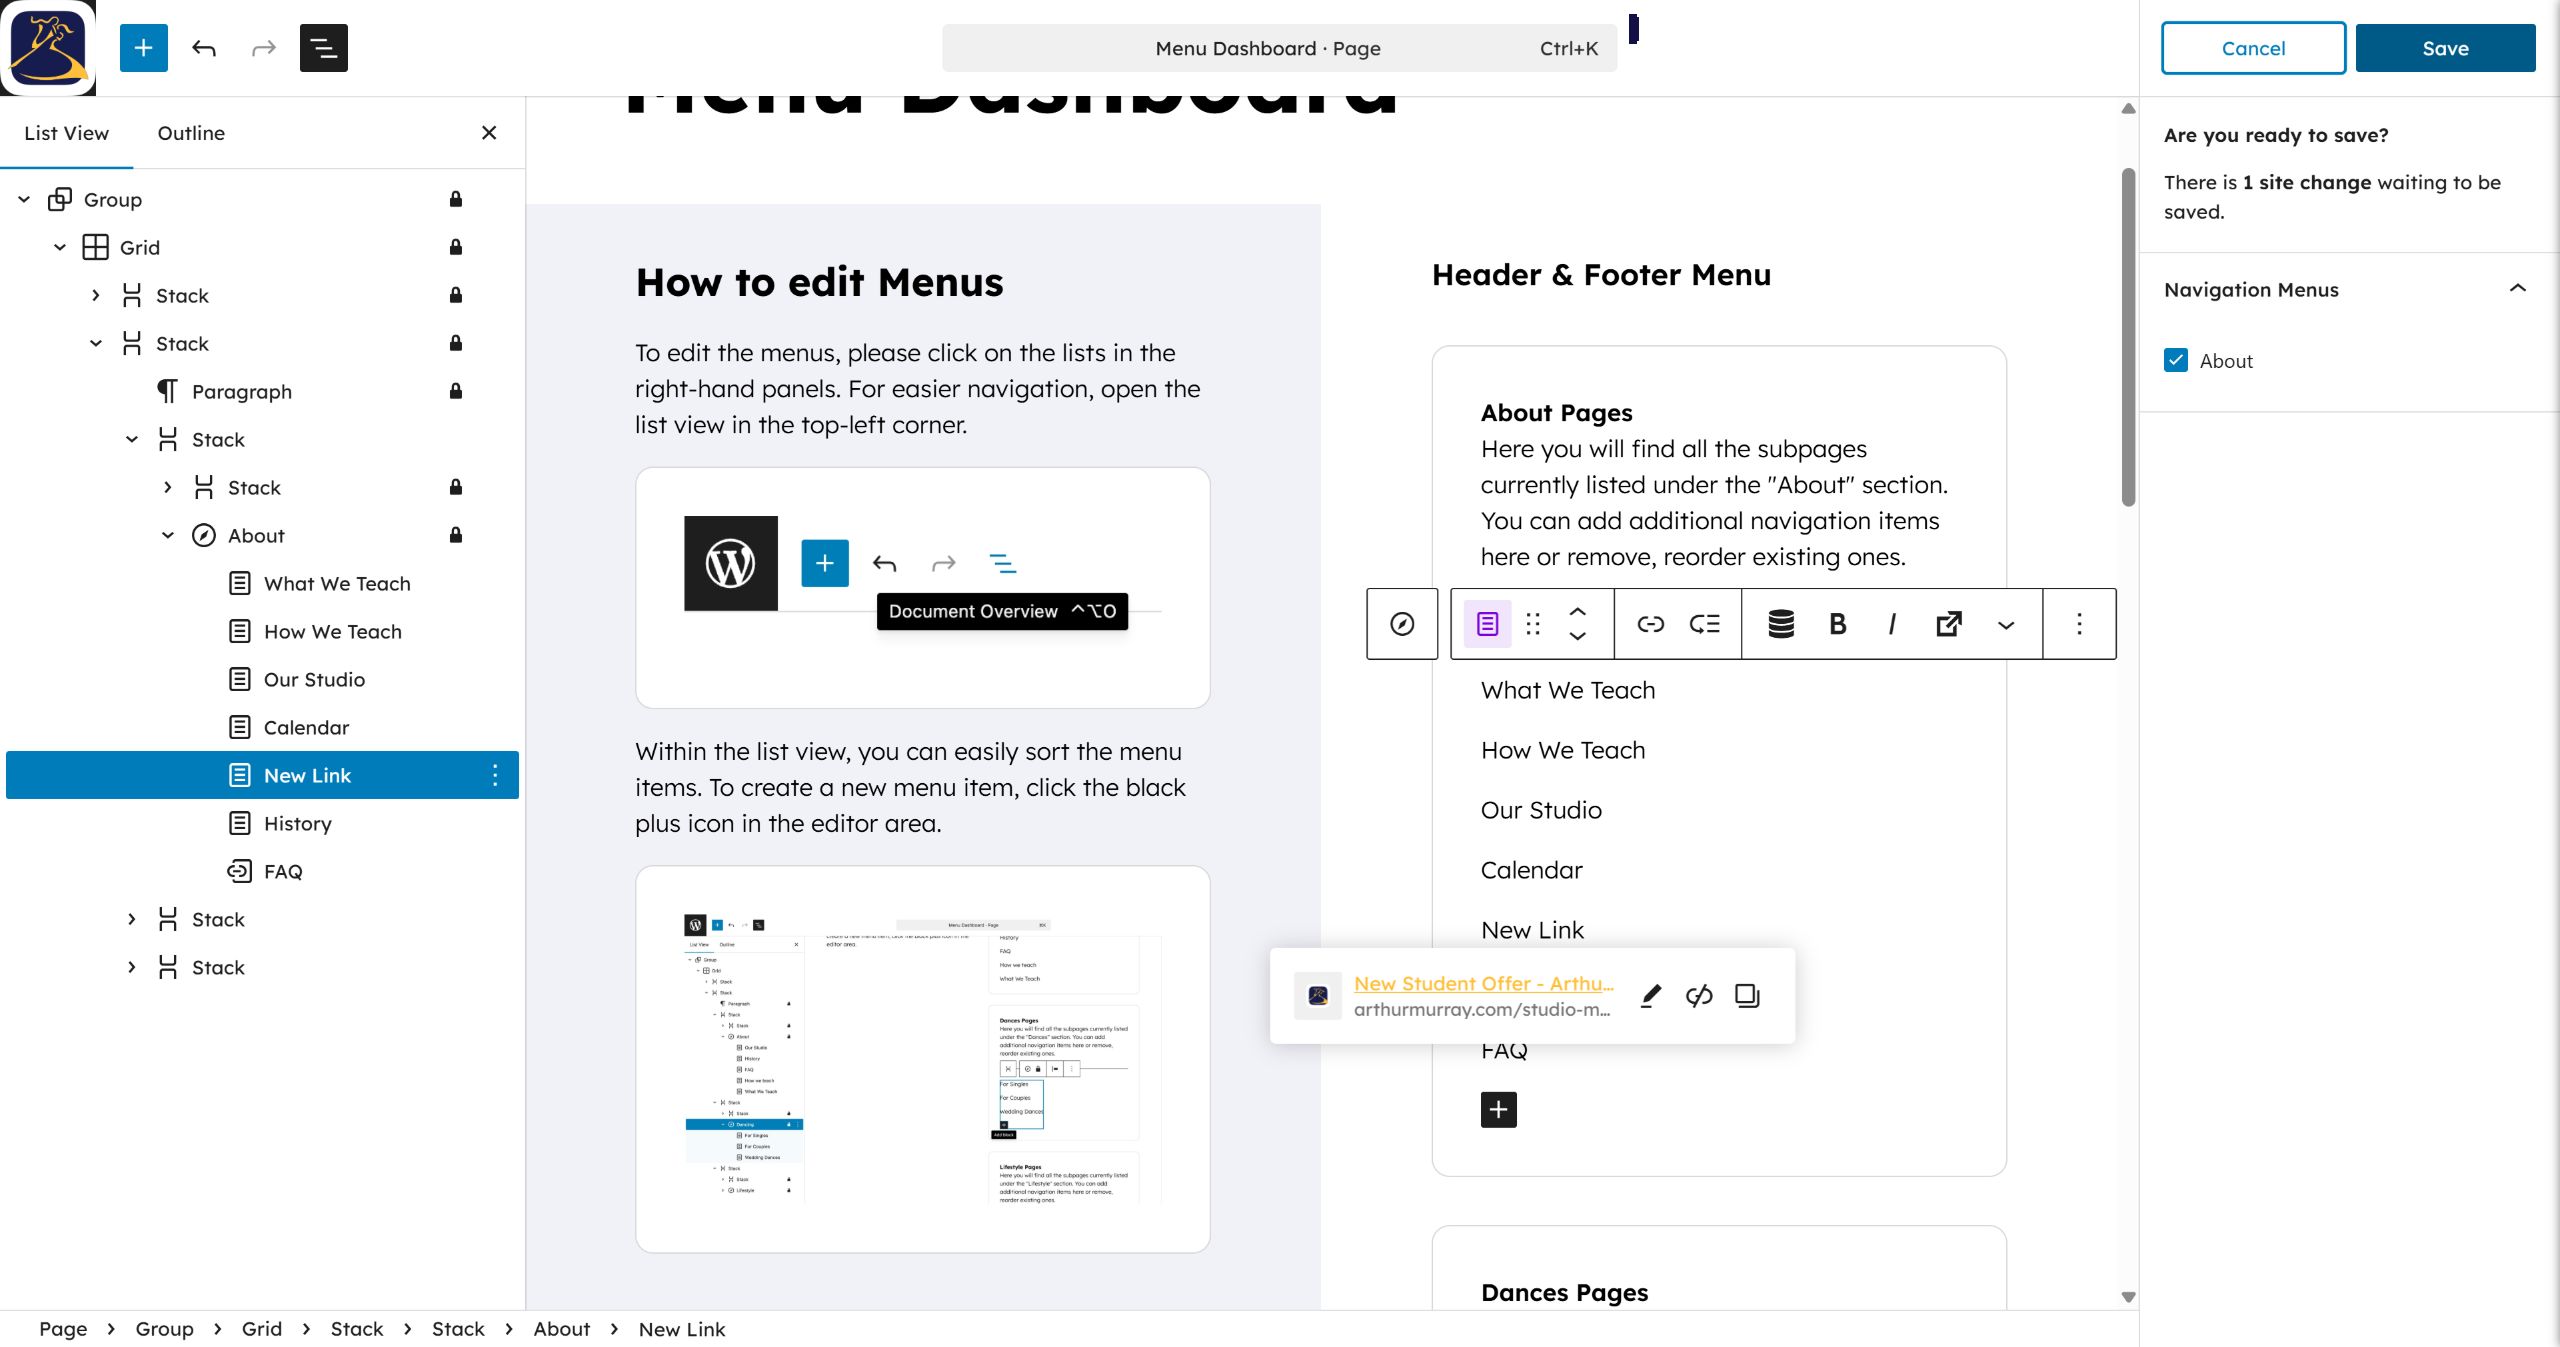
Open the menu dashboard, reorganize items, and add new custom links.
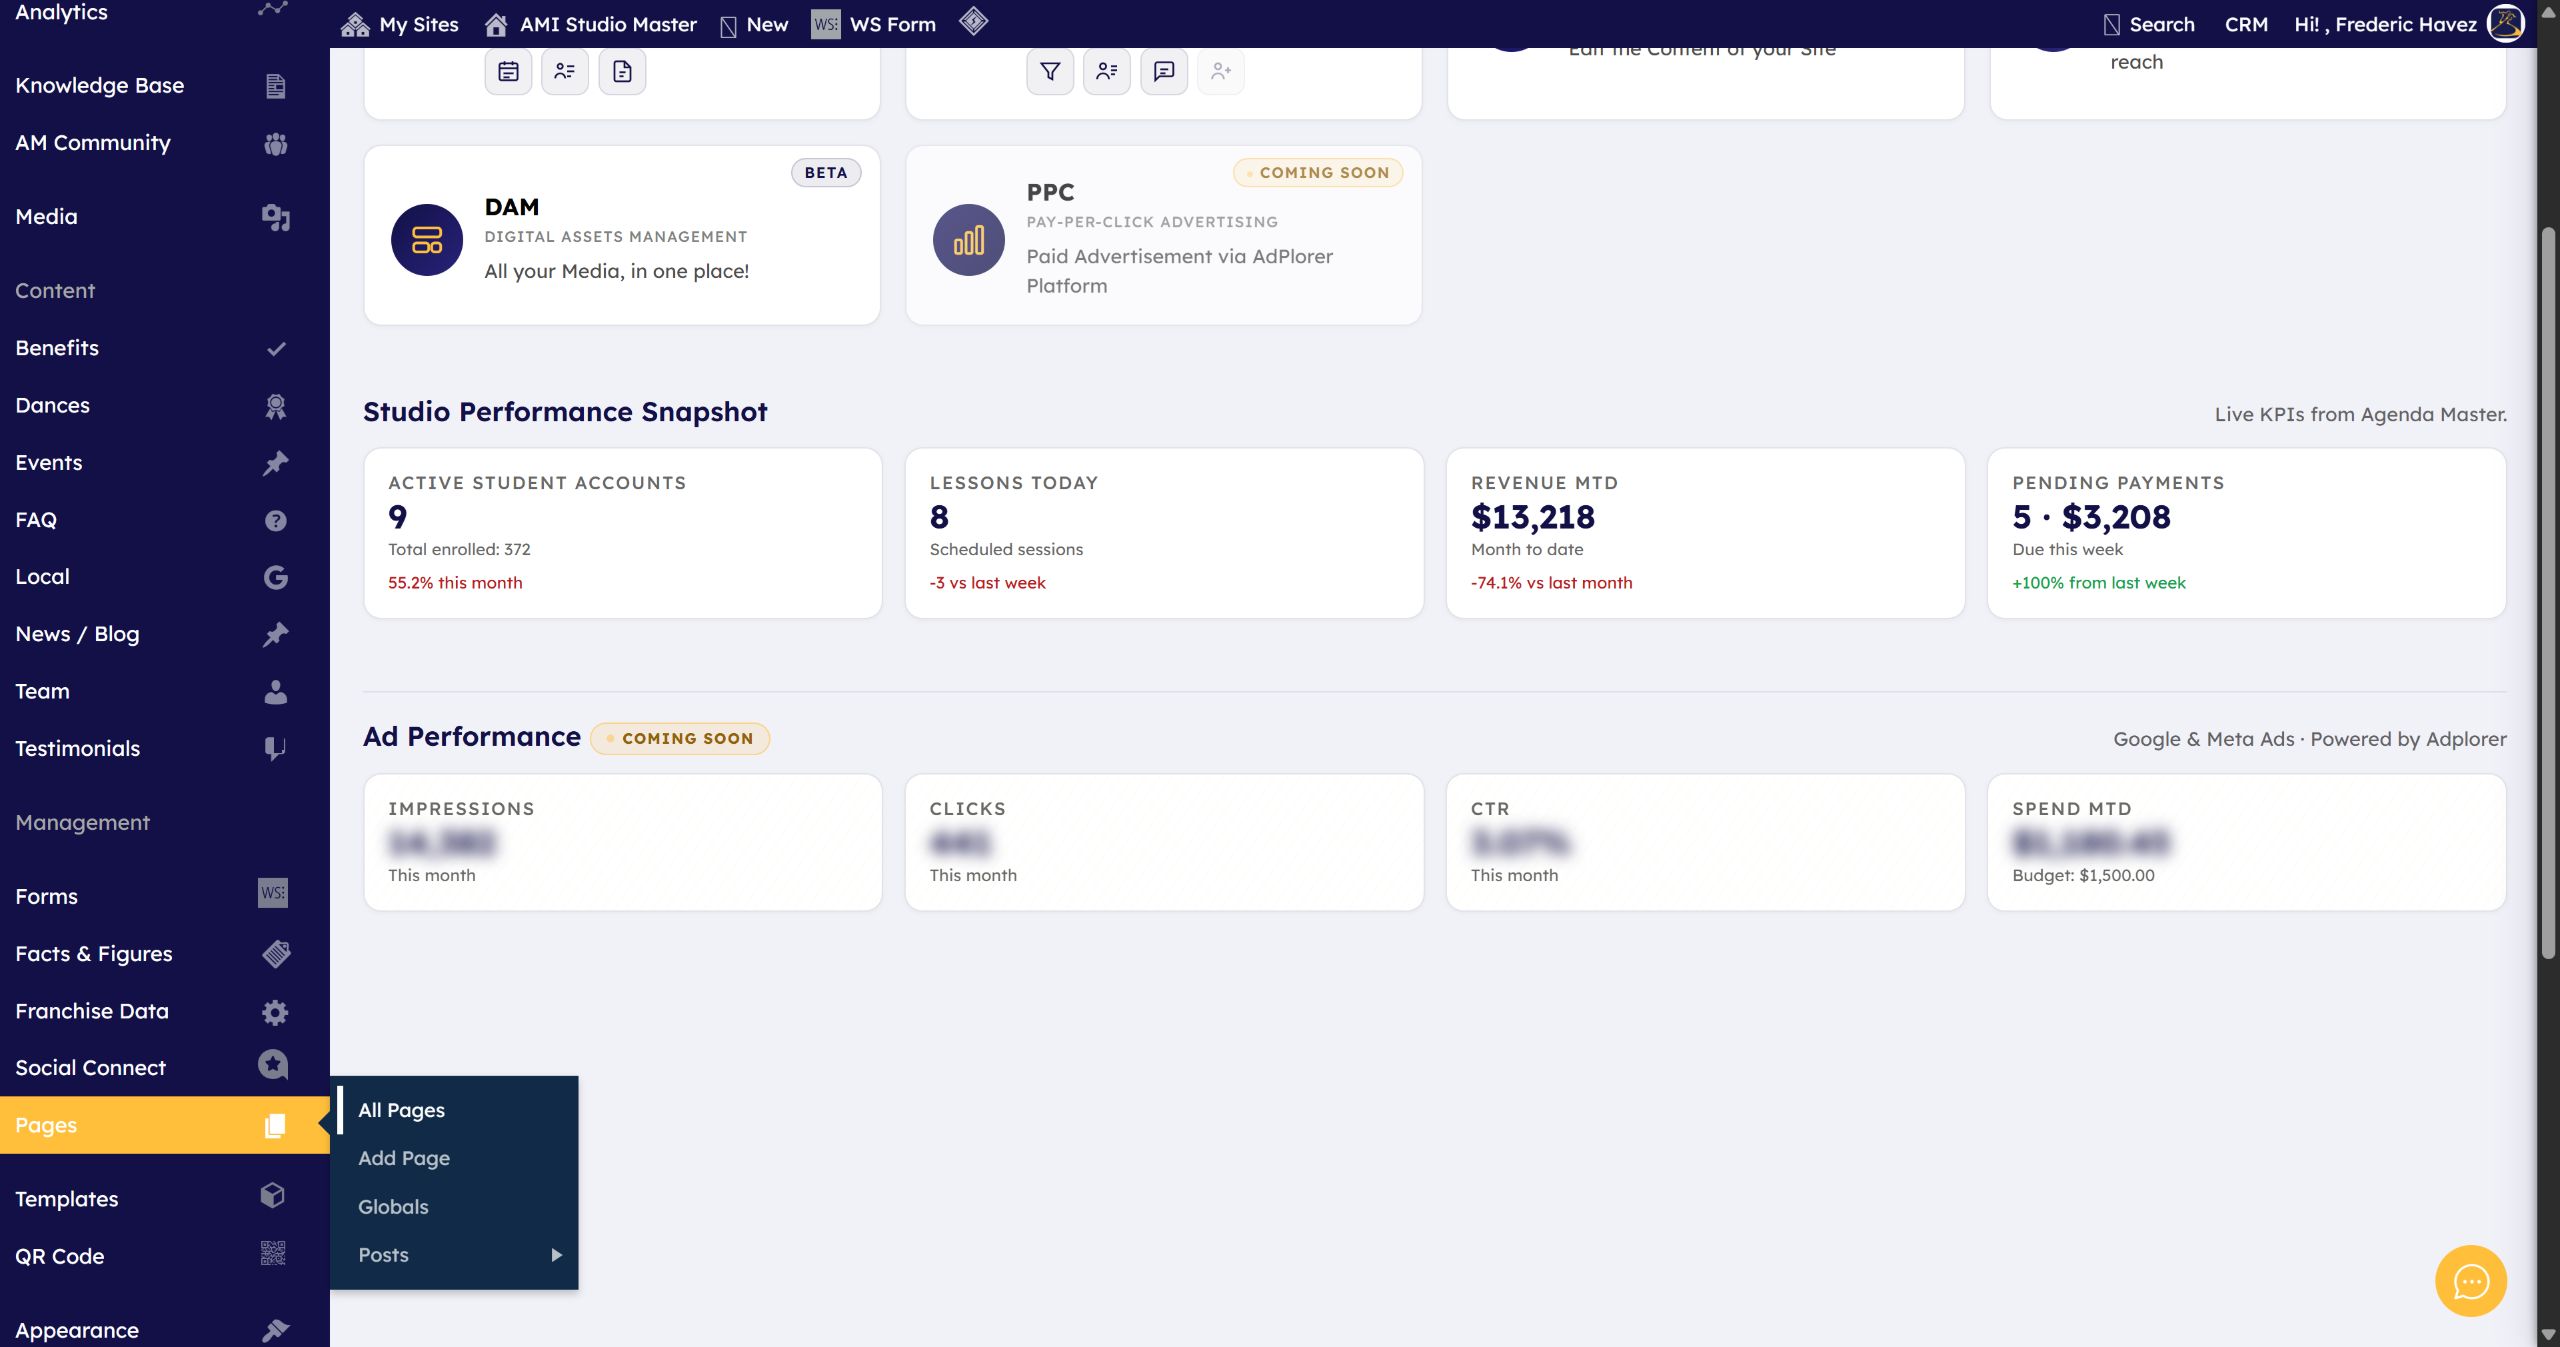
Step 1: Click All Pages in the left sidebar menu to view your pages. #
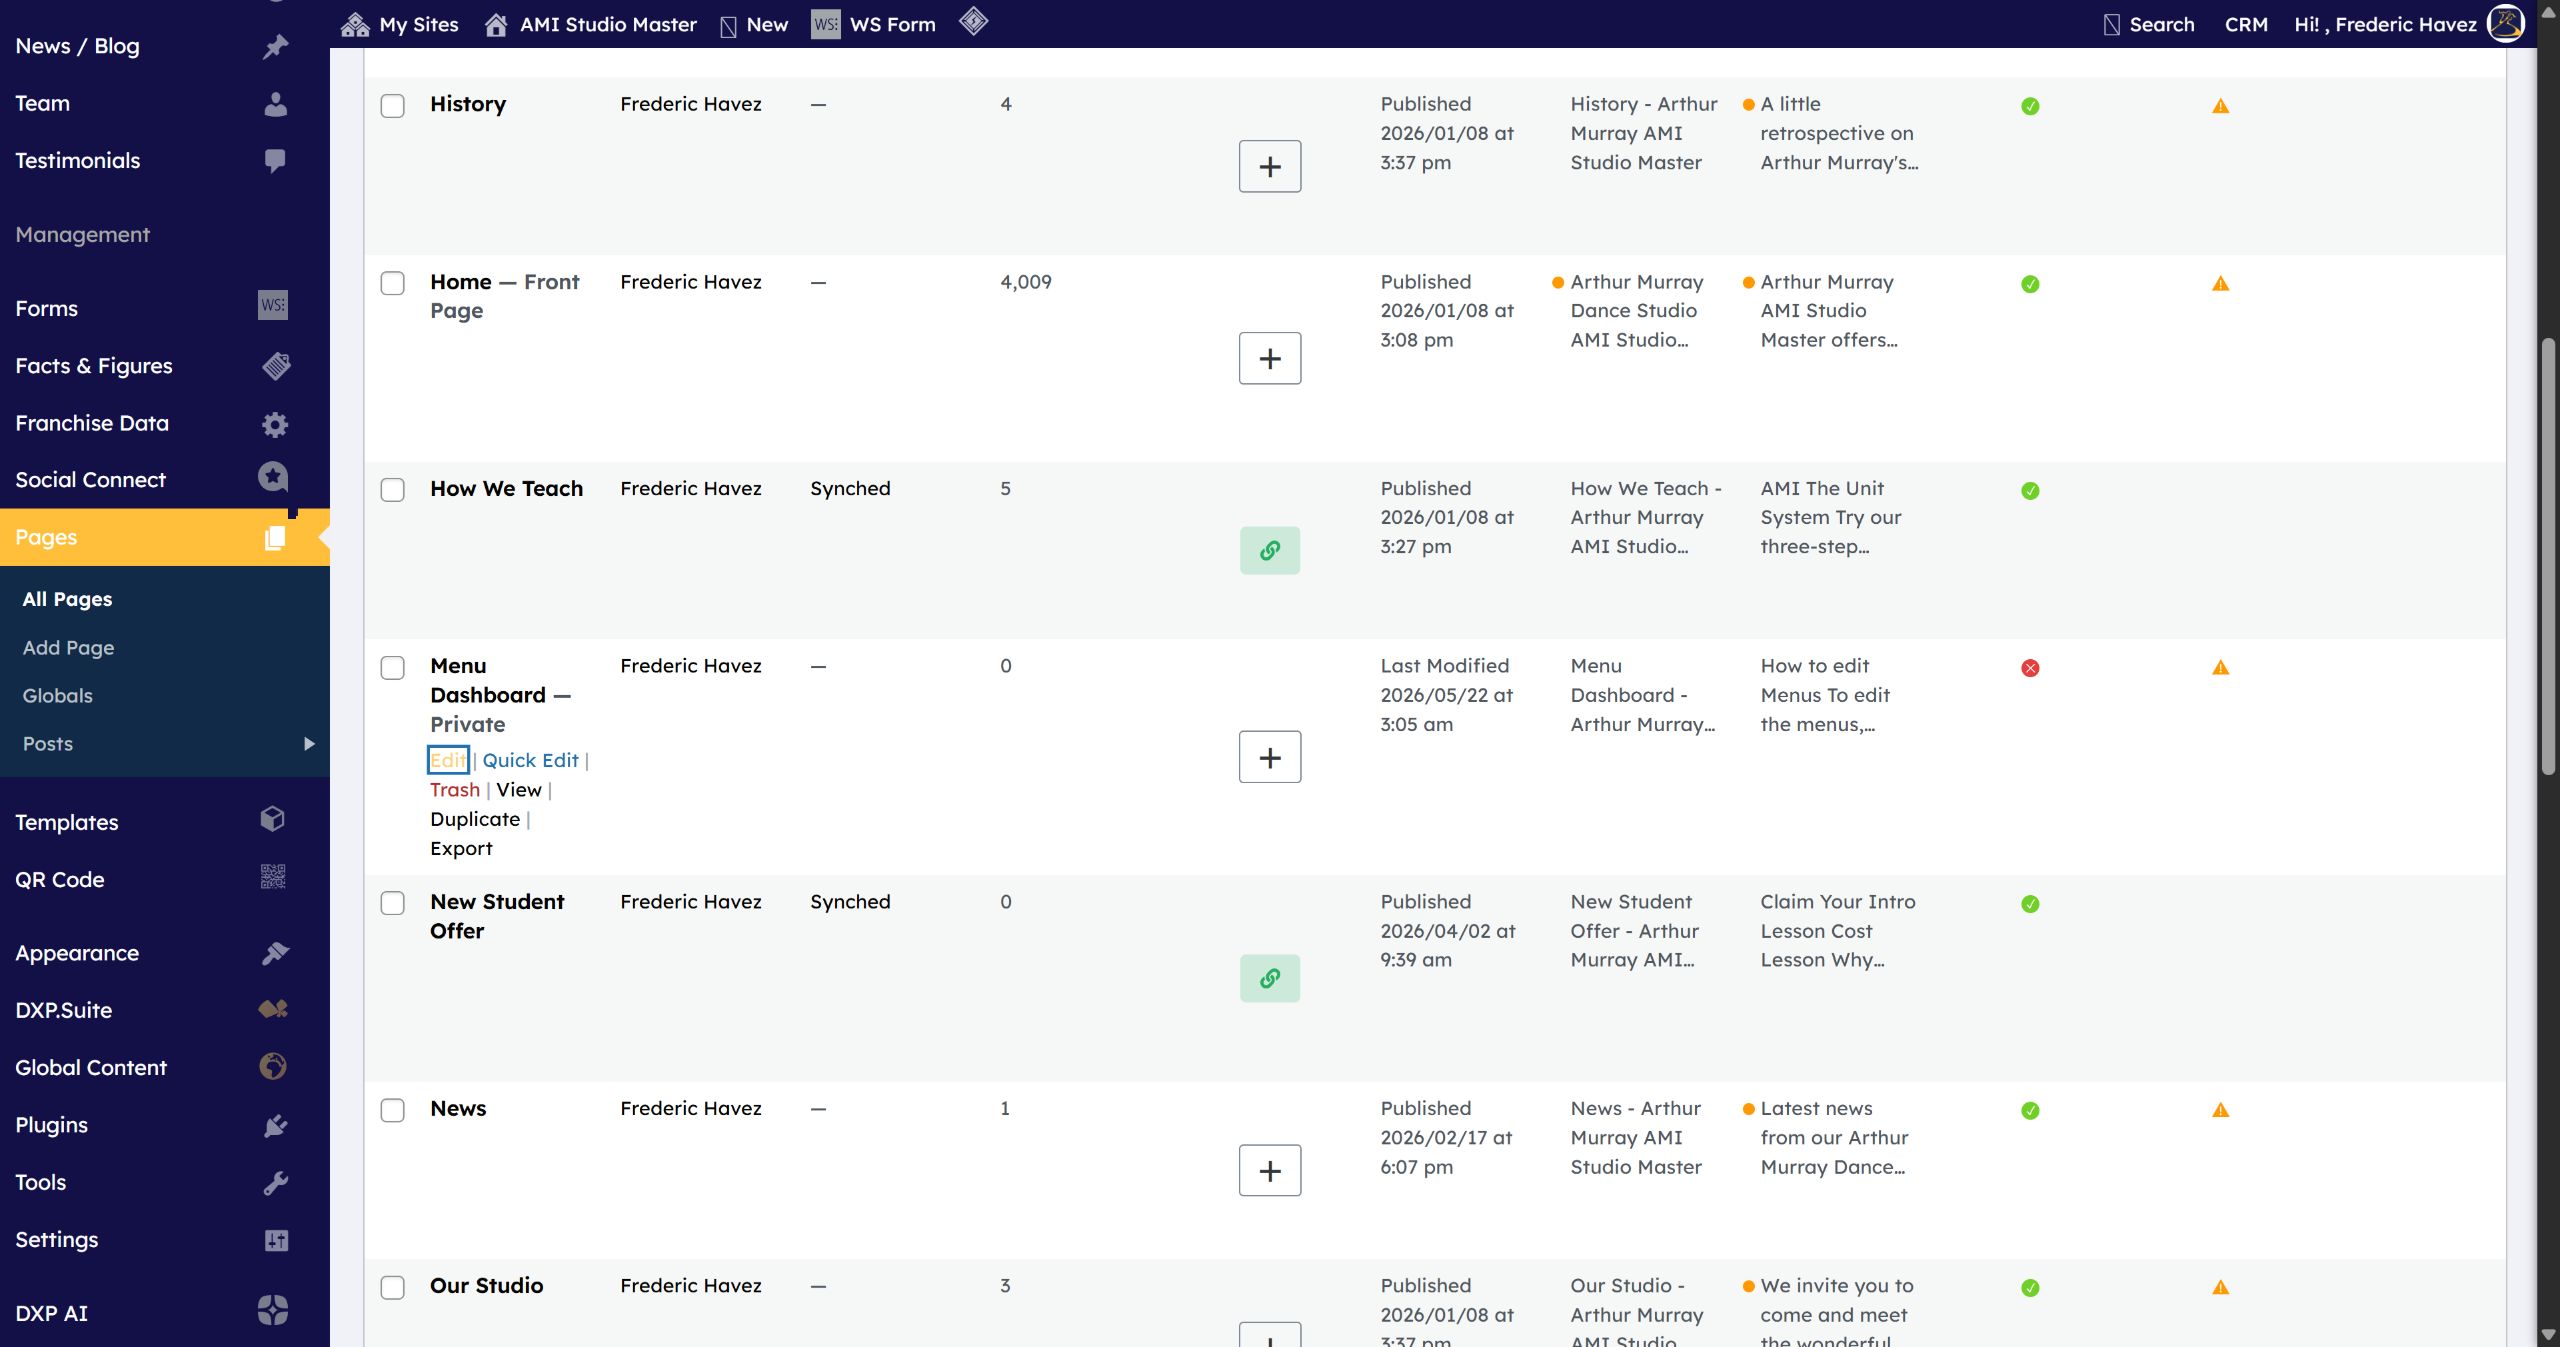
Step 2: Click Edit beneath the Menu Dashboard item to open the editor. #
Step 3: Click the top left List View icon to see the document structure. #
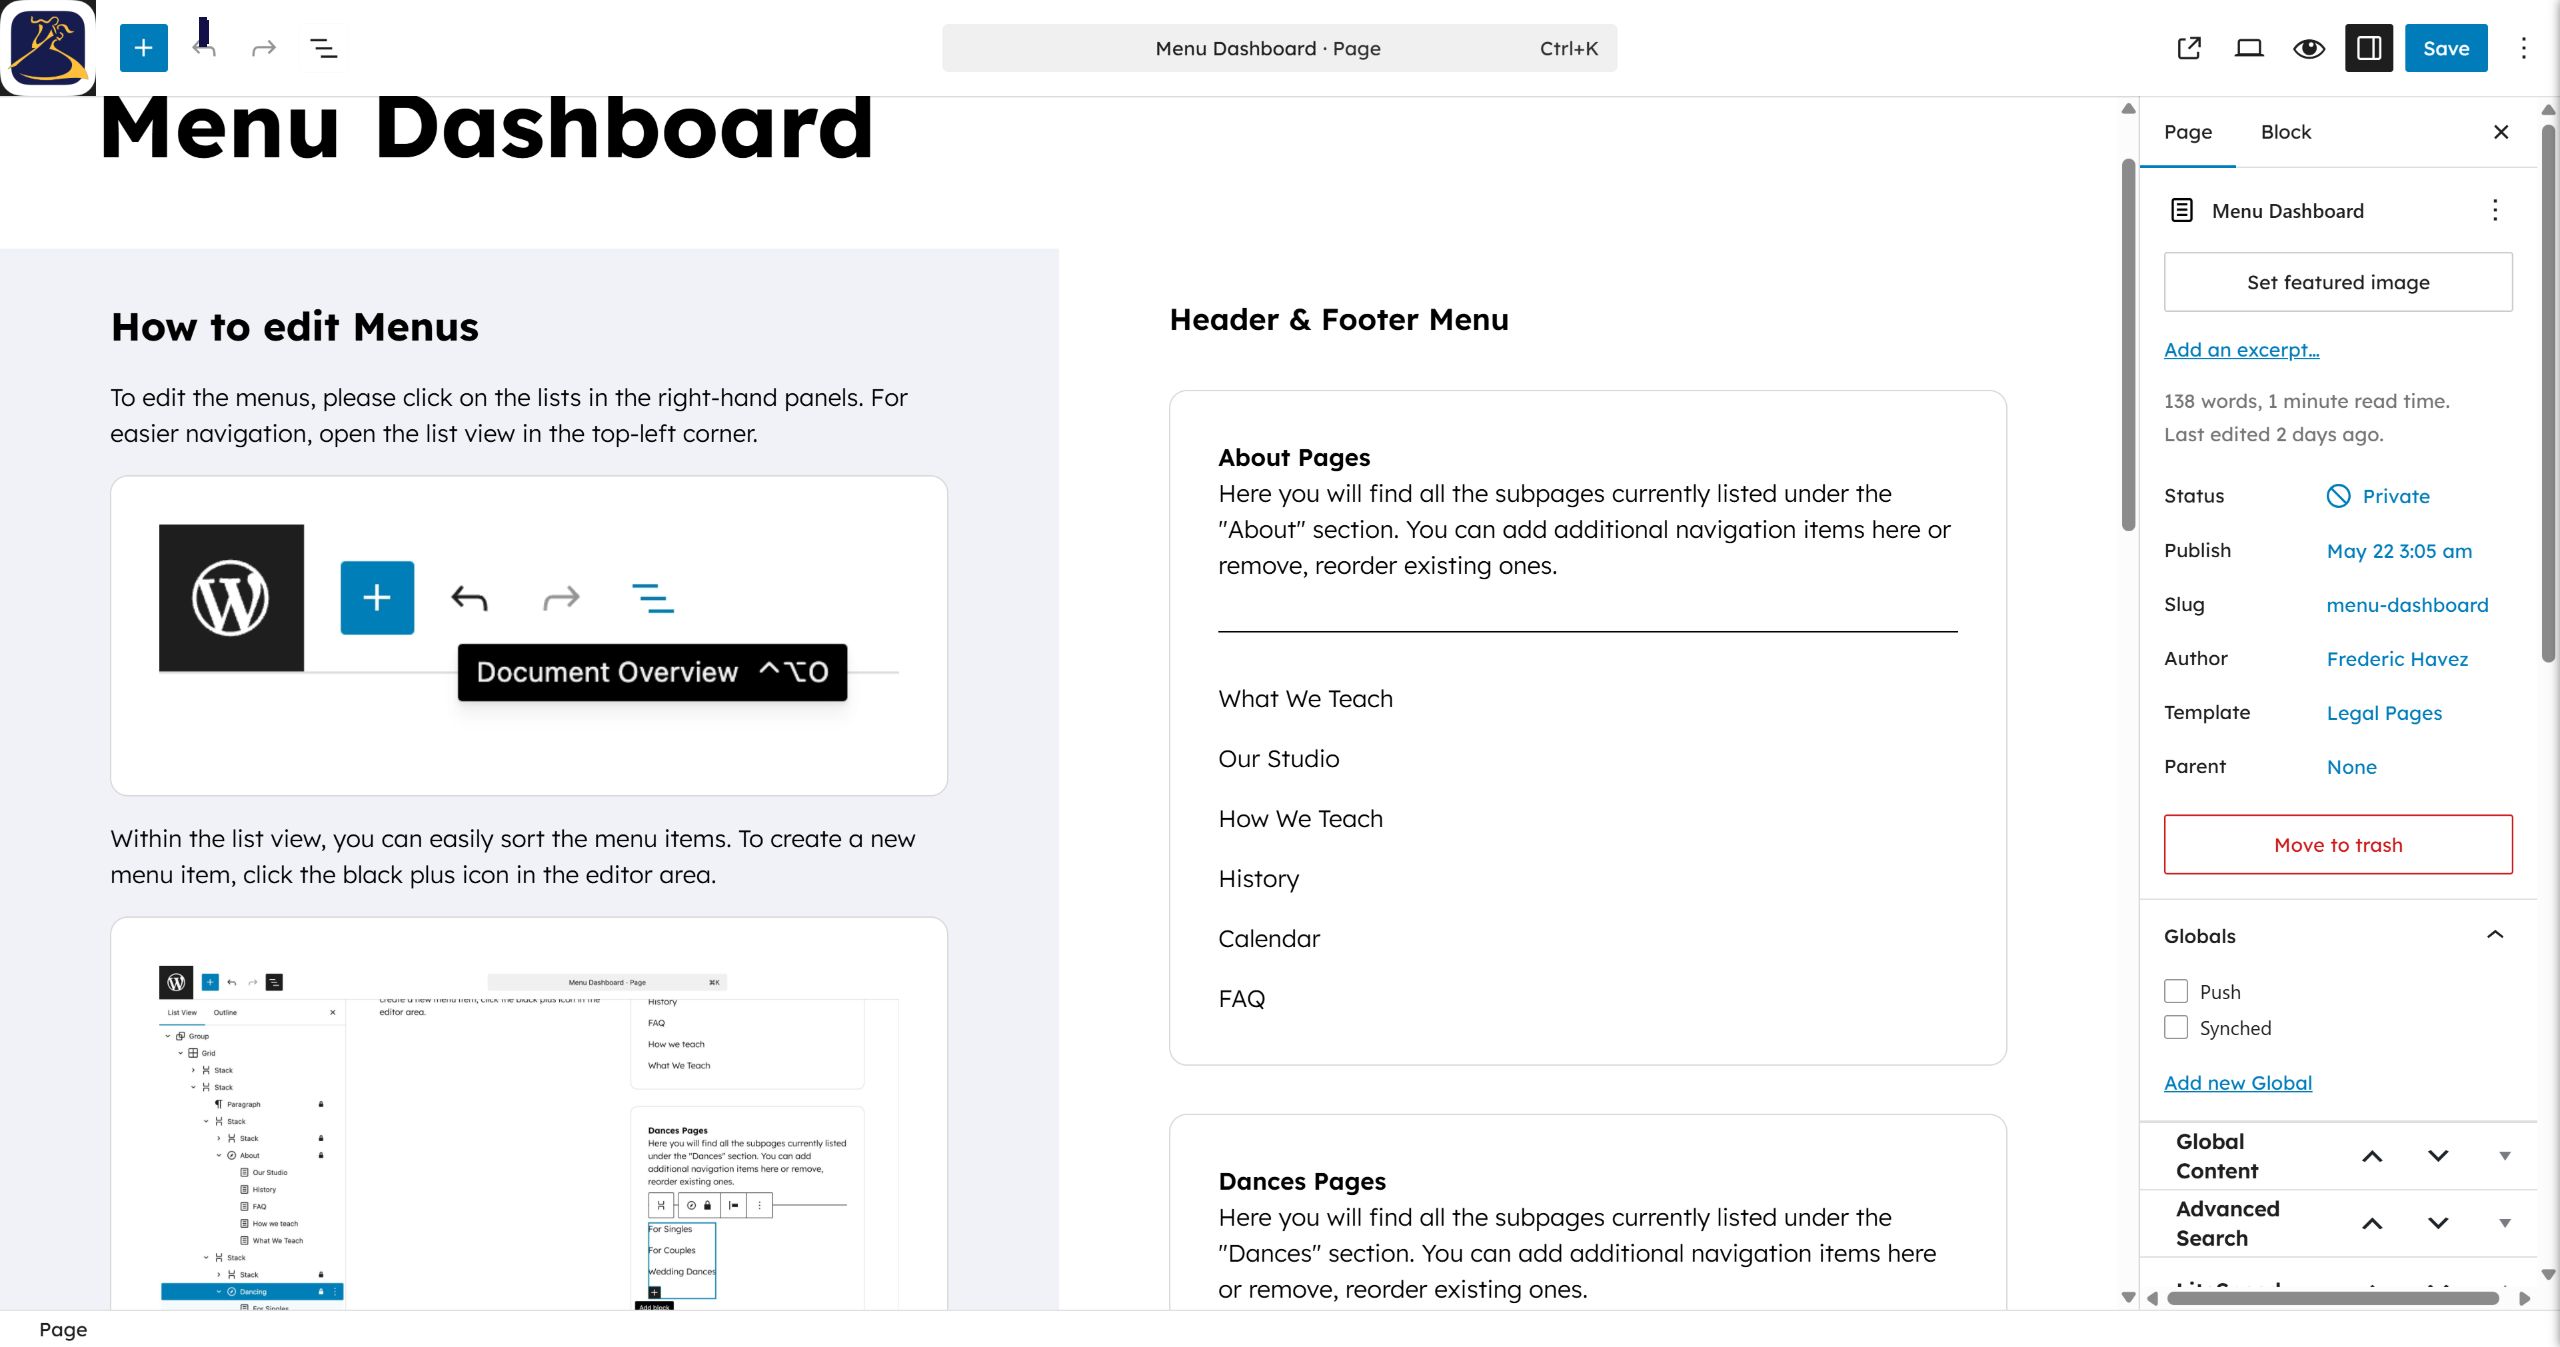
Step 4: Select the About Pages navigation block in the main editor area. #
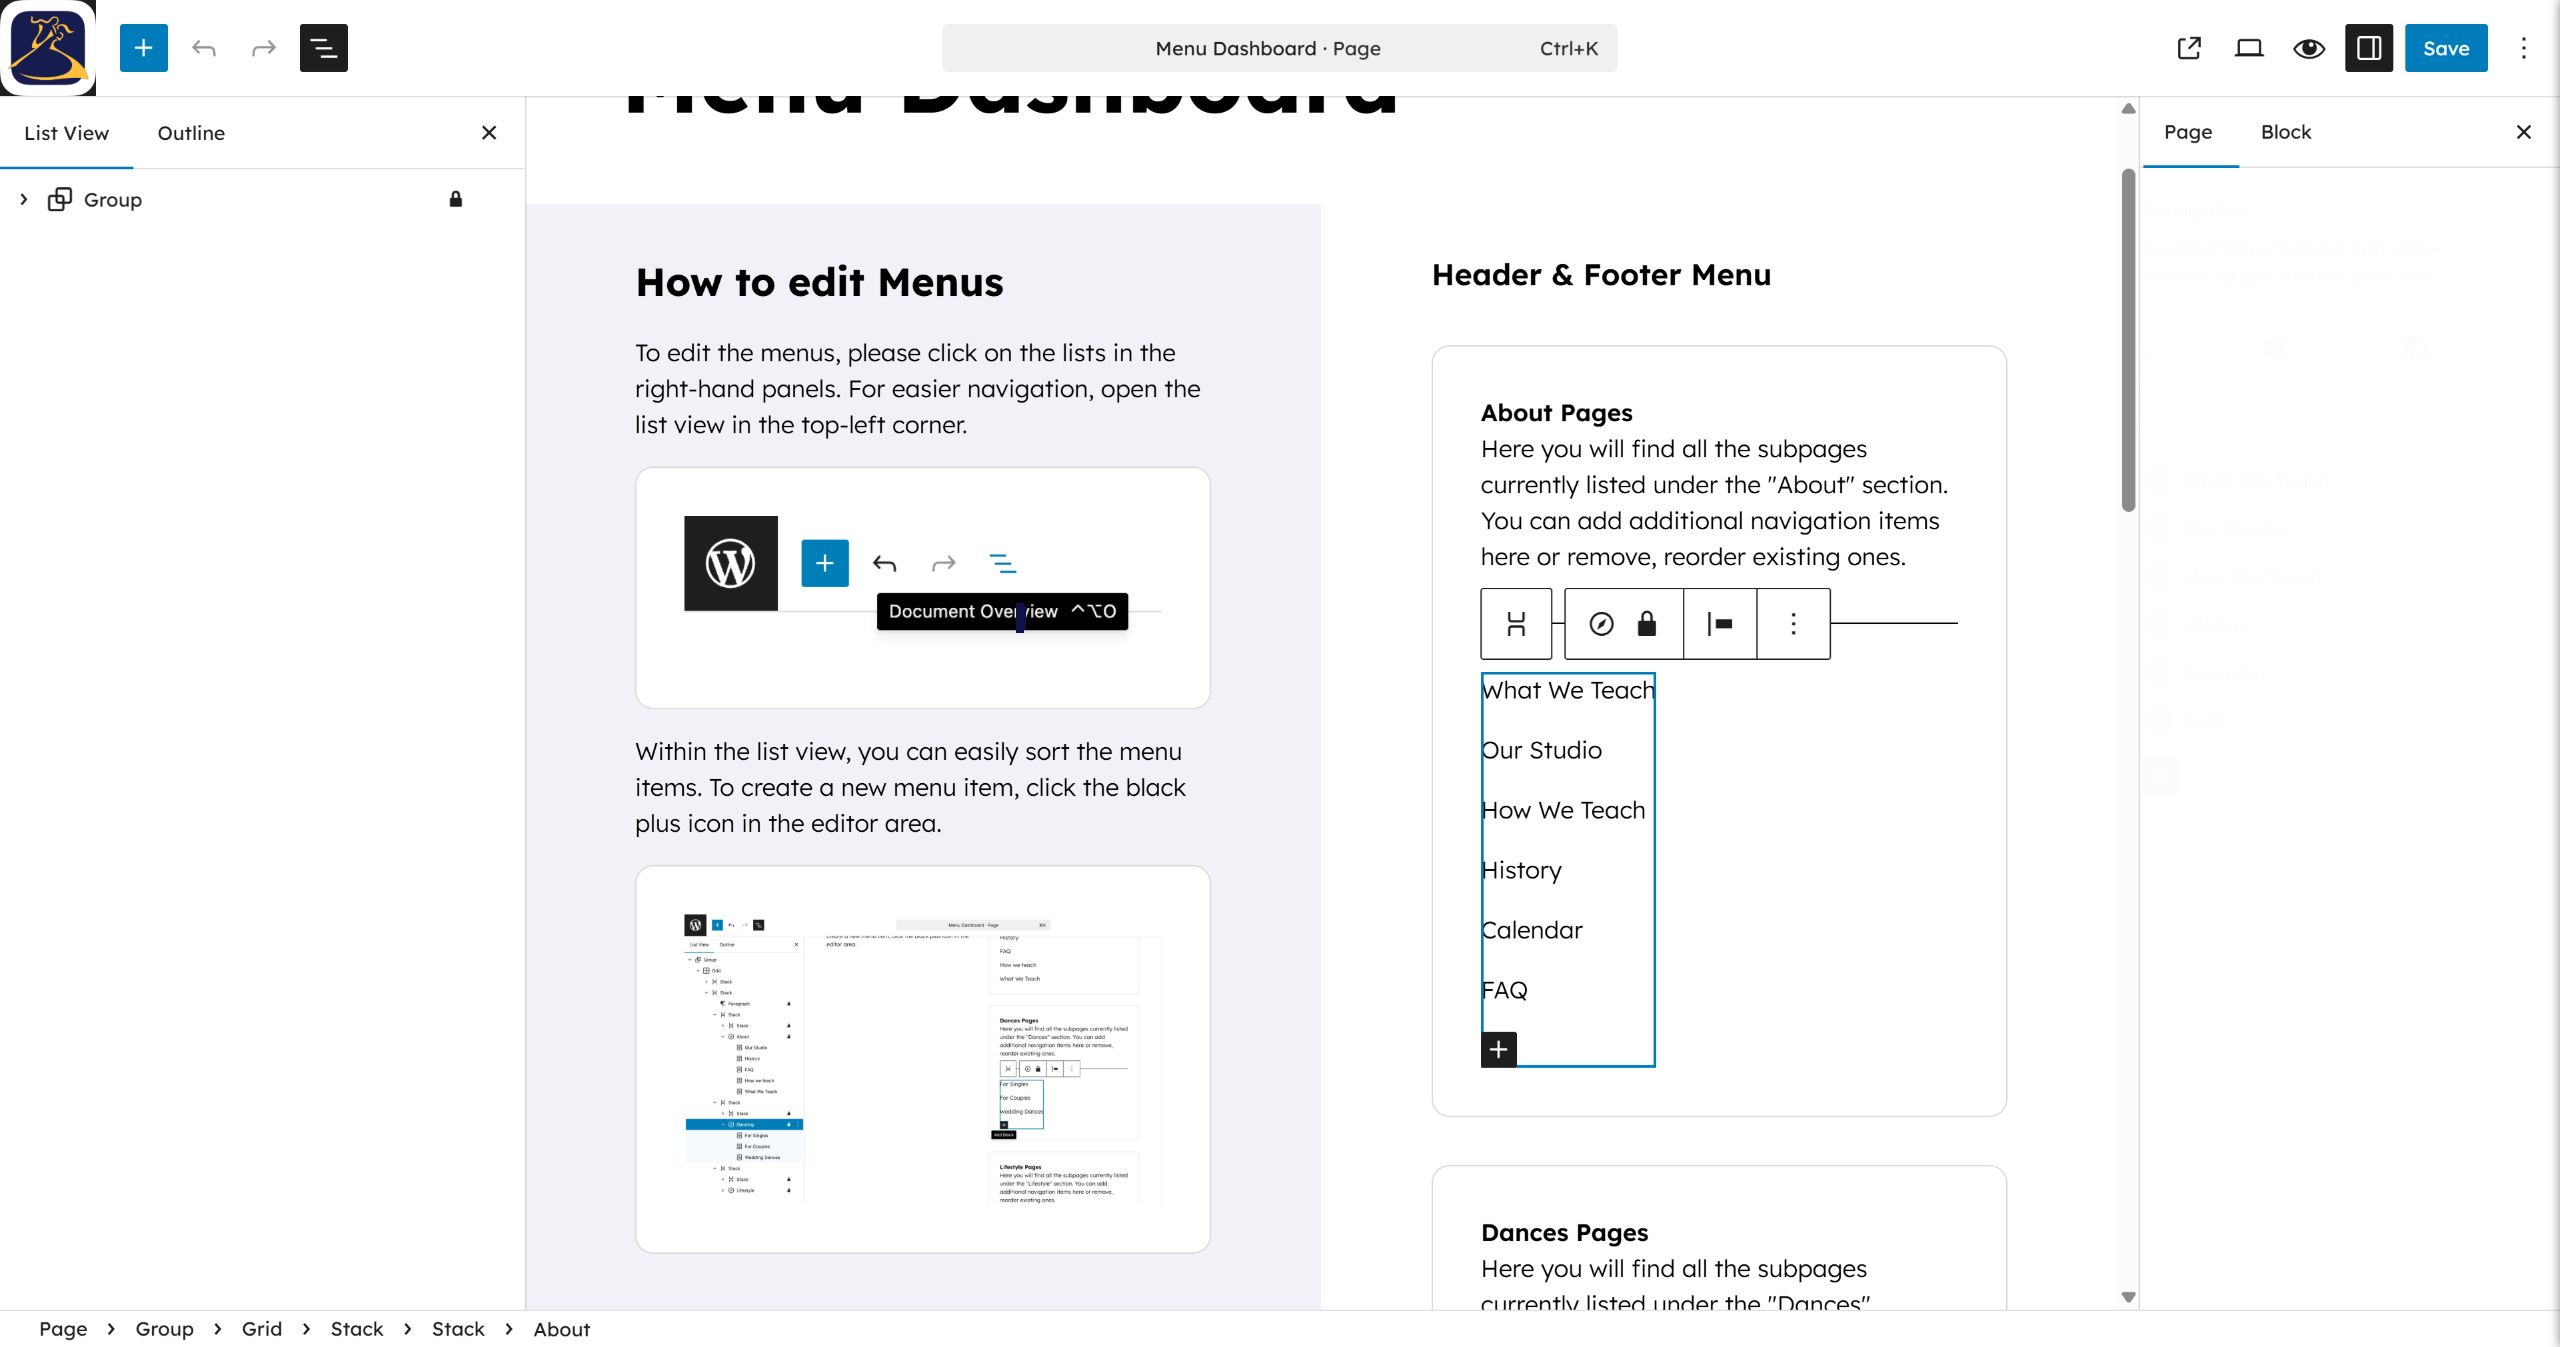
Step 5: Click the About list item in the left panel to expand it. #
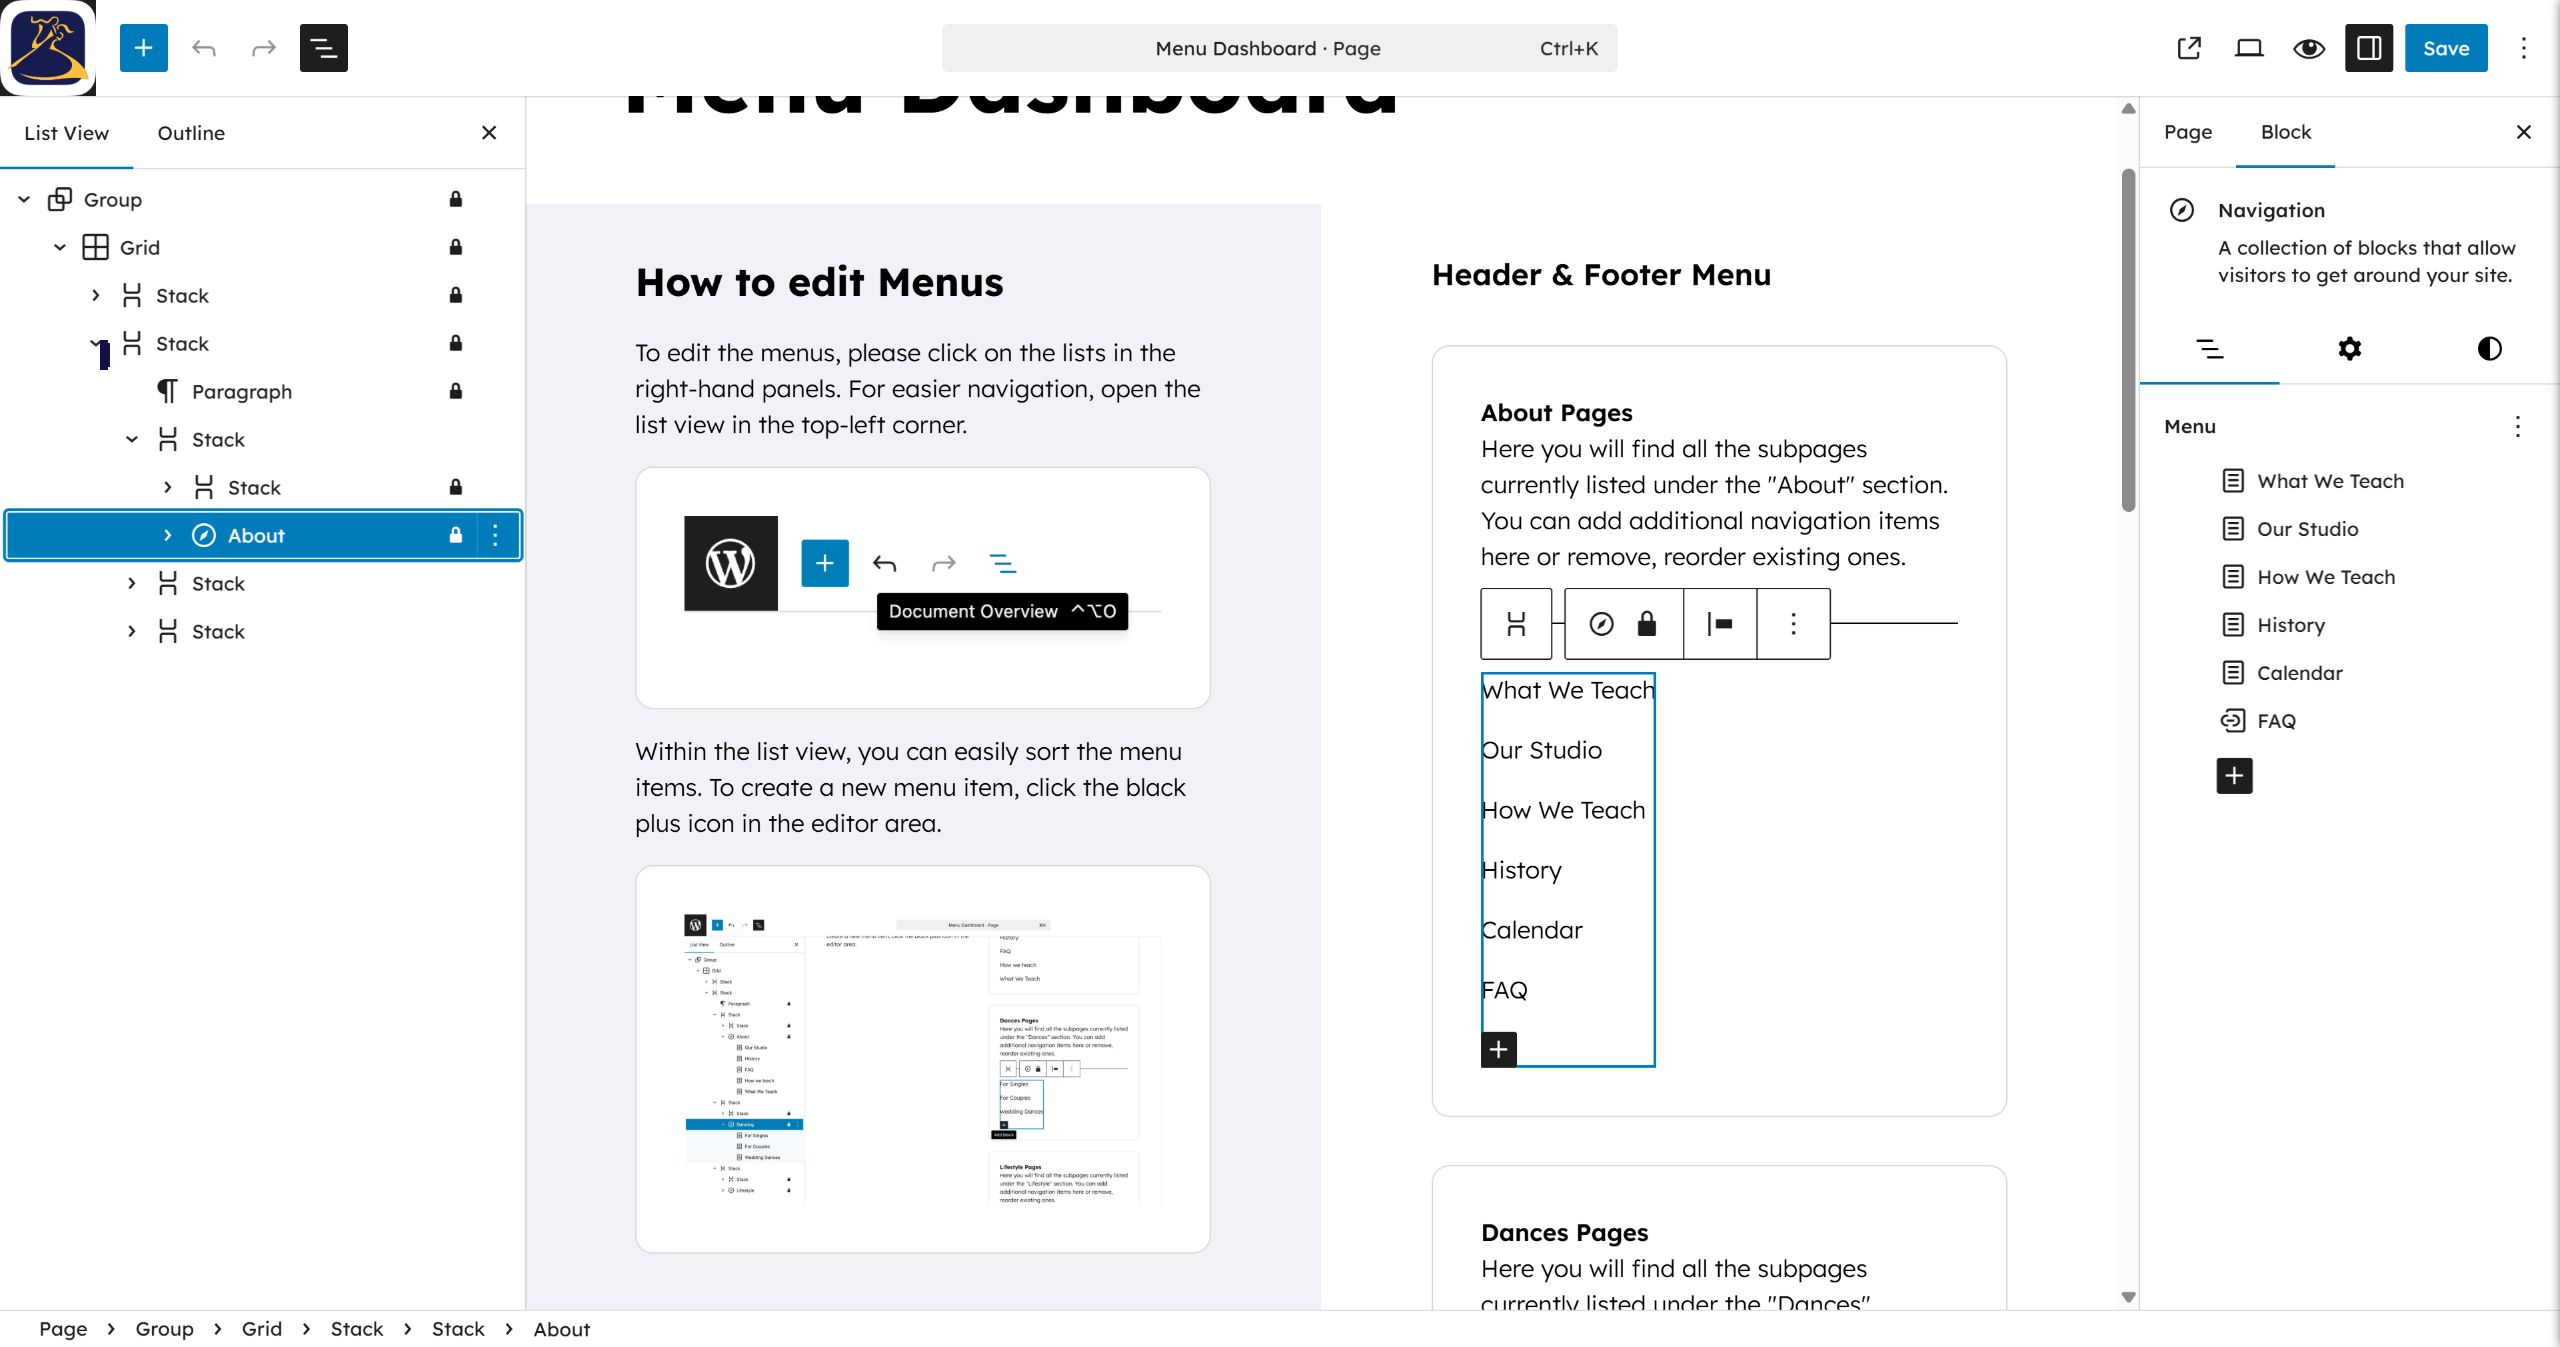
Step 6: Click the Our Studio item in the list view to select it. #
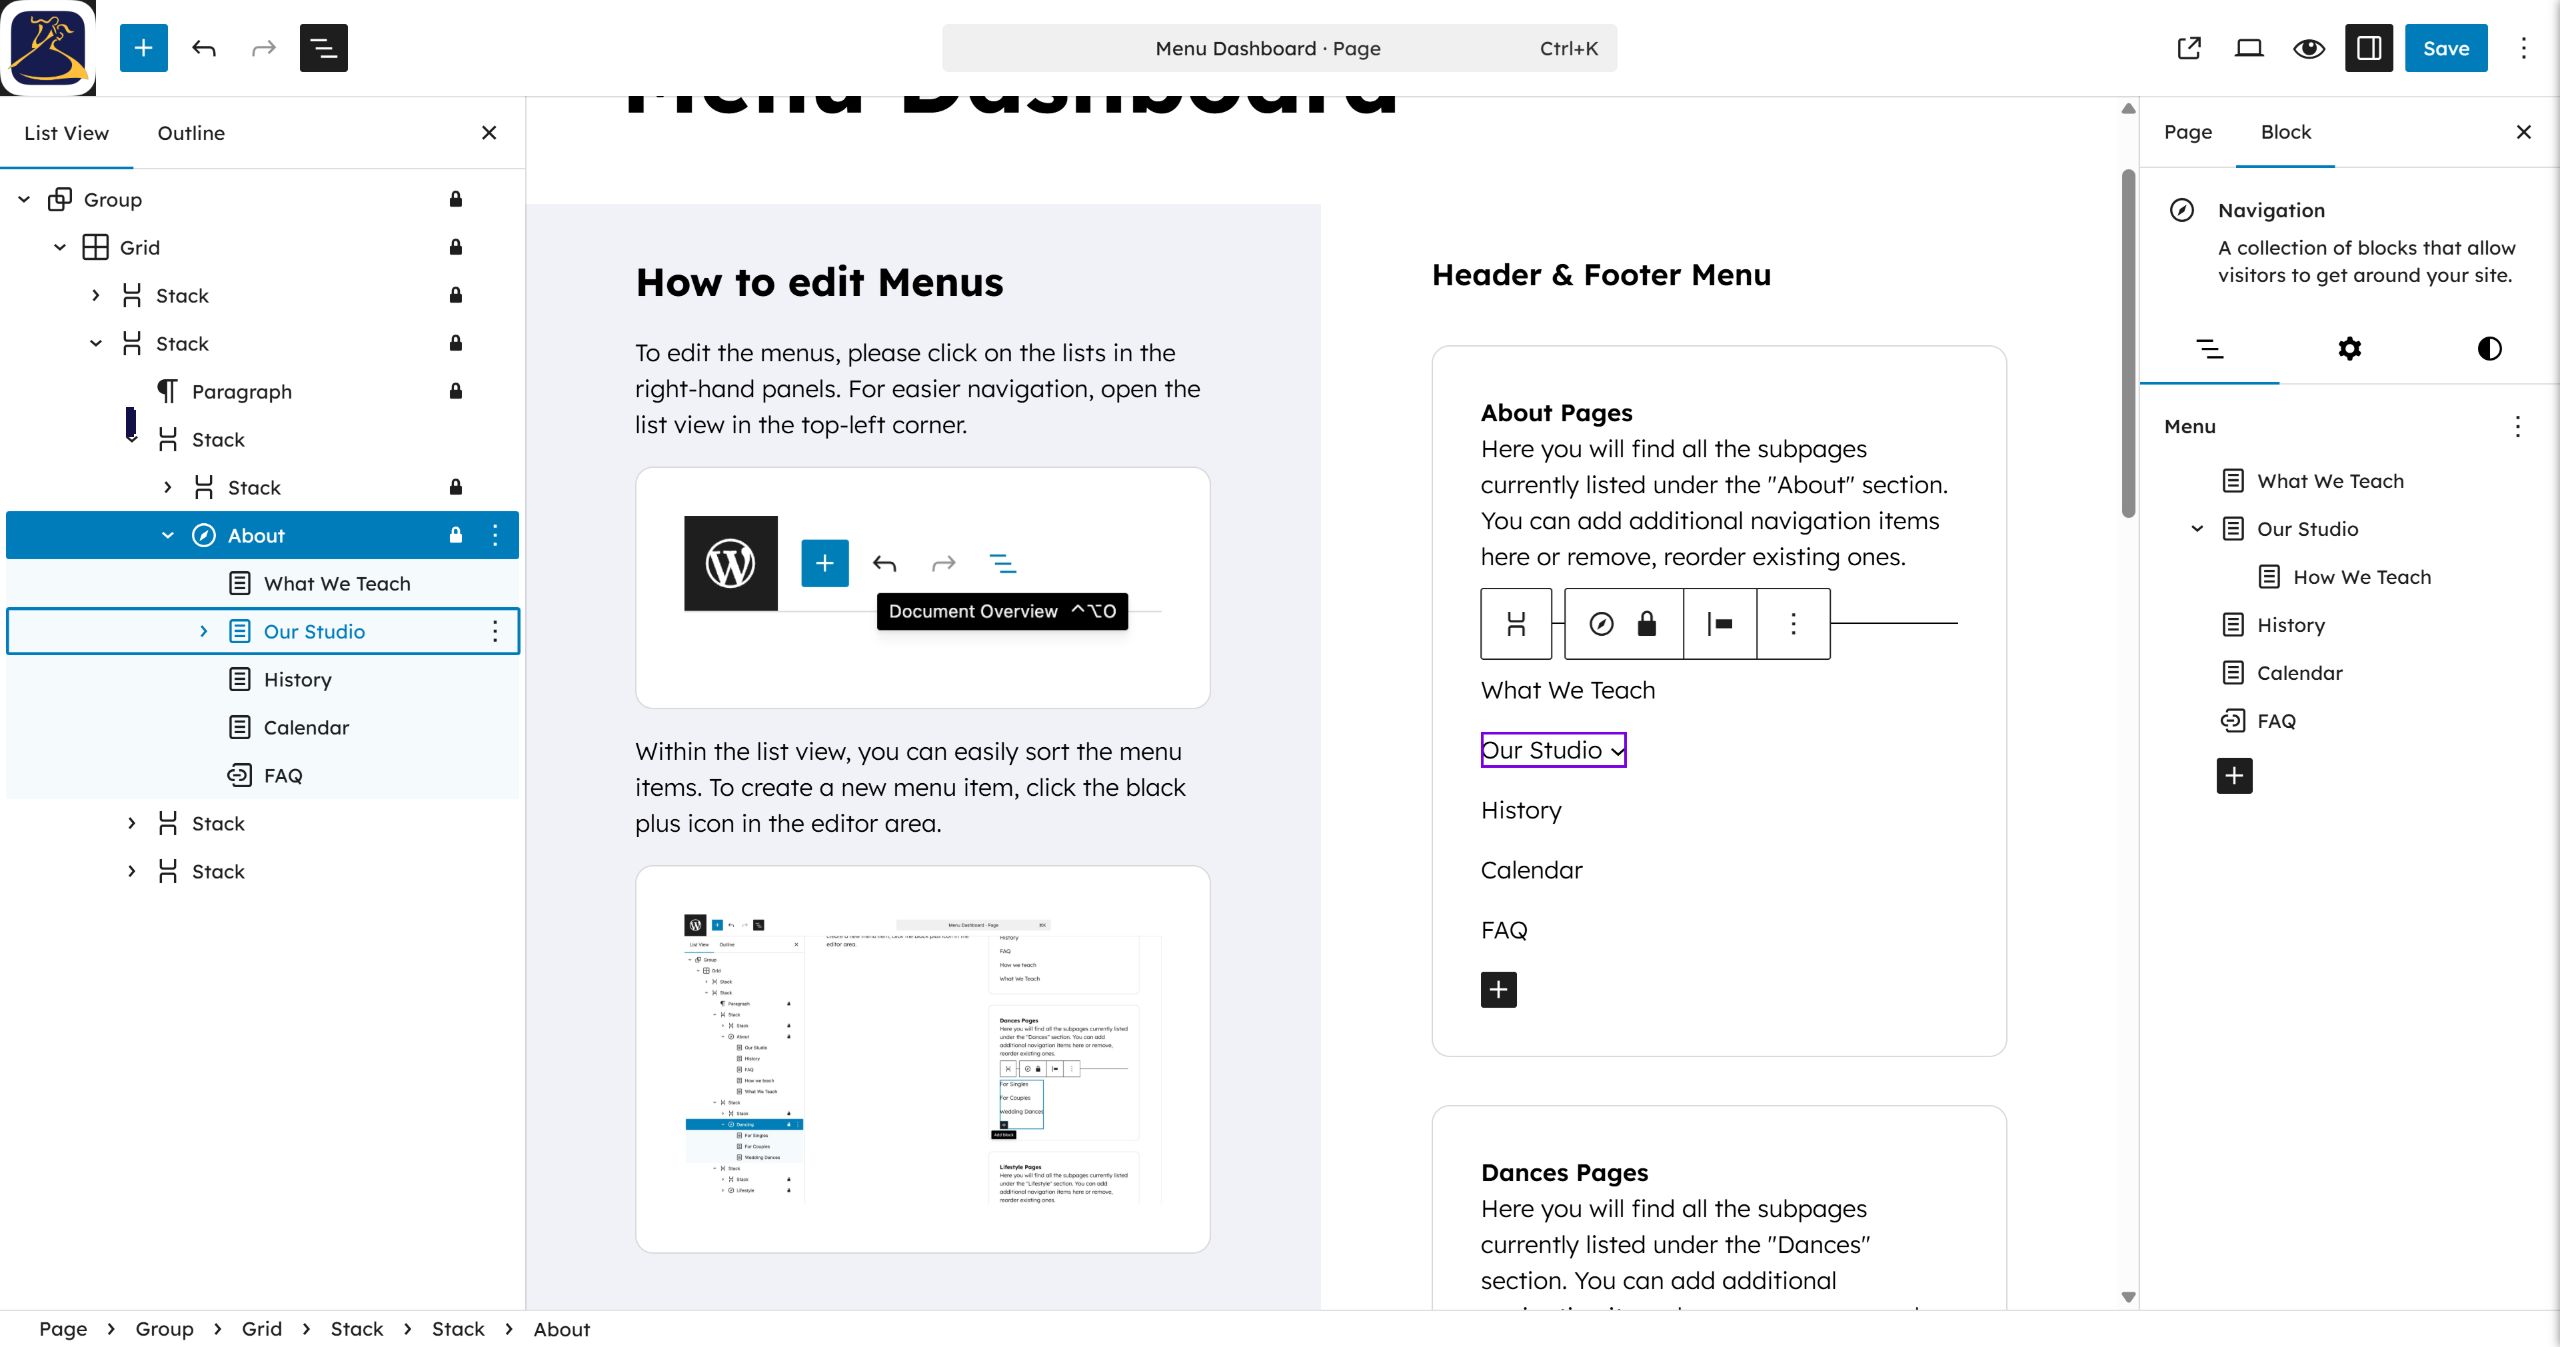
Step 7: Select How We Teach in the list view to change your focus. #
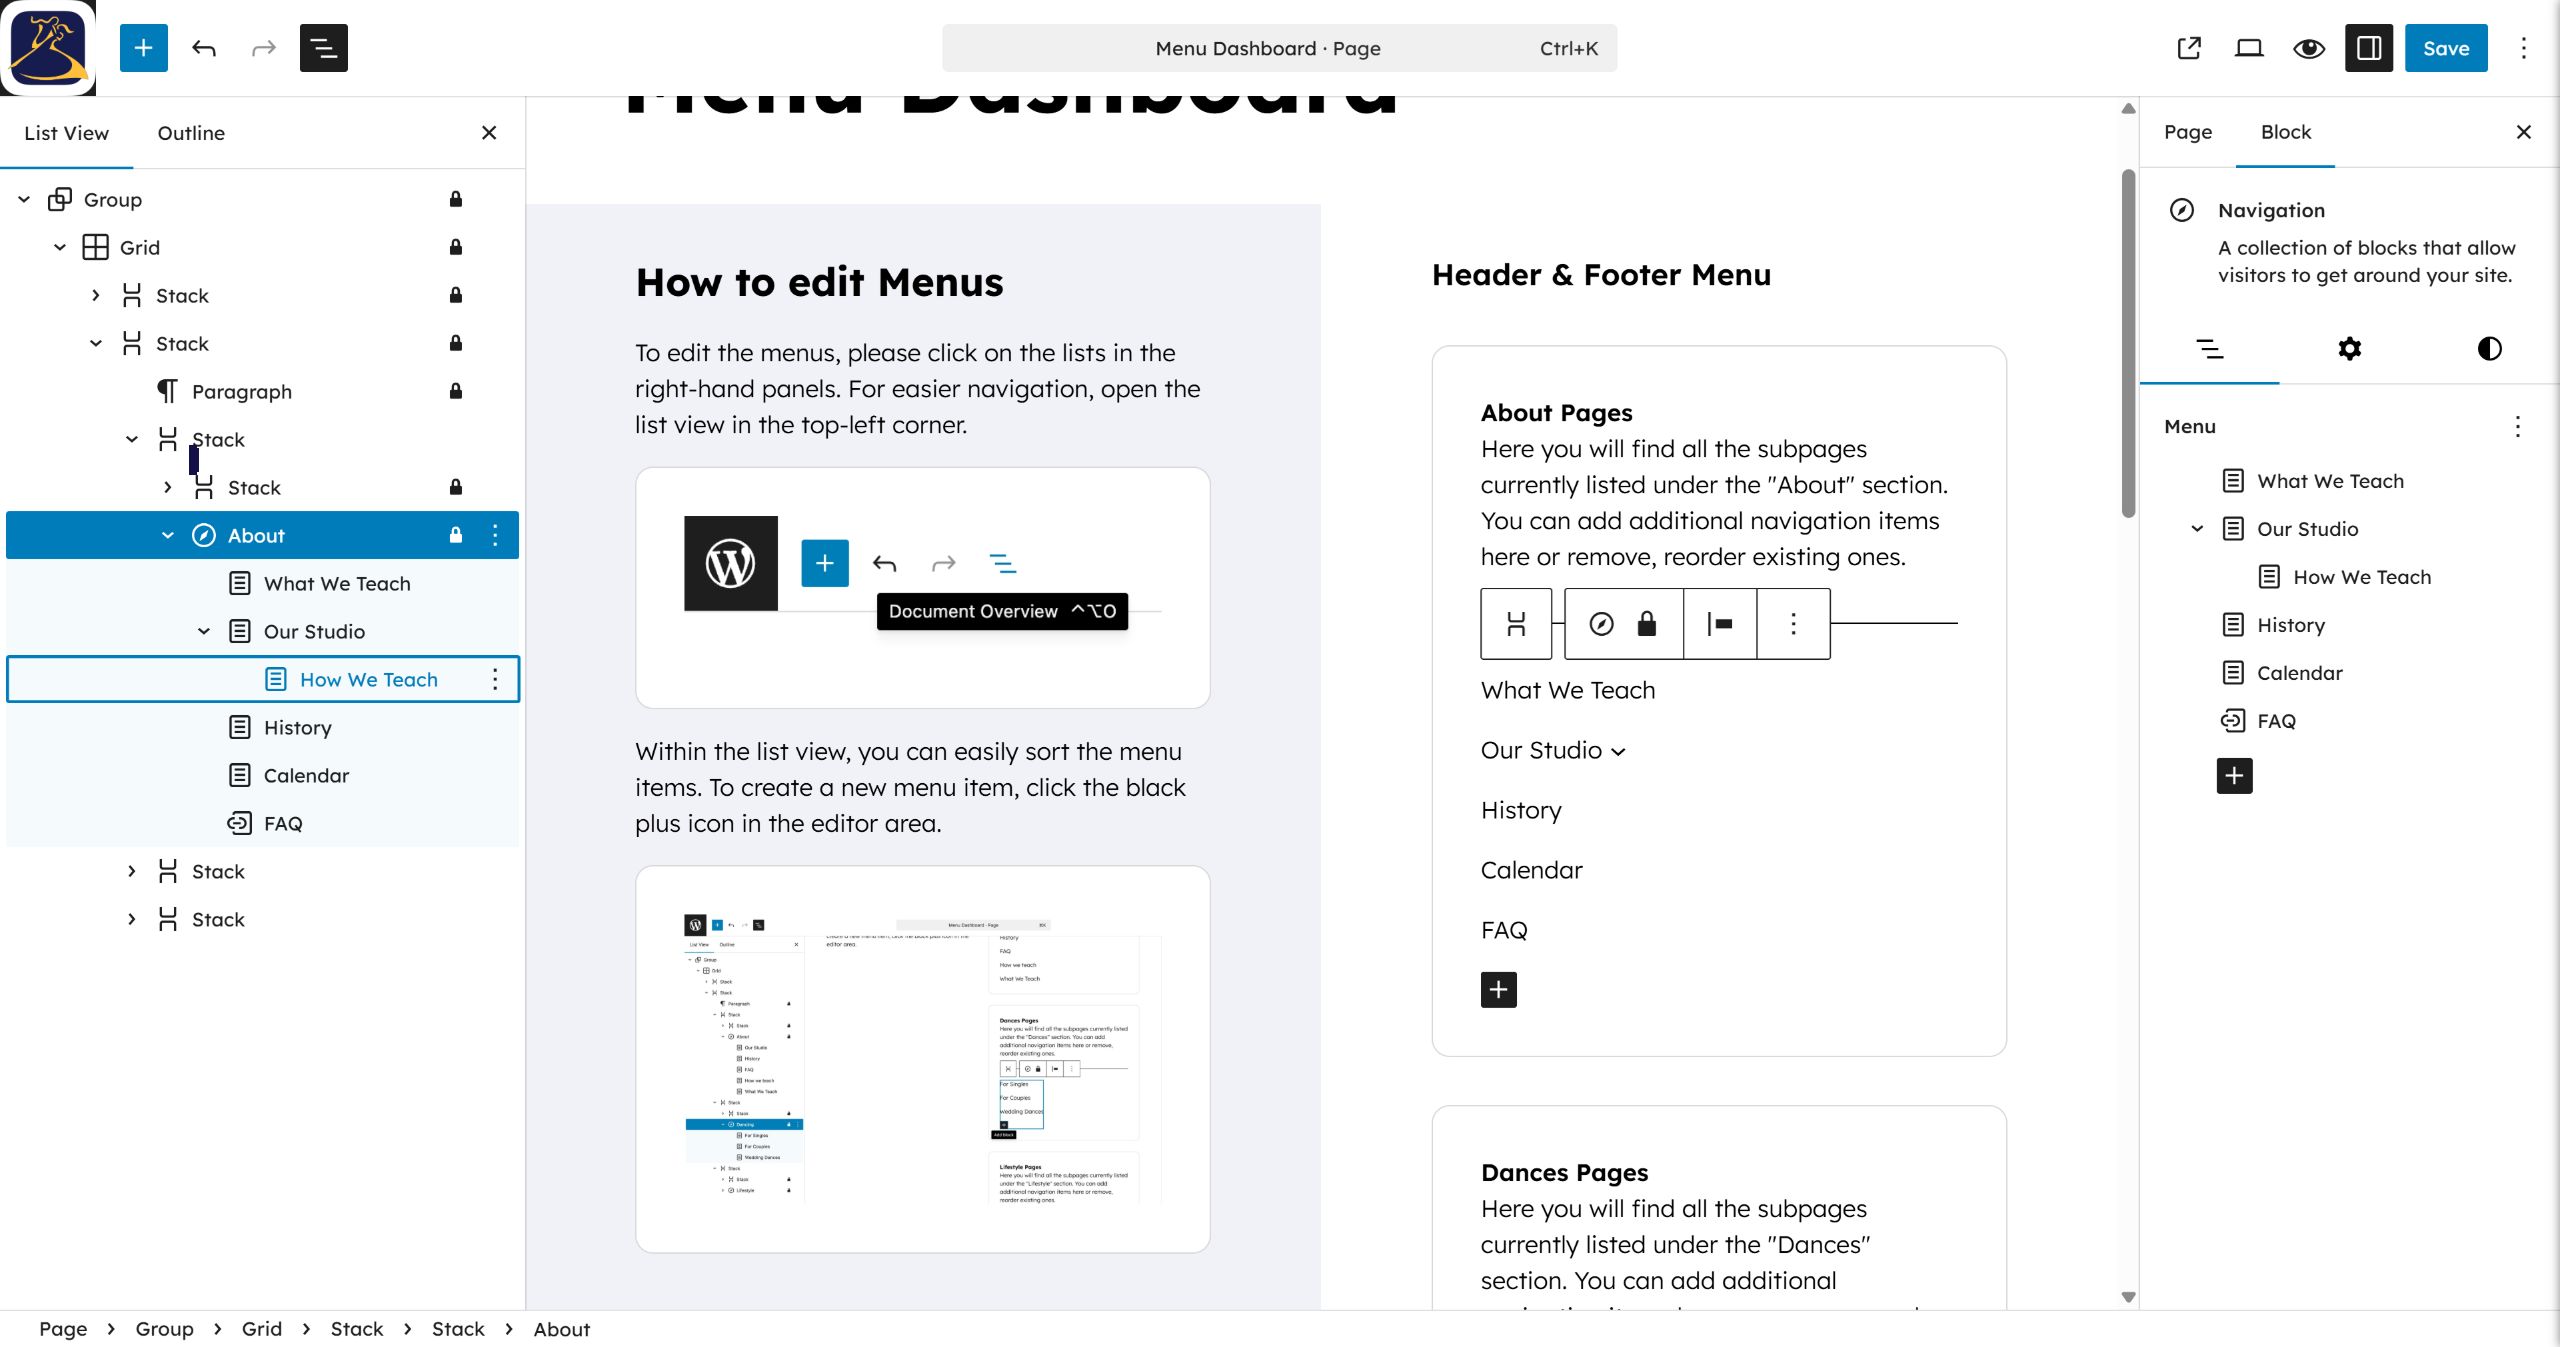
Step 8: Select the History item in the list view to edit its properties. #
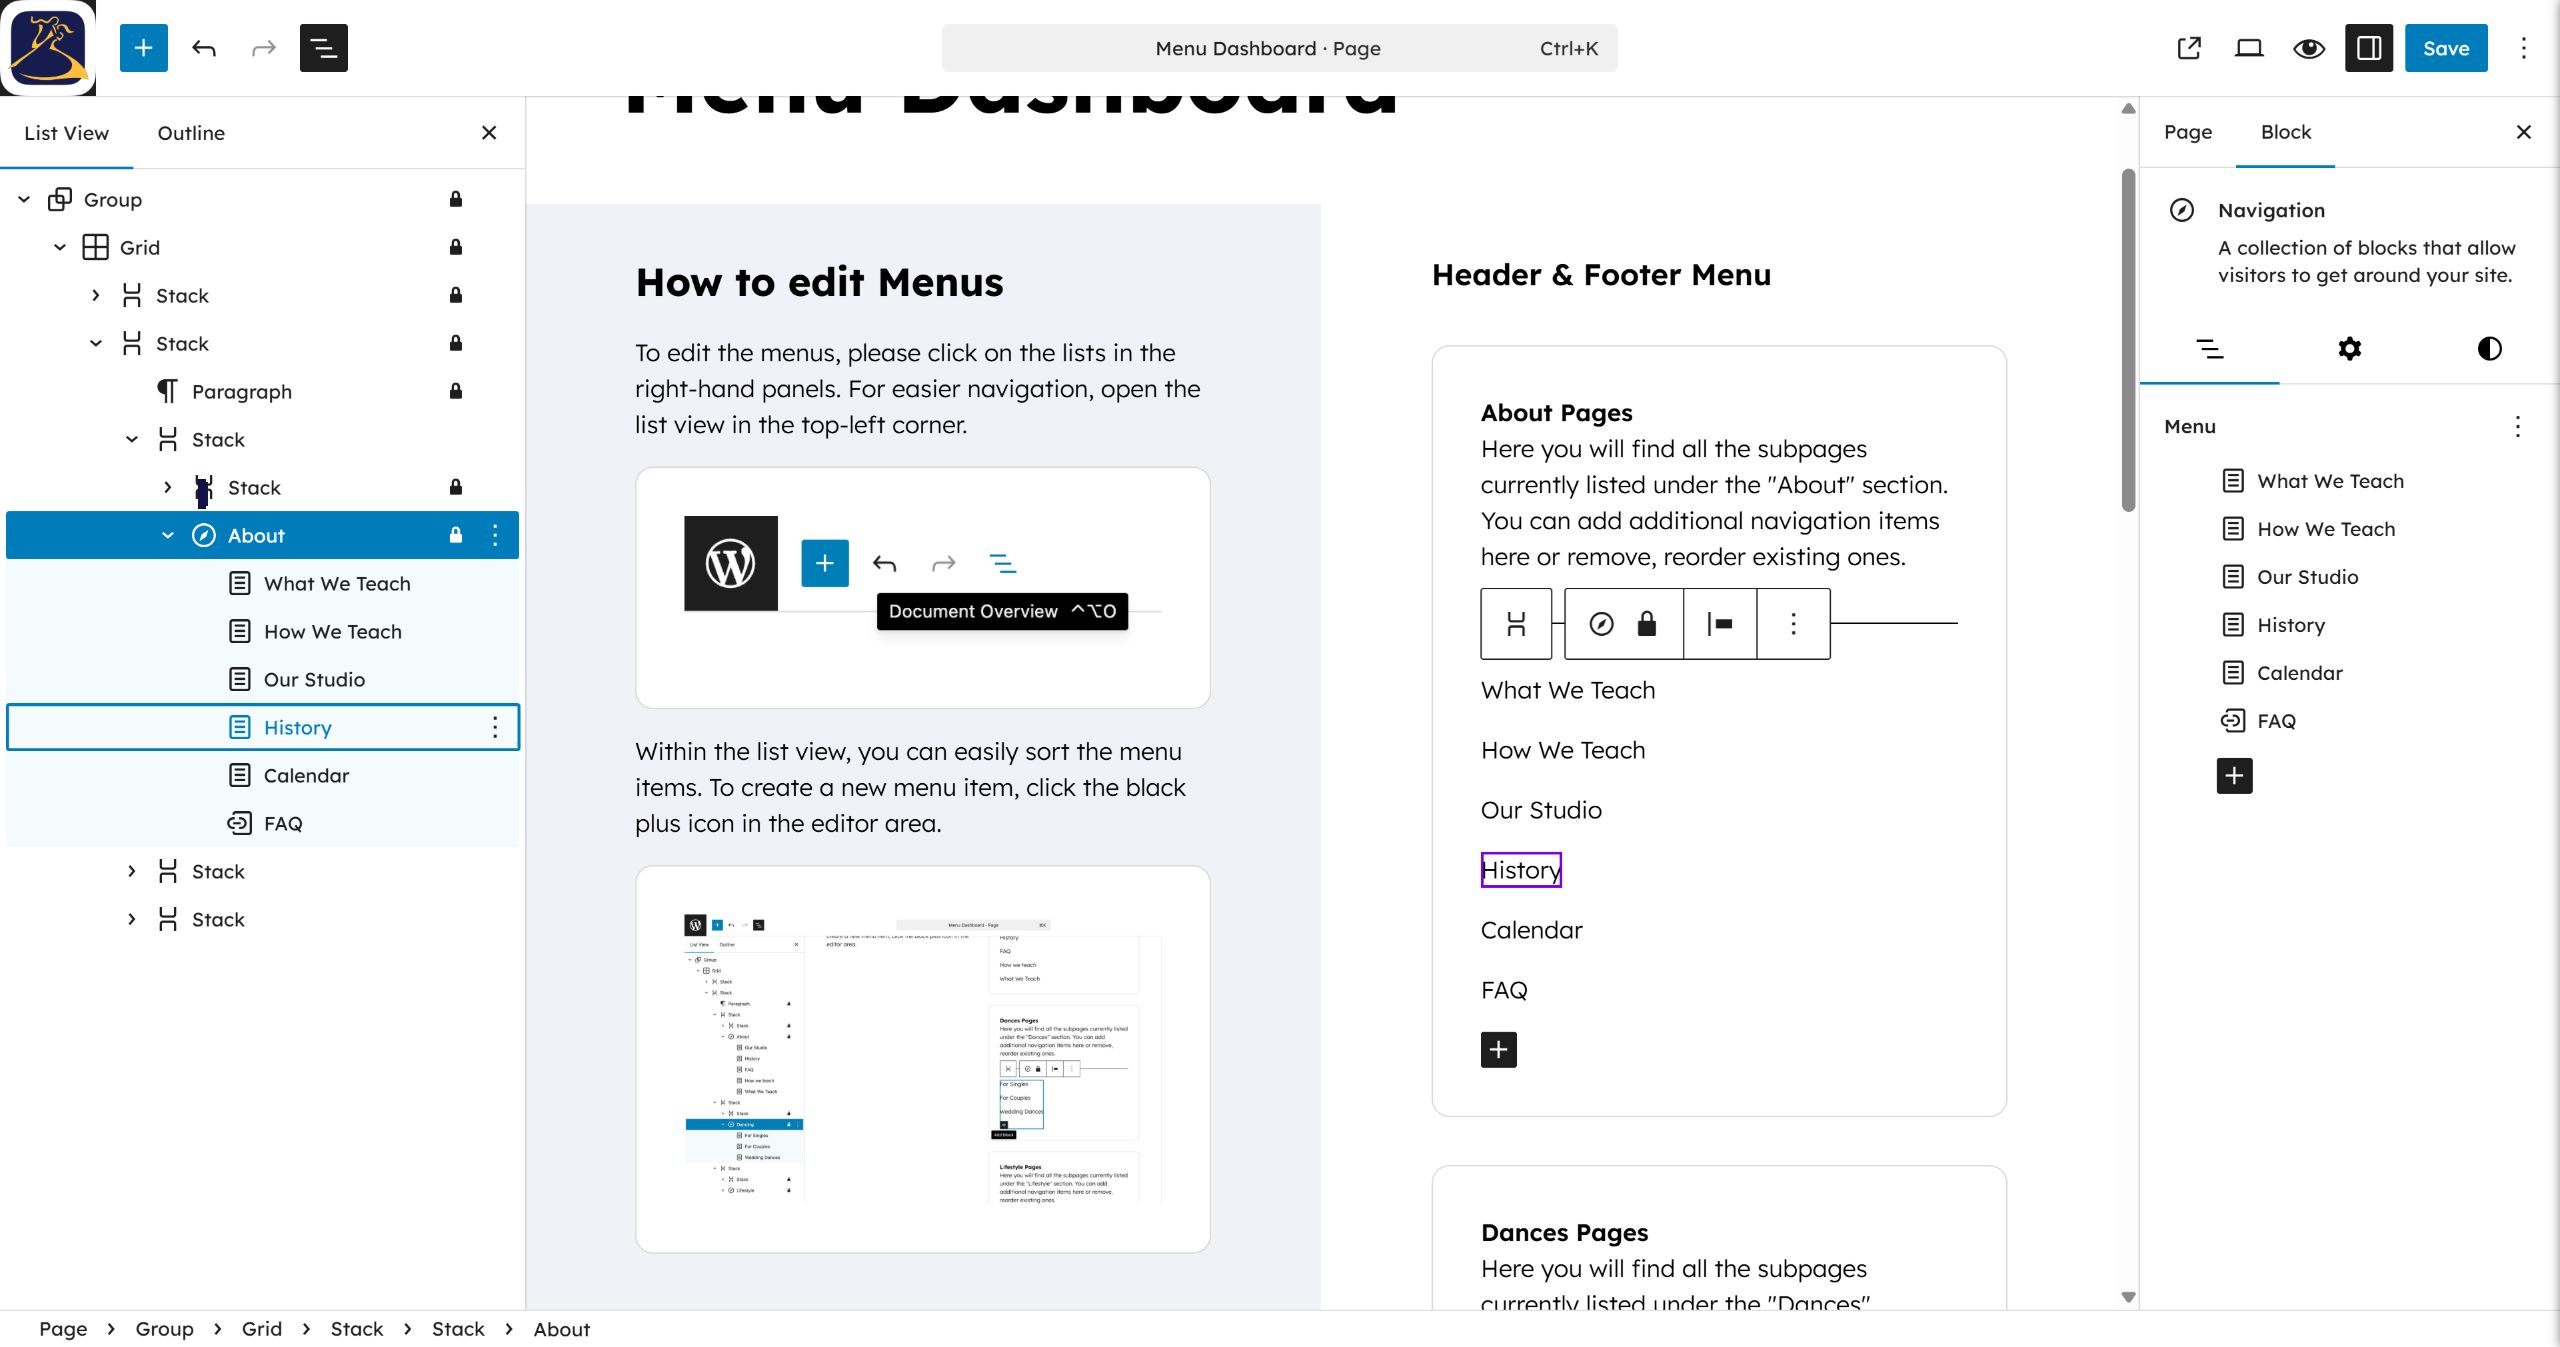
Step 9: Click the Calendar item in the left panel to view its settings. #
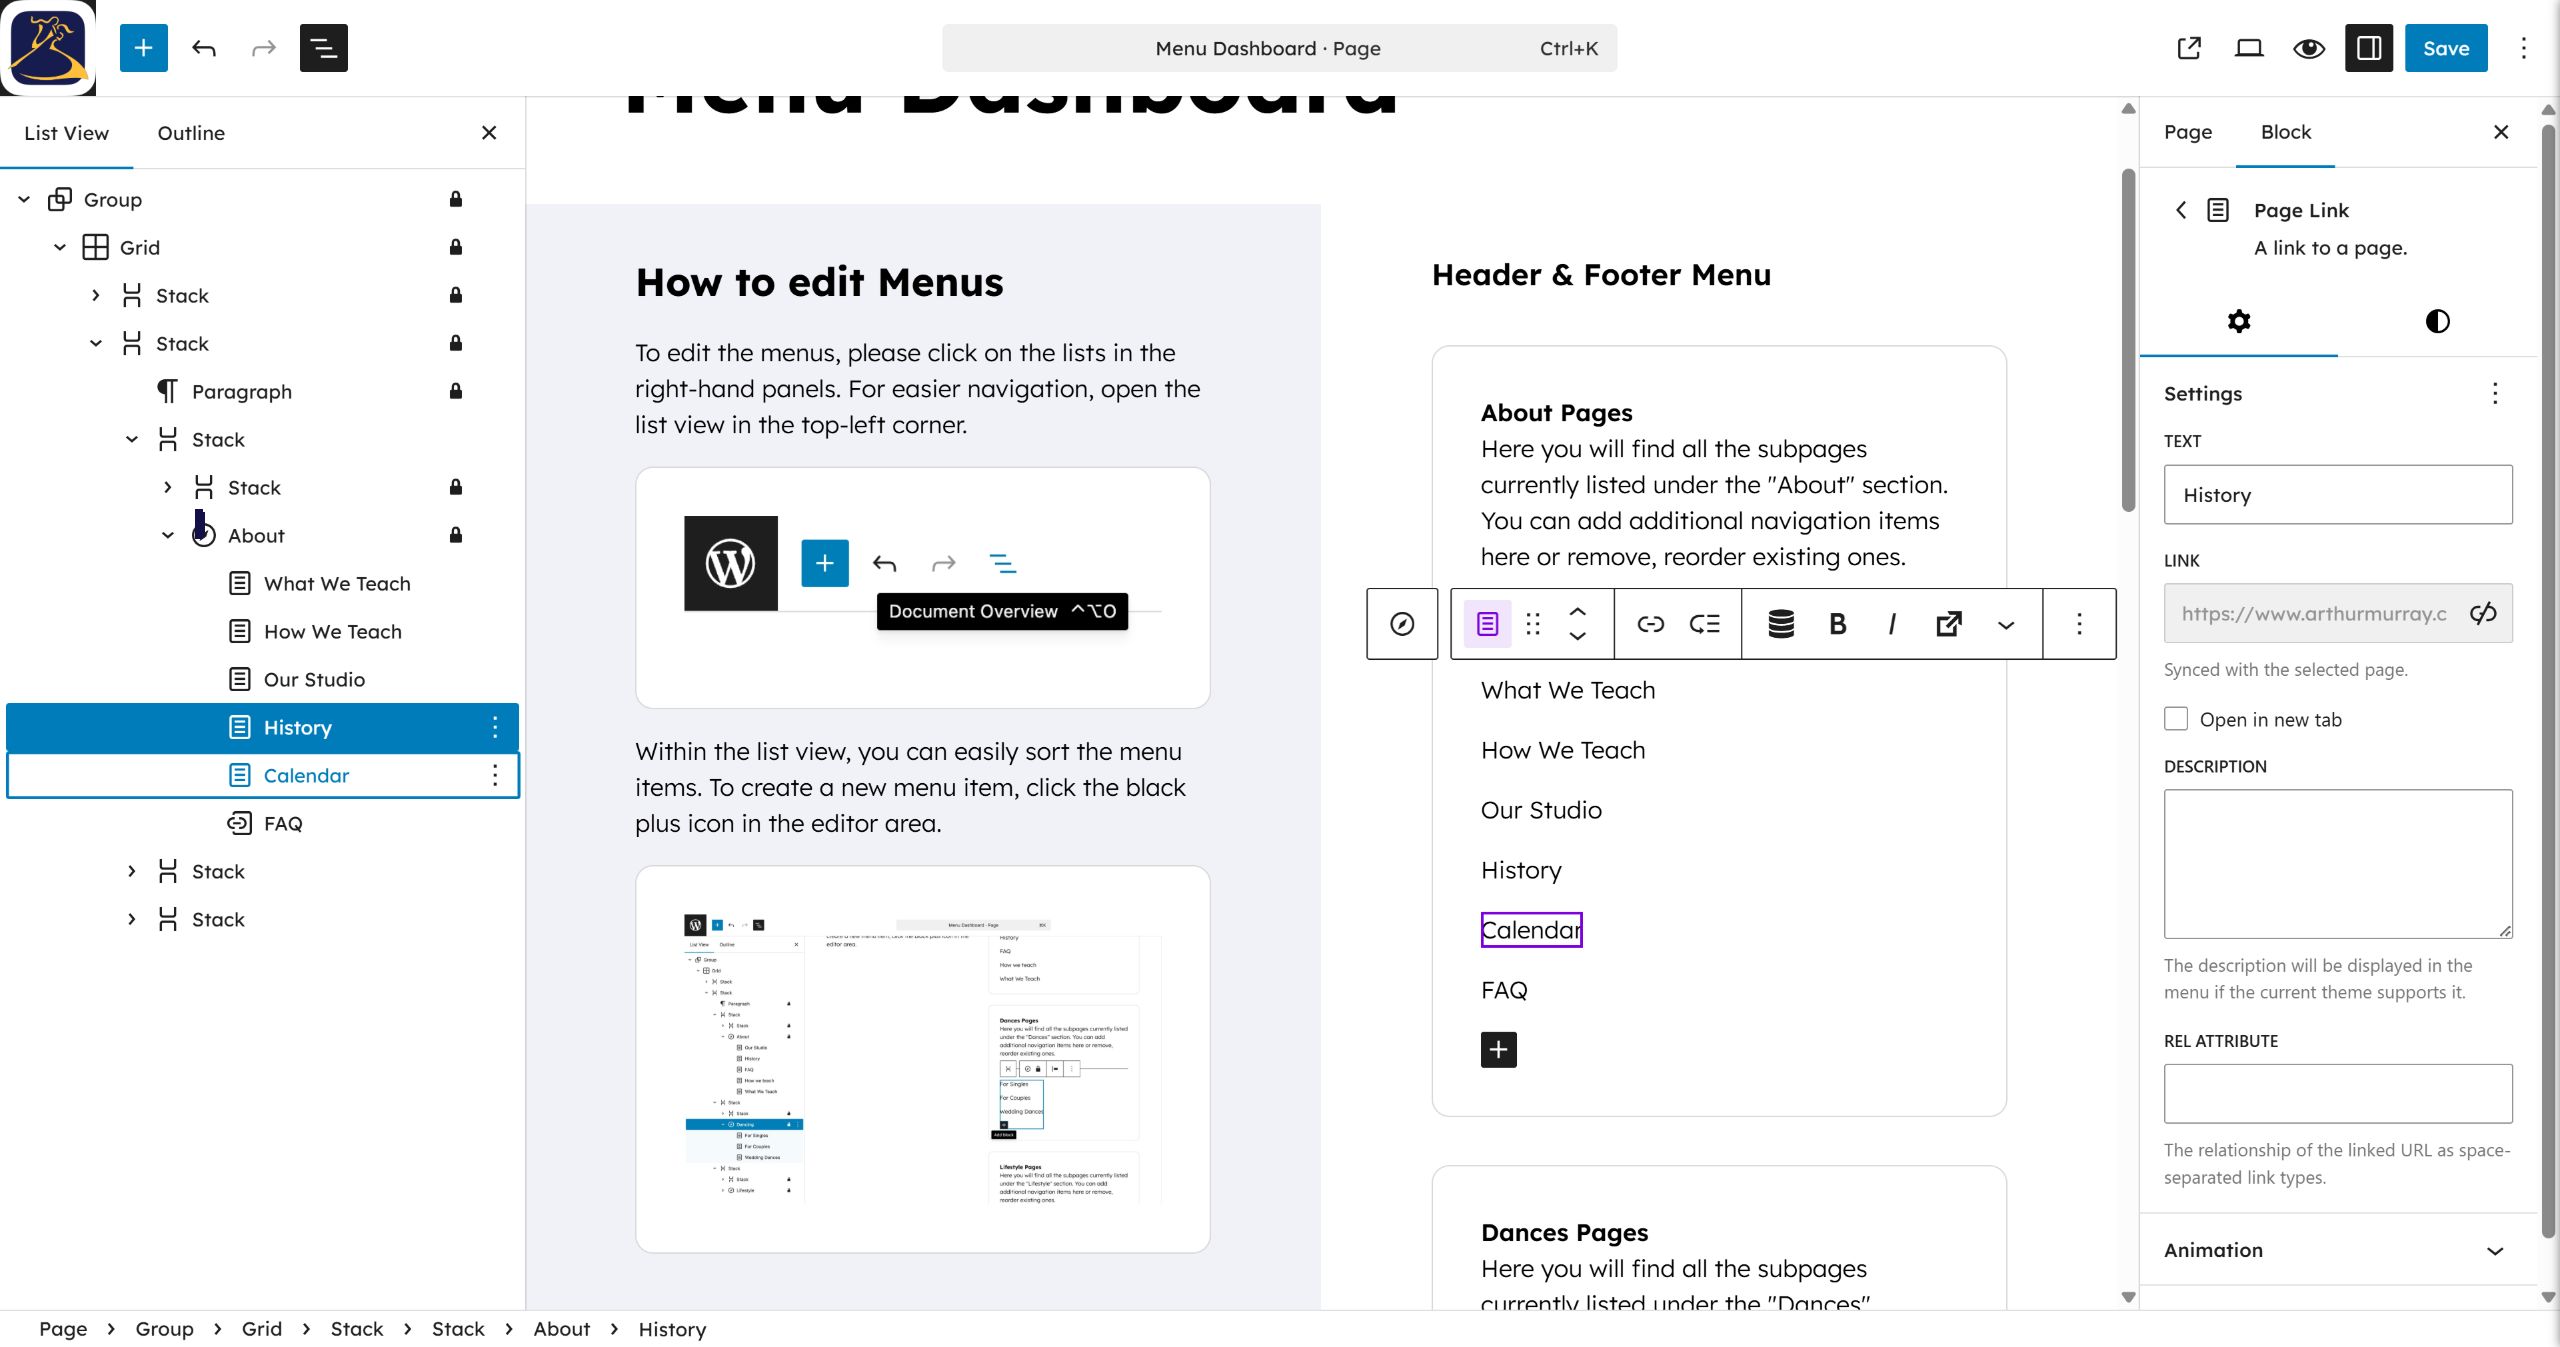
Step 10: Select the Calendar link in the list view to open configuration options. #
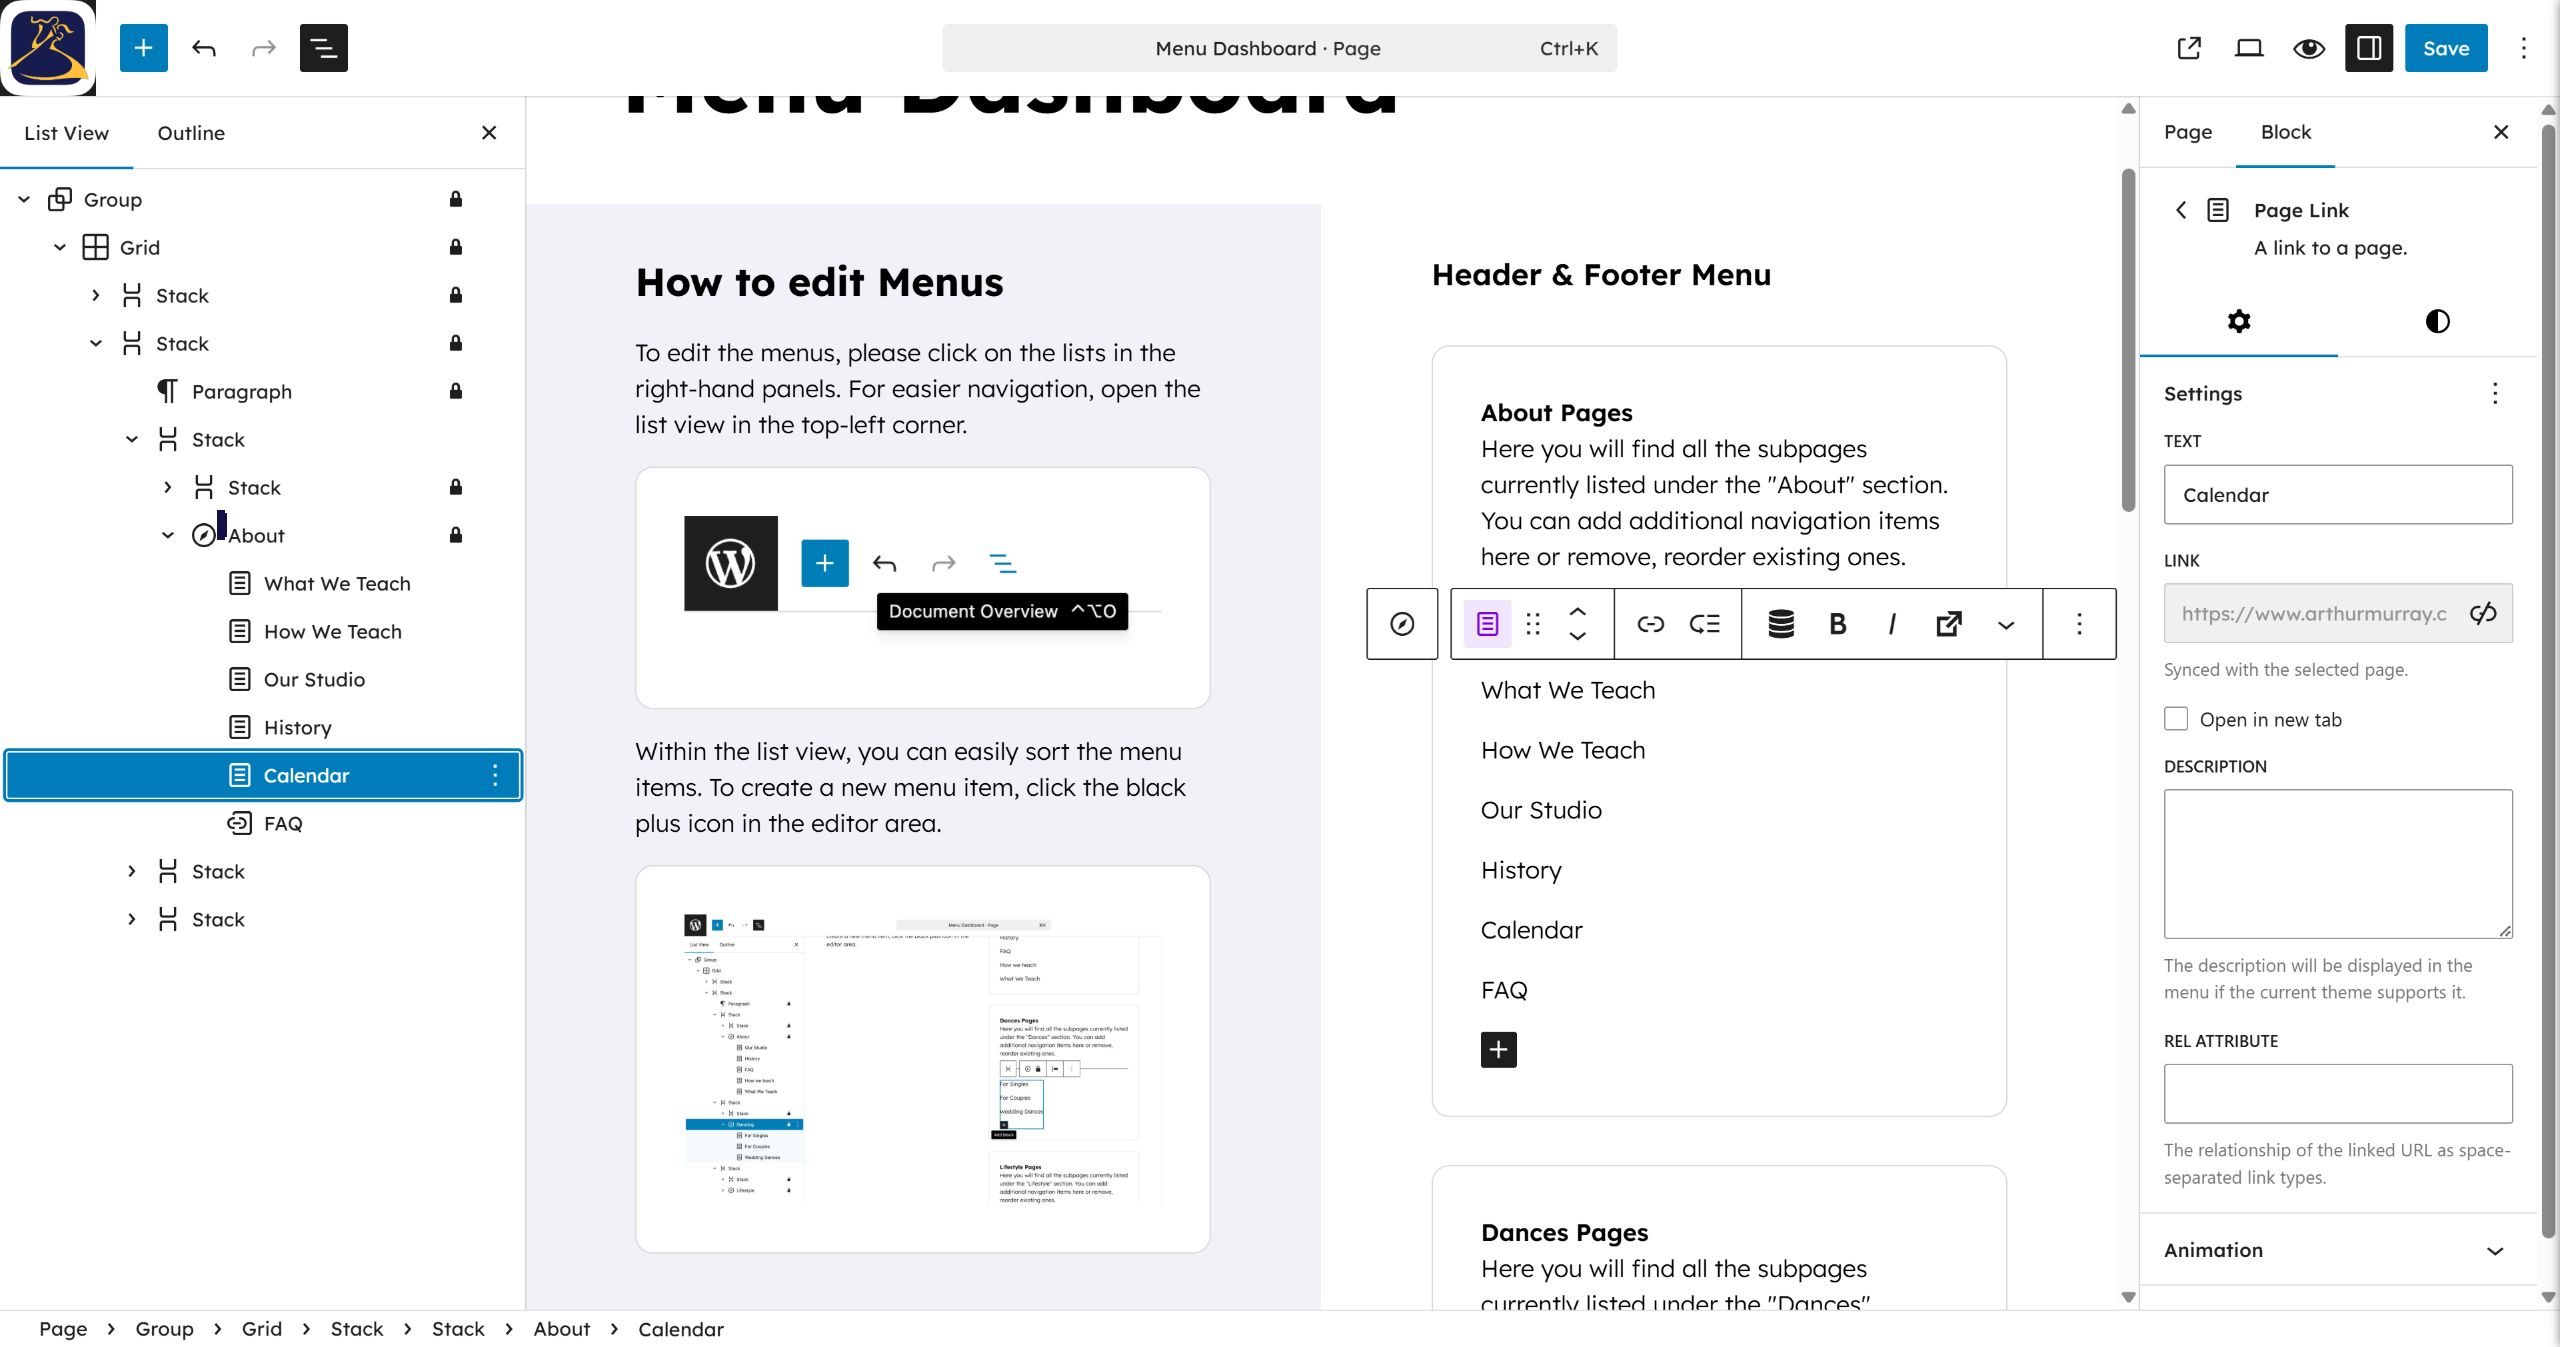
Step 11: Click the Options icon in the block toolbar to reveal additional actions. #
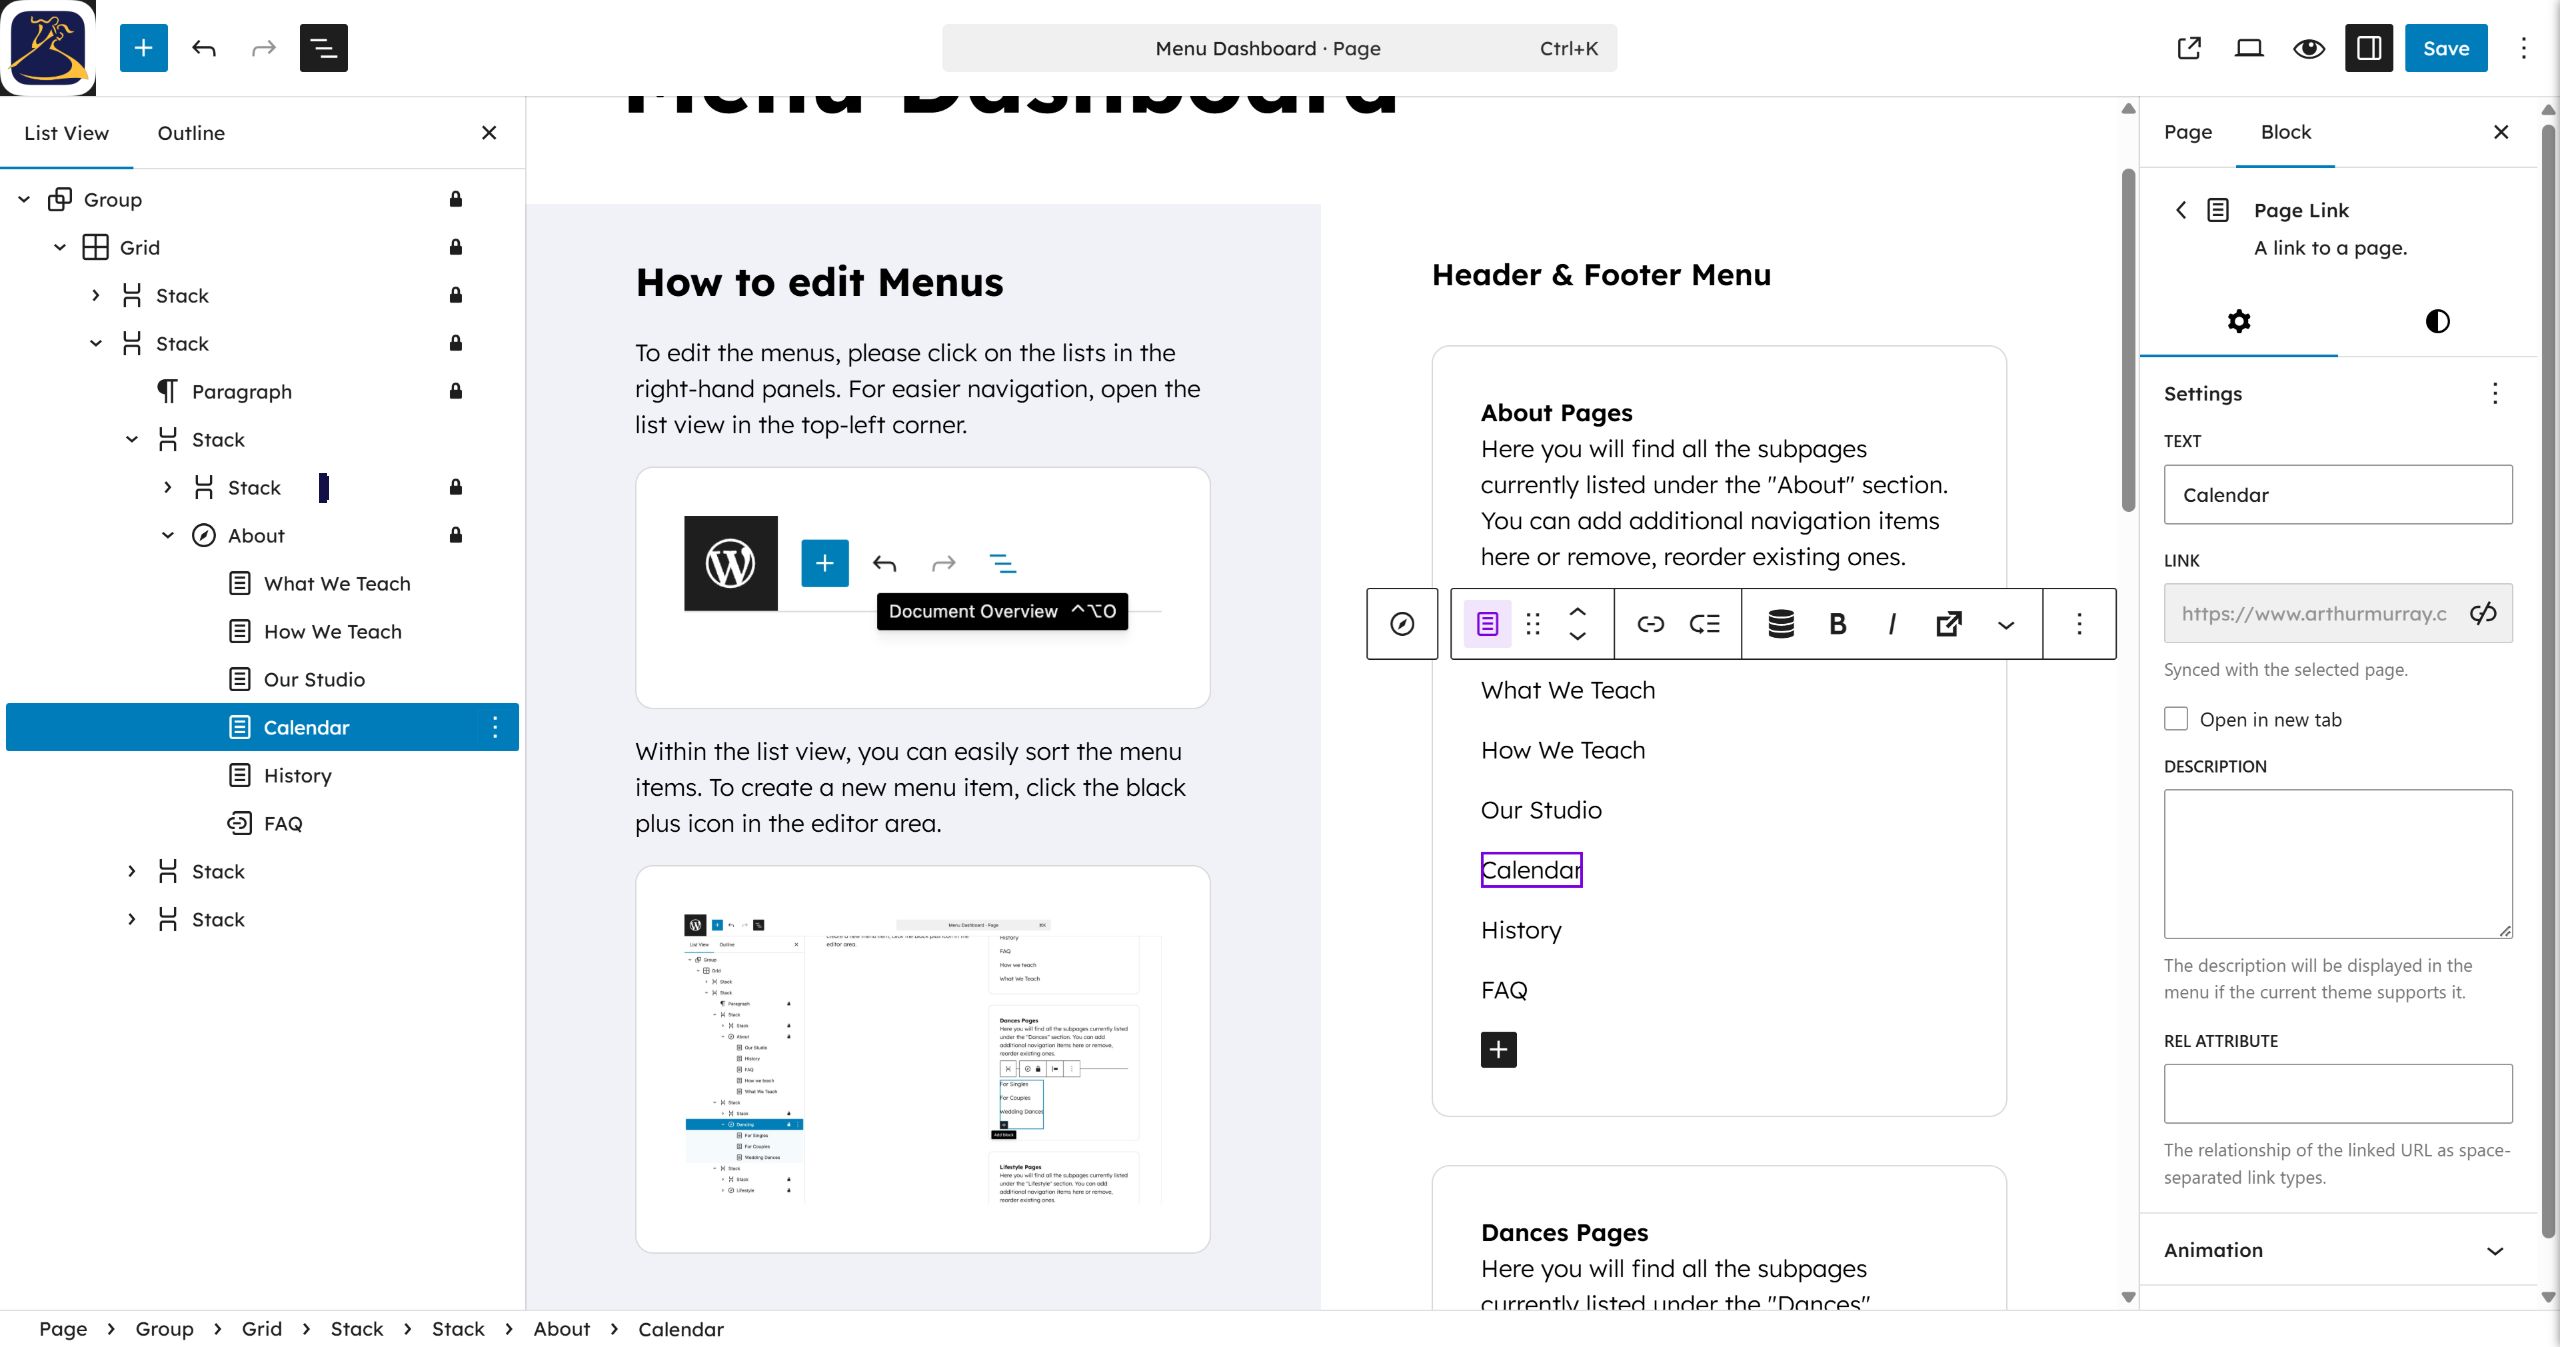
Step 12: Select Duplicate from the menu to create a copy of this link. #
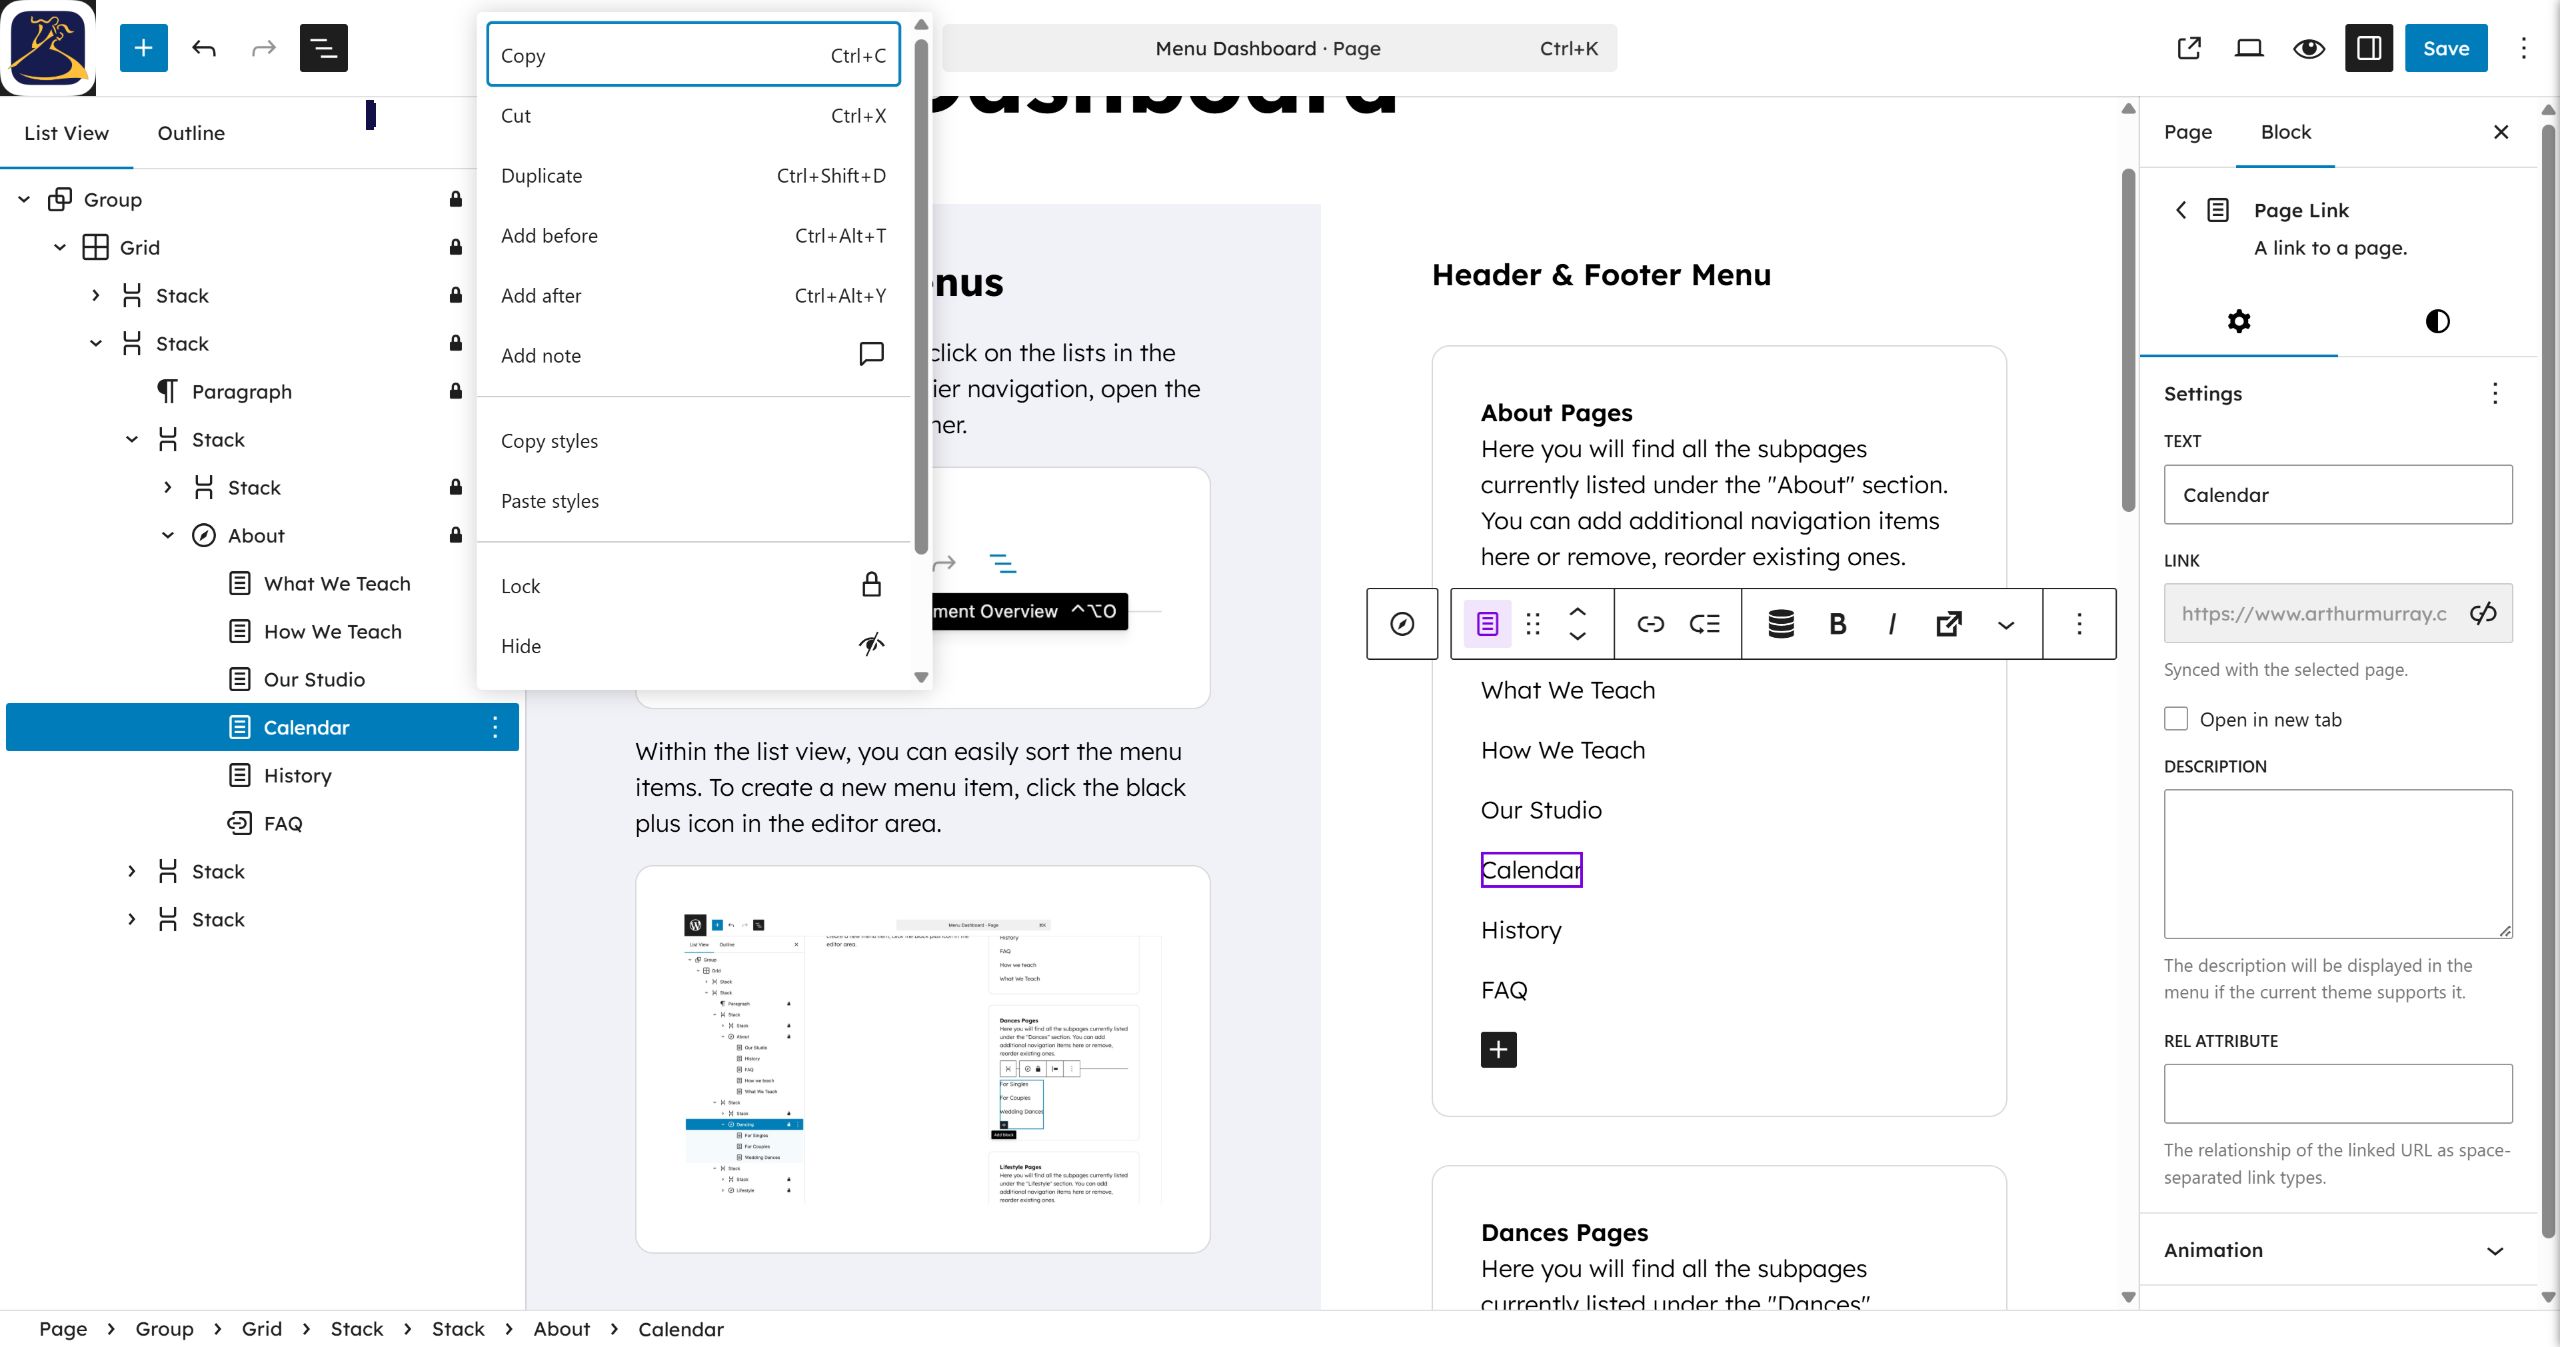
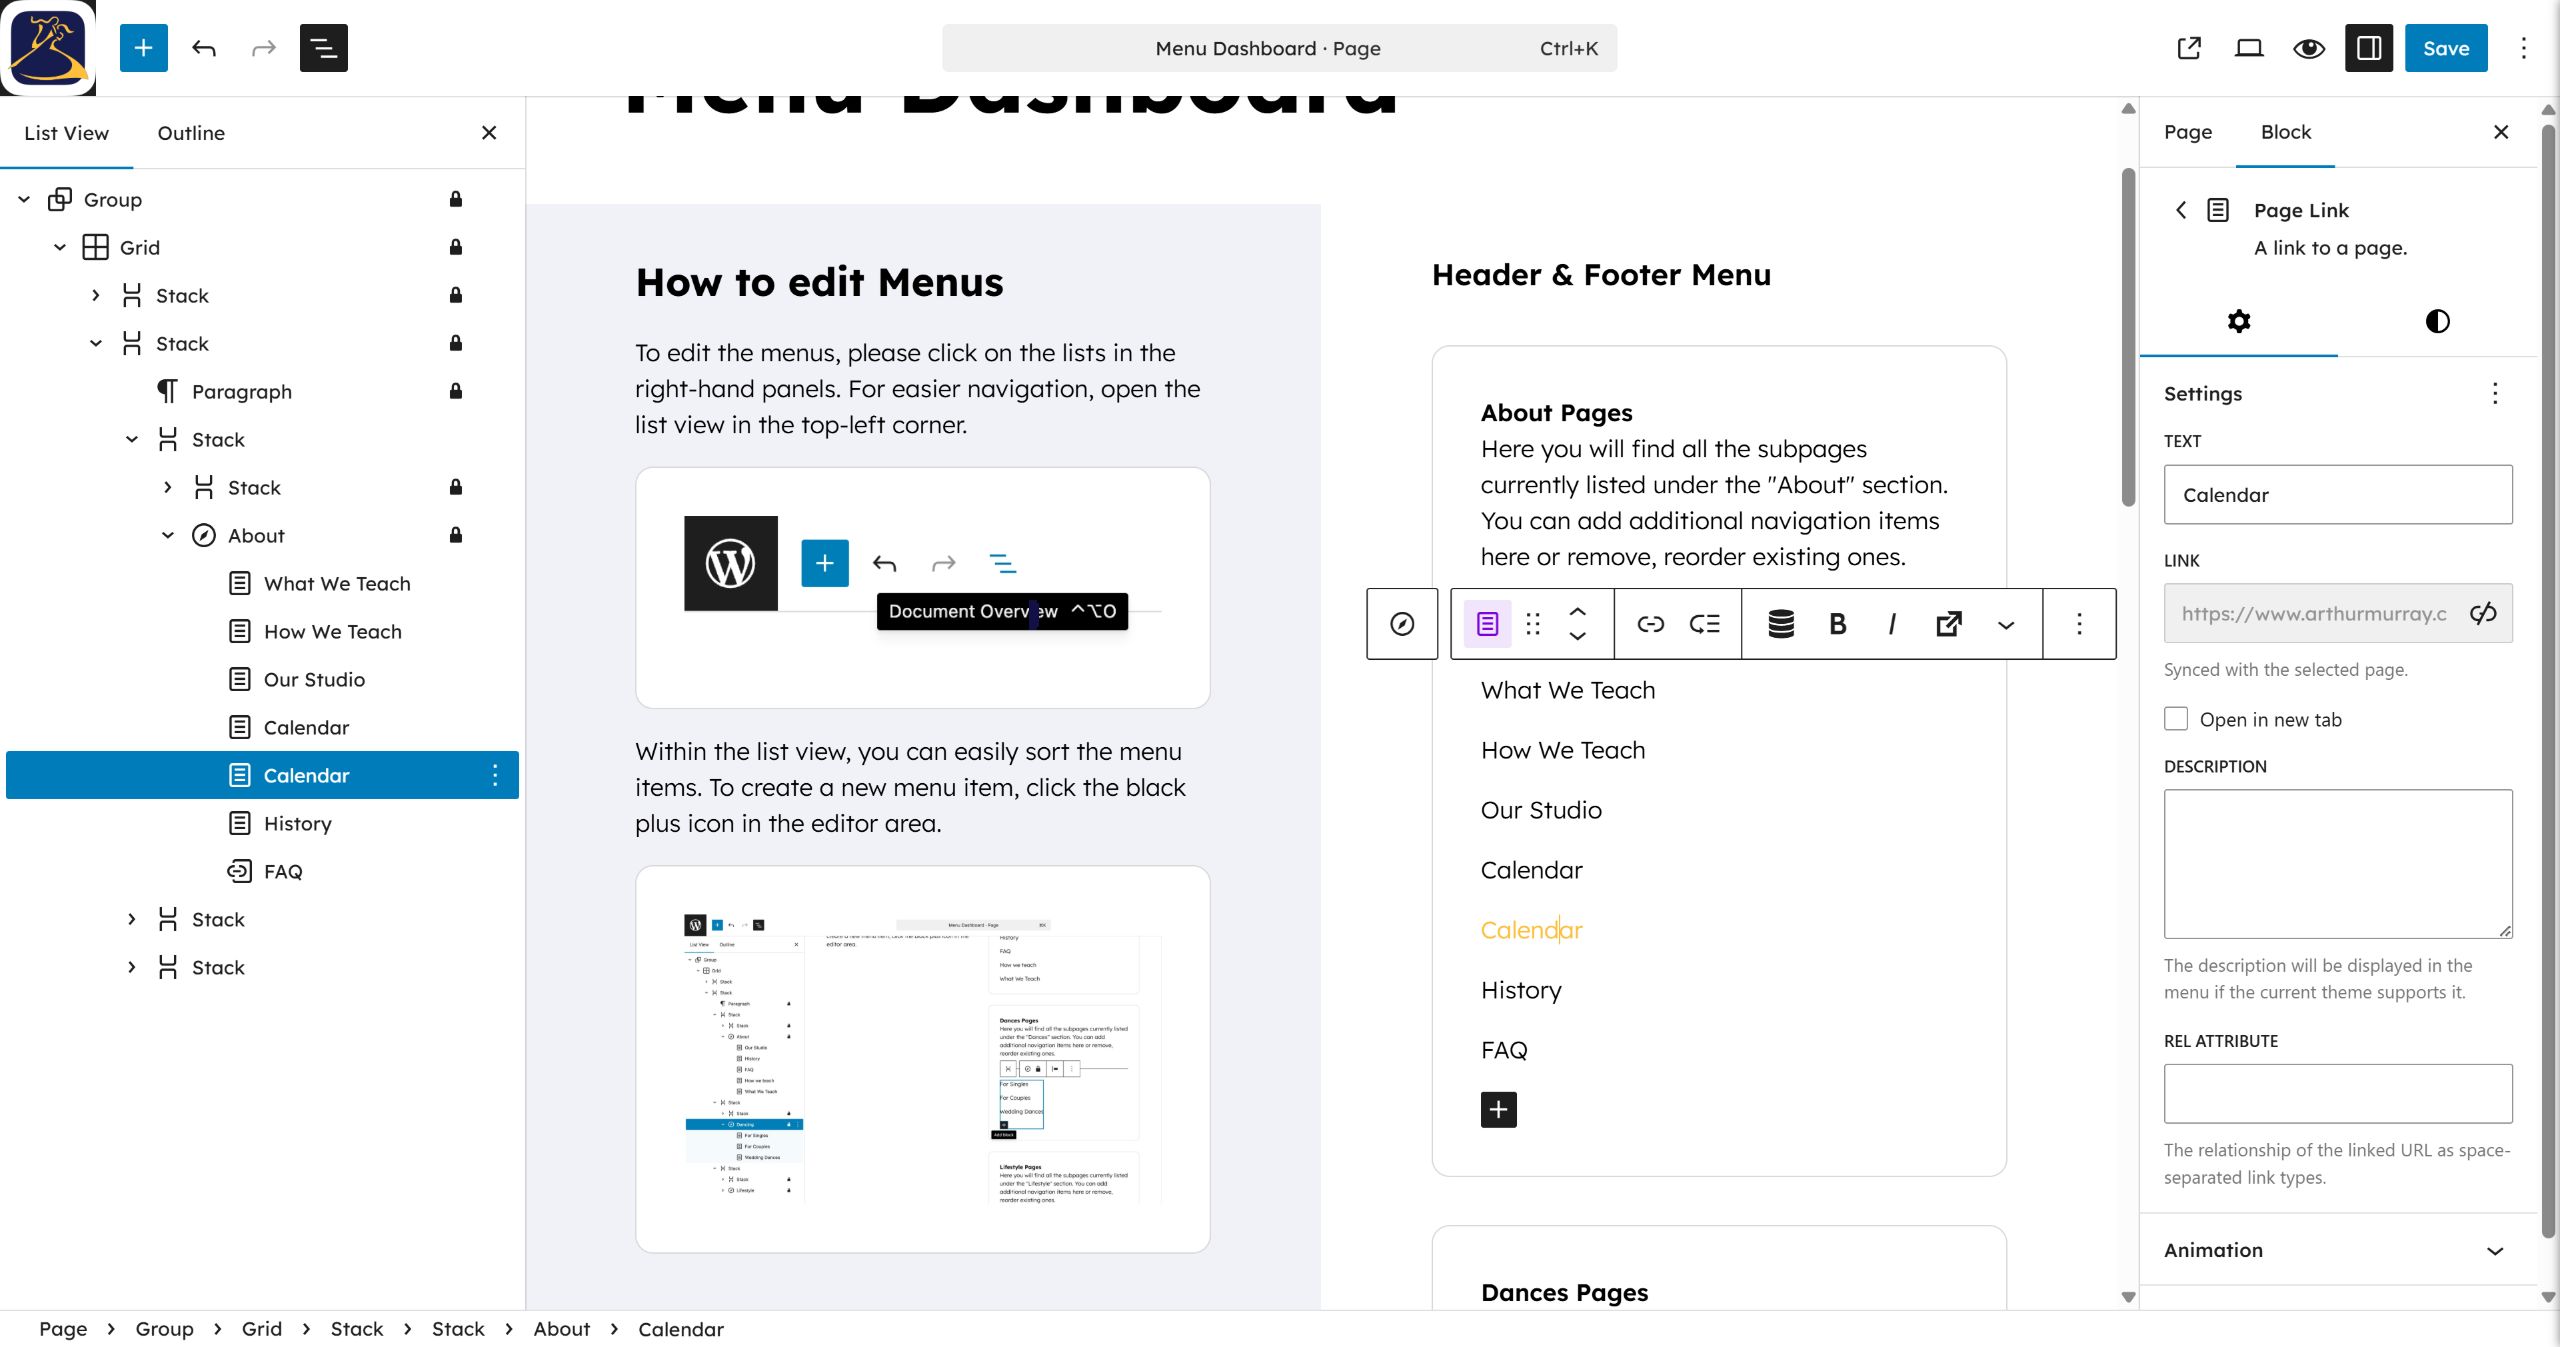
Step 13: Click the newly duplicated Calendar link text in the editor area. #
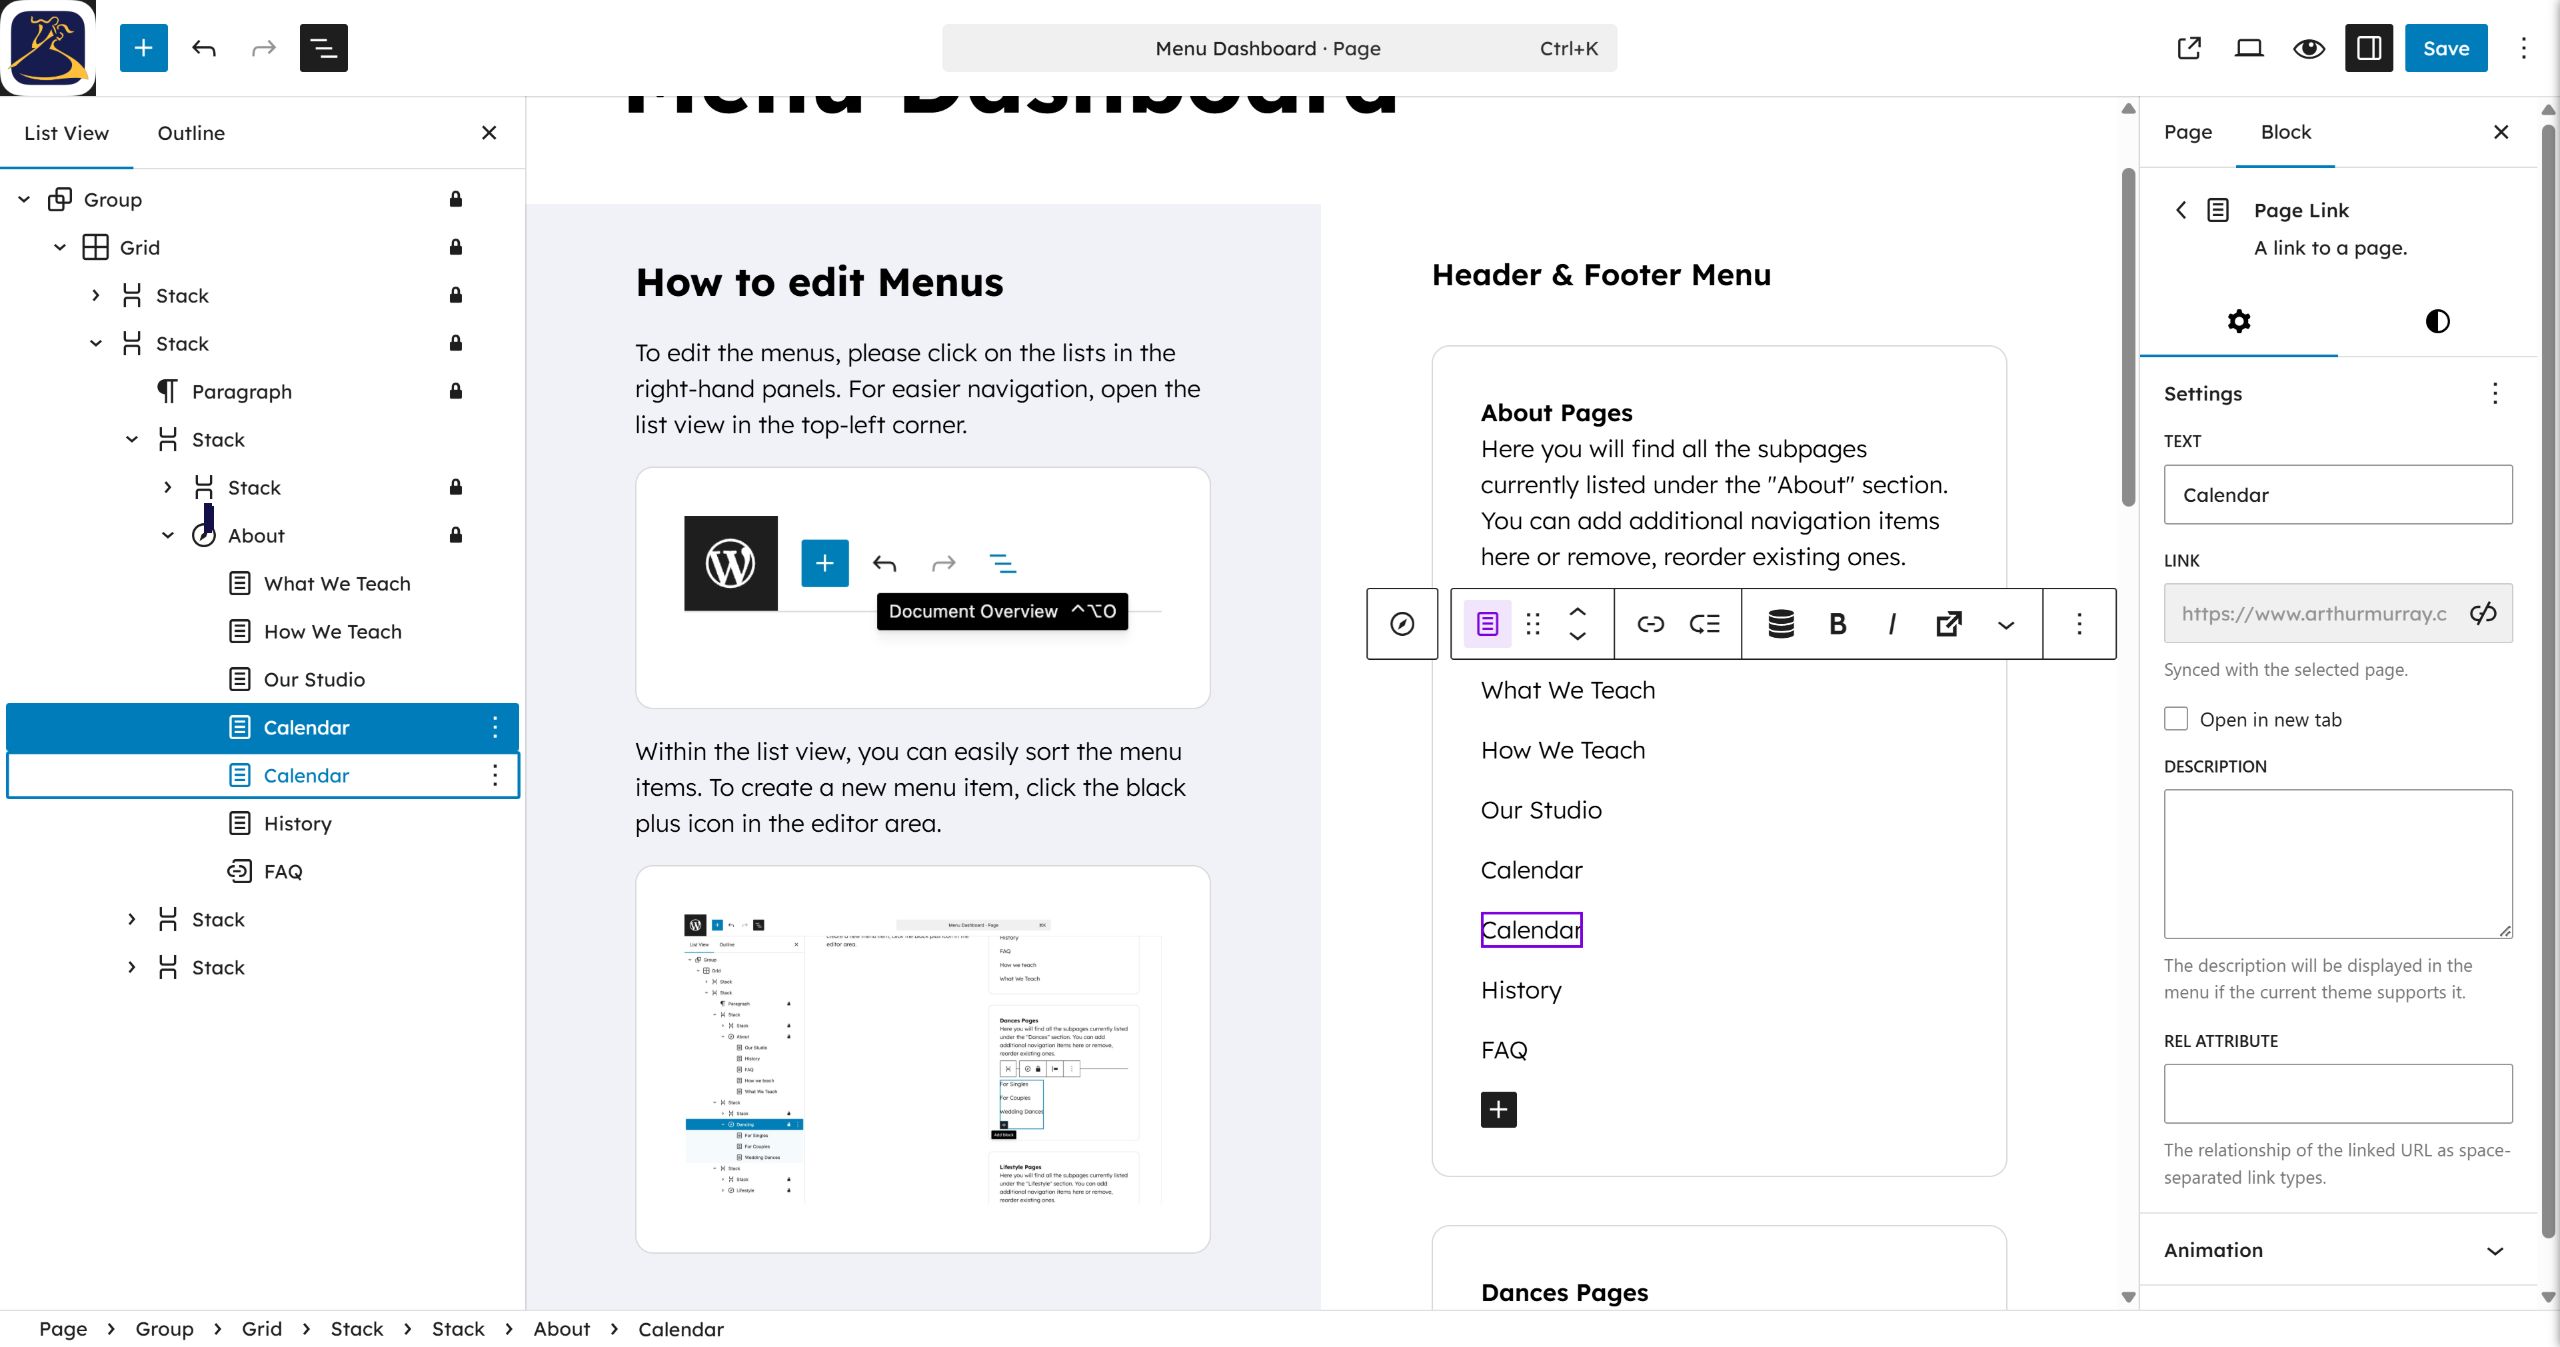
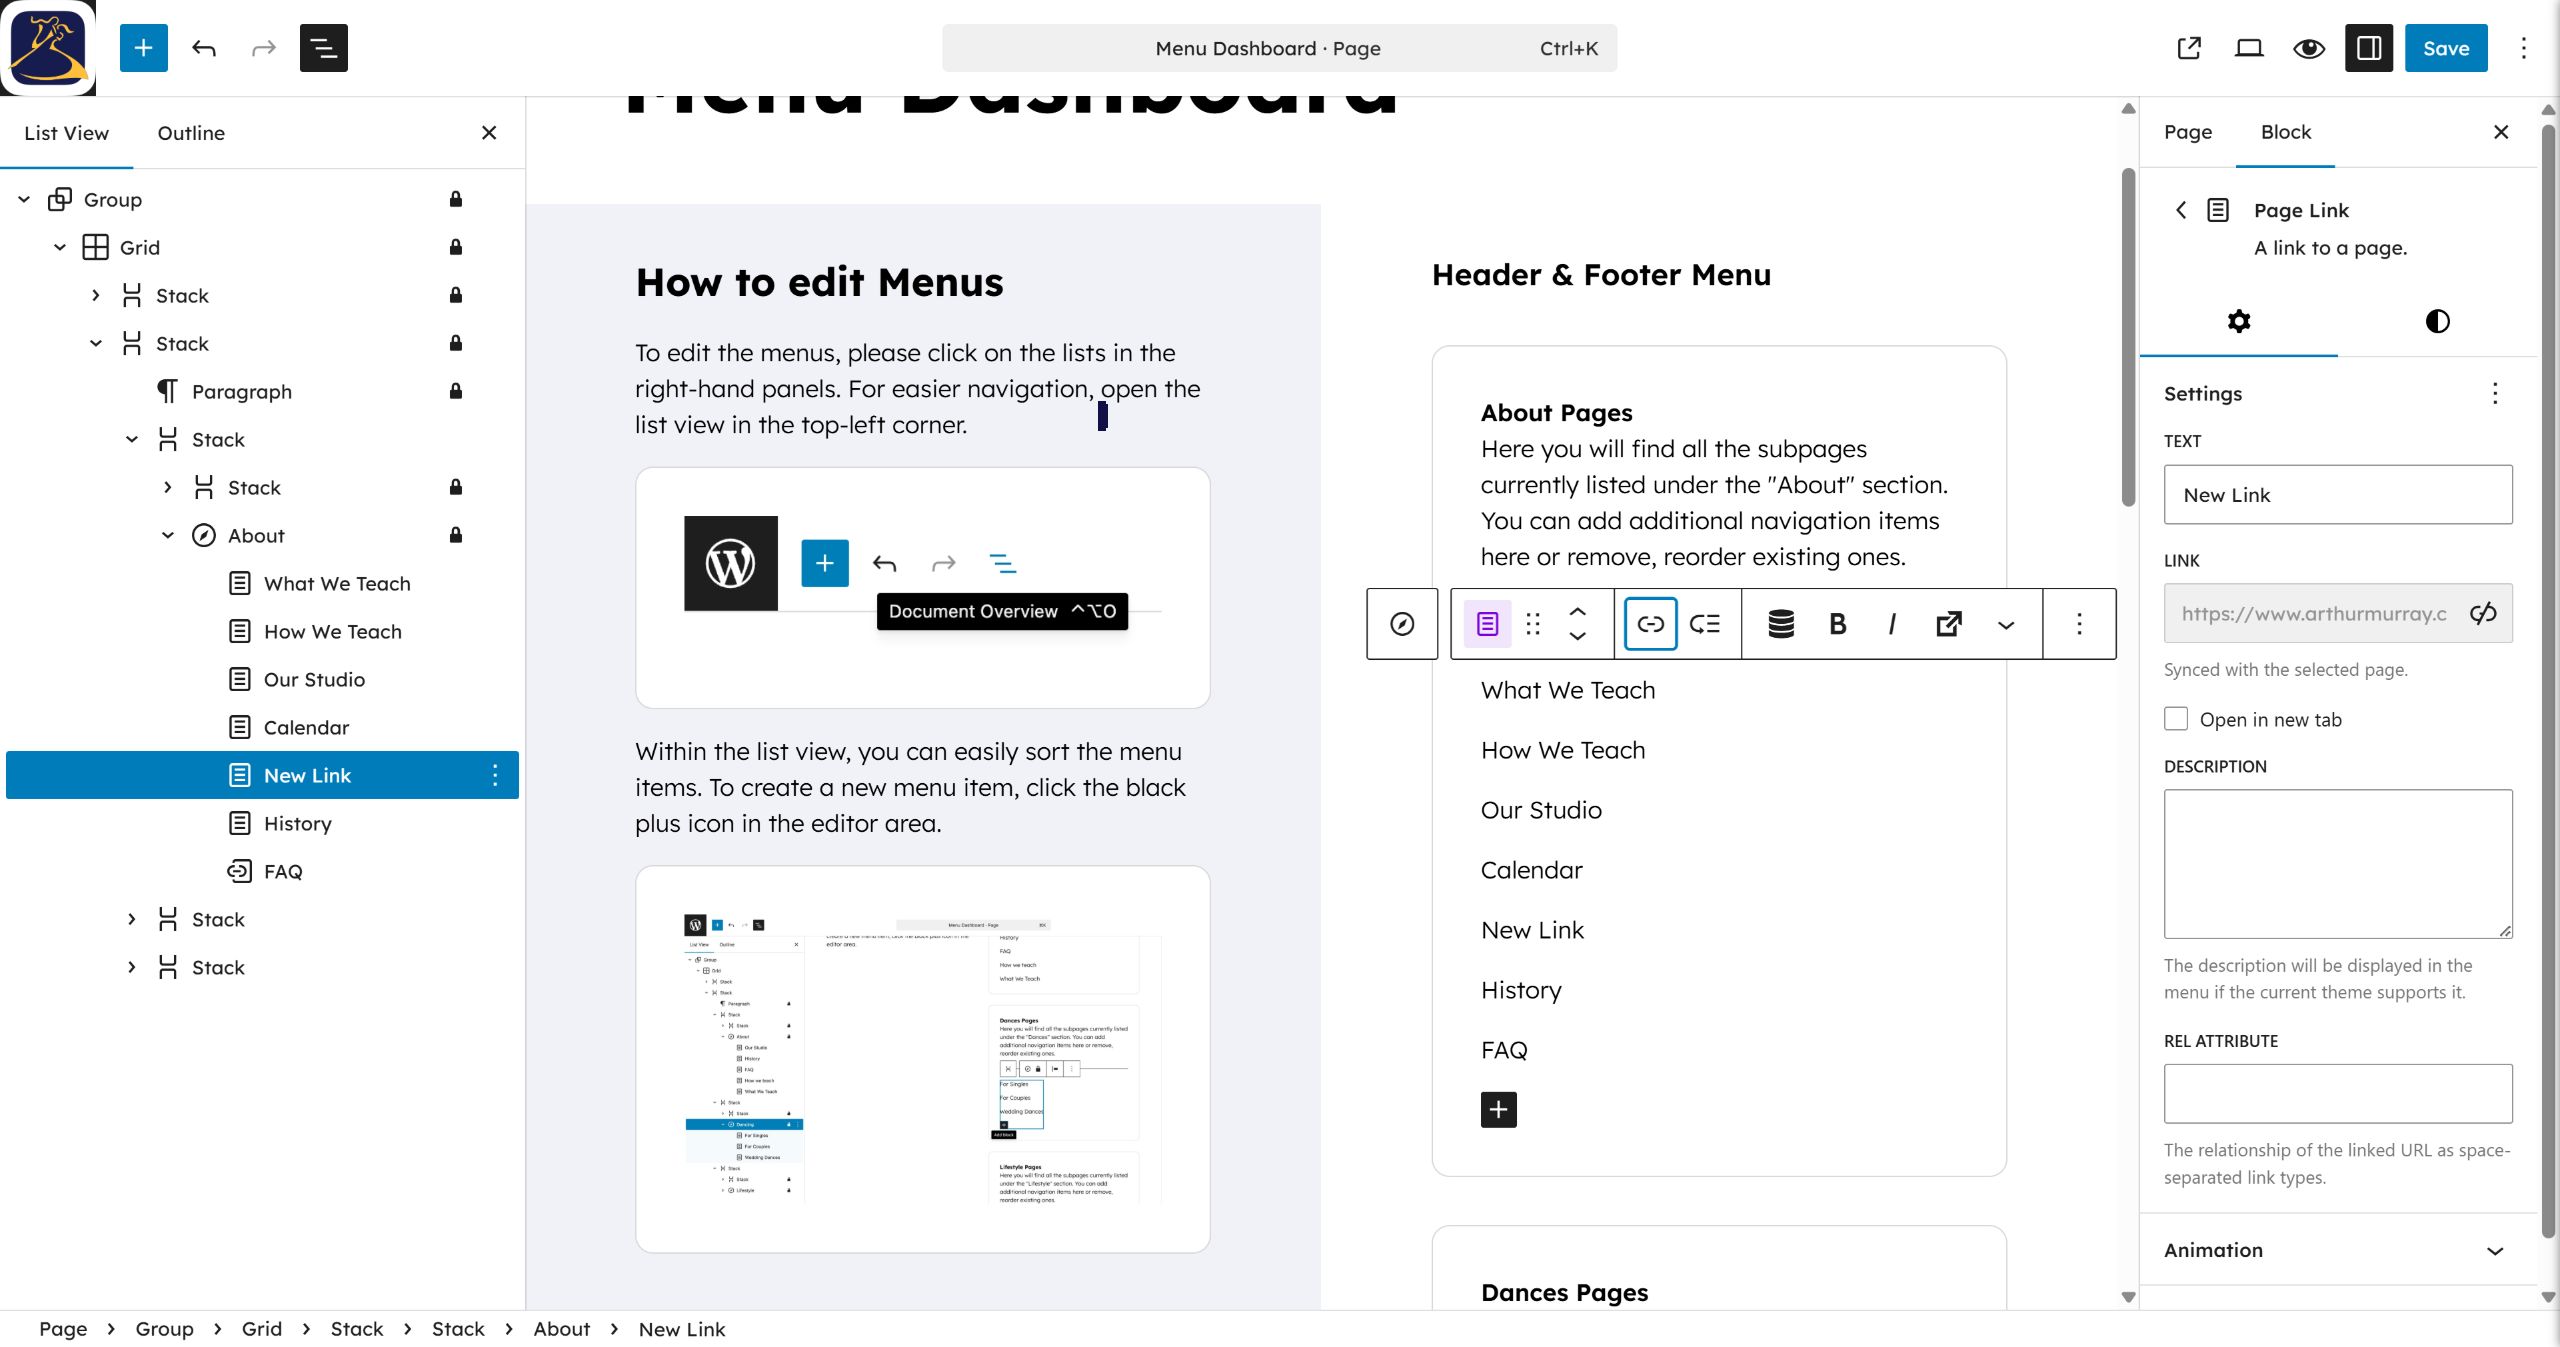
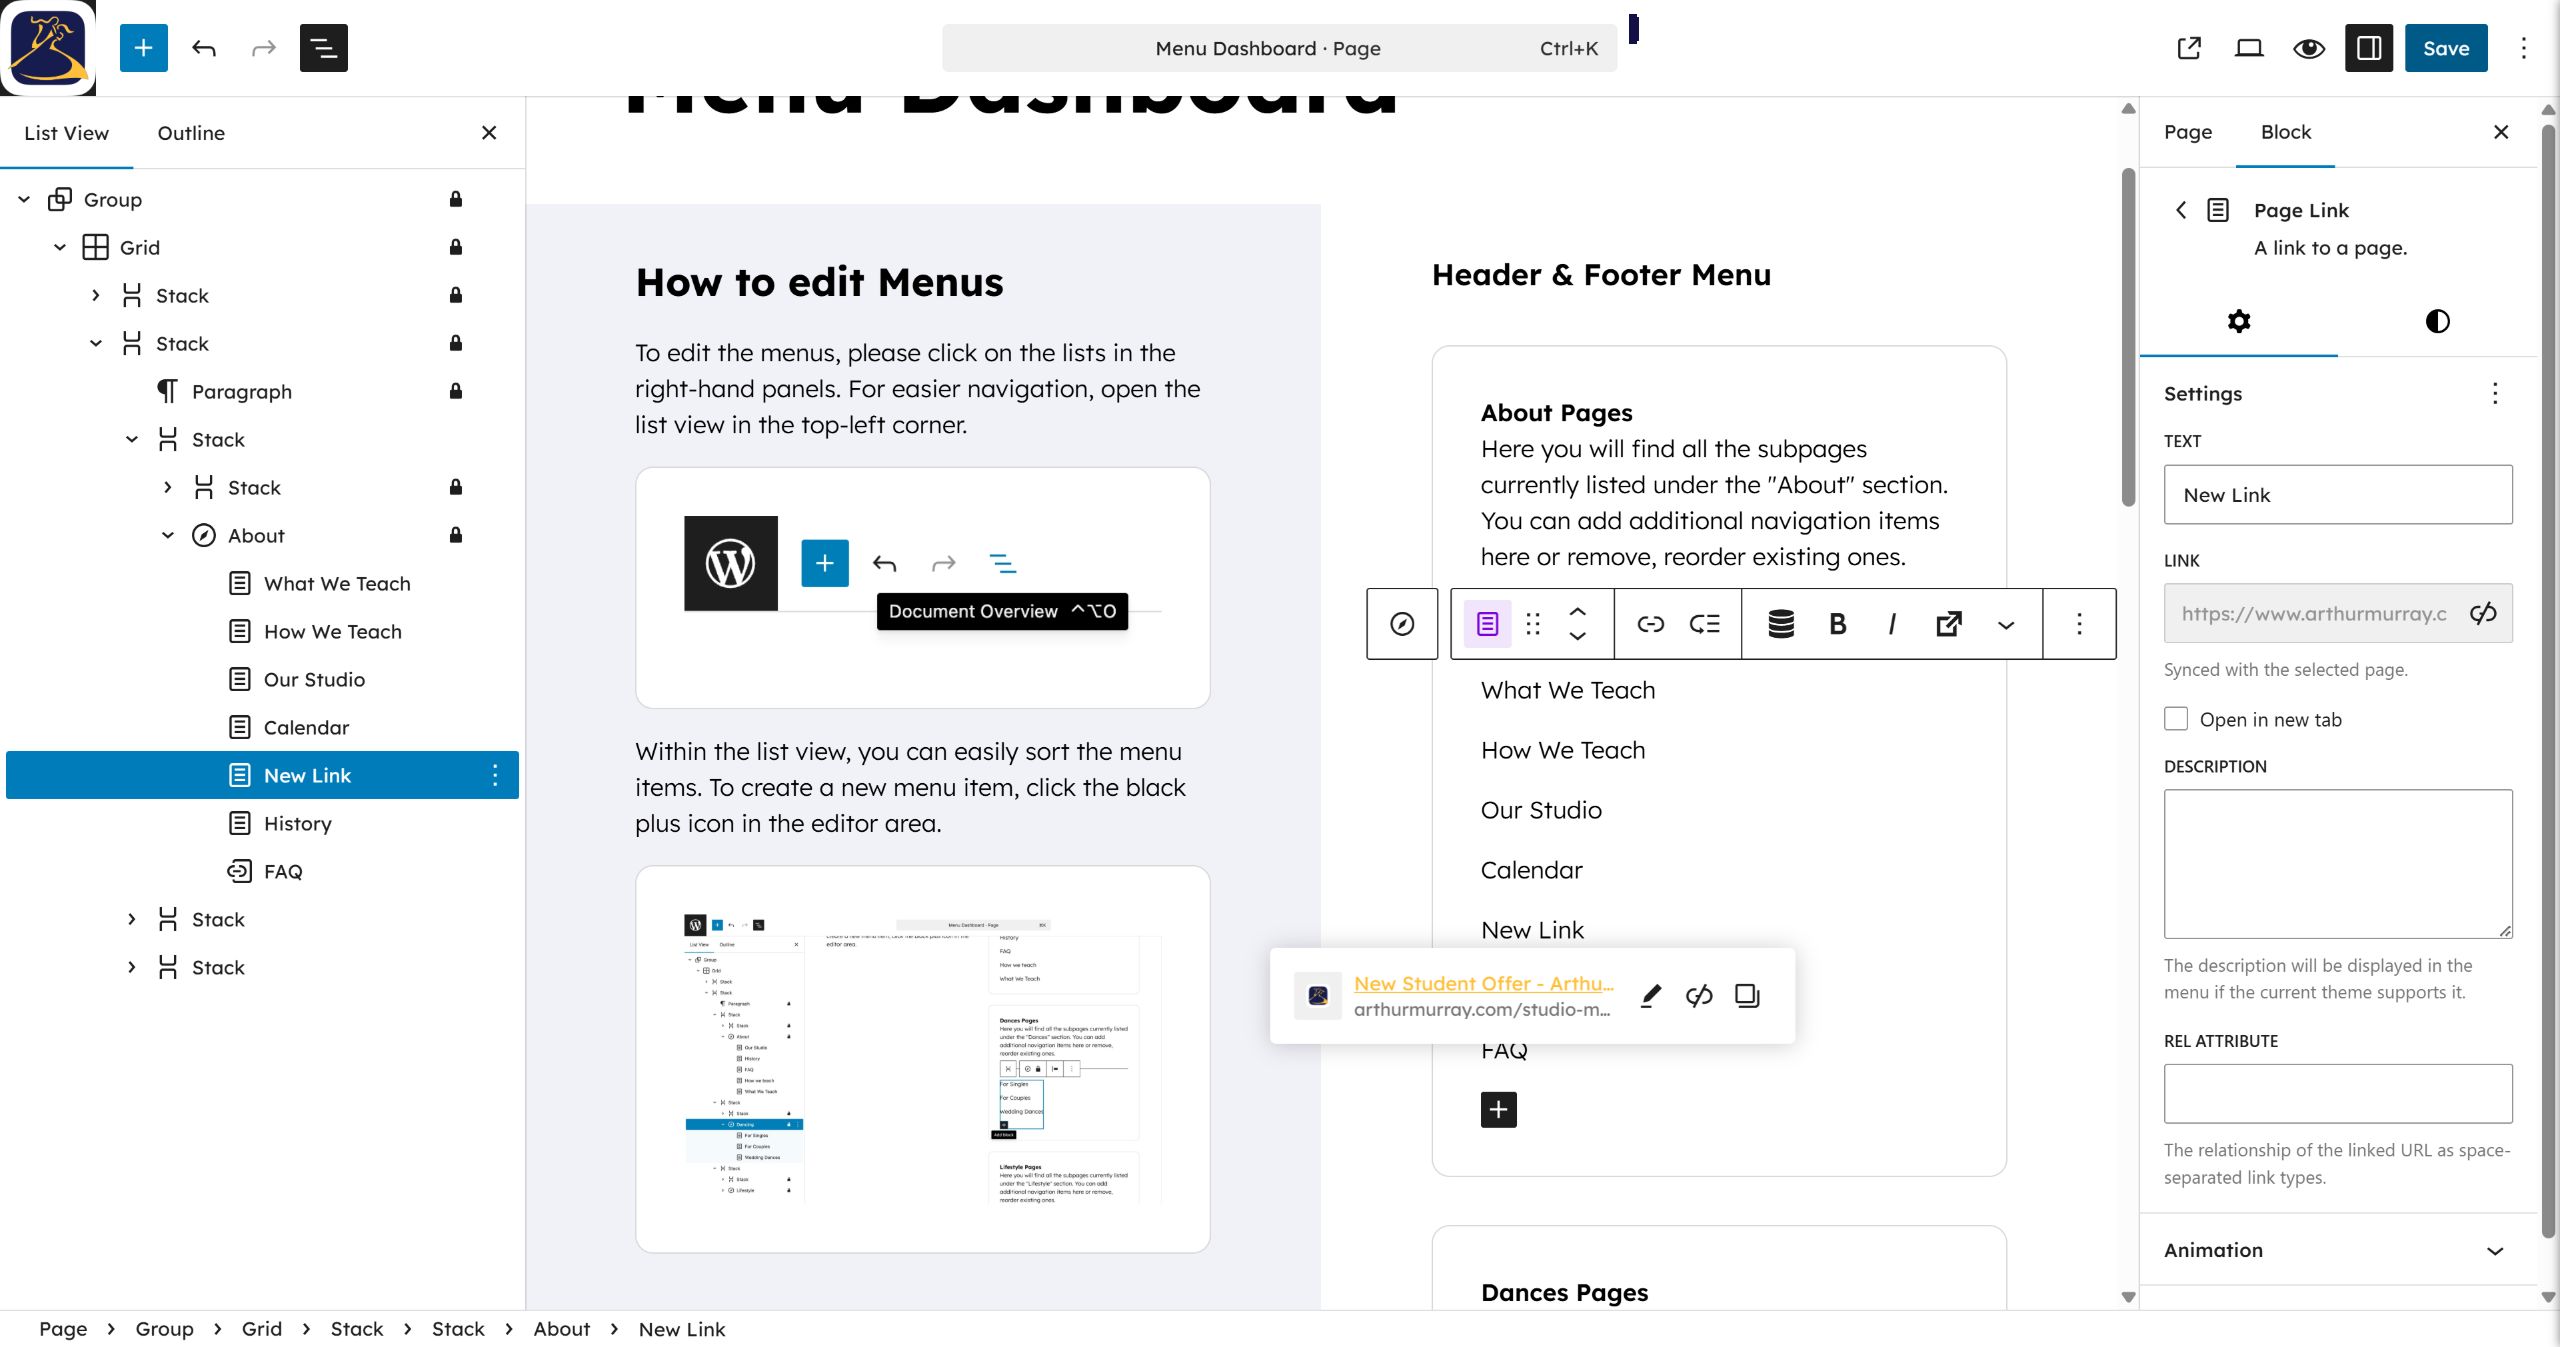
Step 14: Click the Text field in the settings panel to rename the link. #
Step 15: Click the Link field in the settings panel to assign a URL. #
Step 16: Click the Edit icon on the popover to change the assigned URL. #
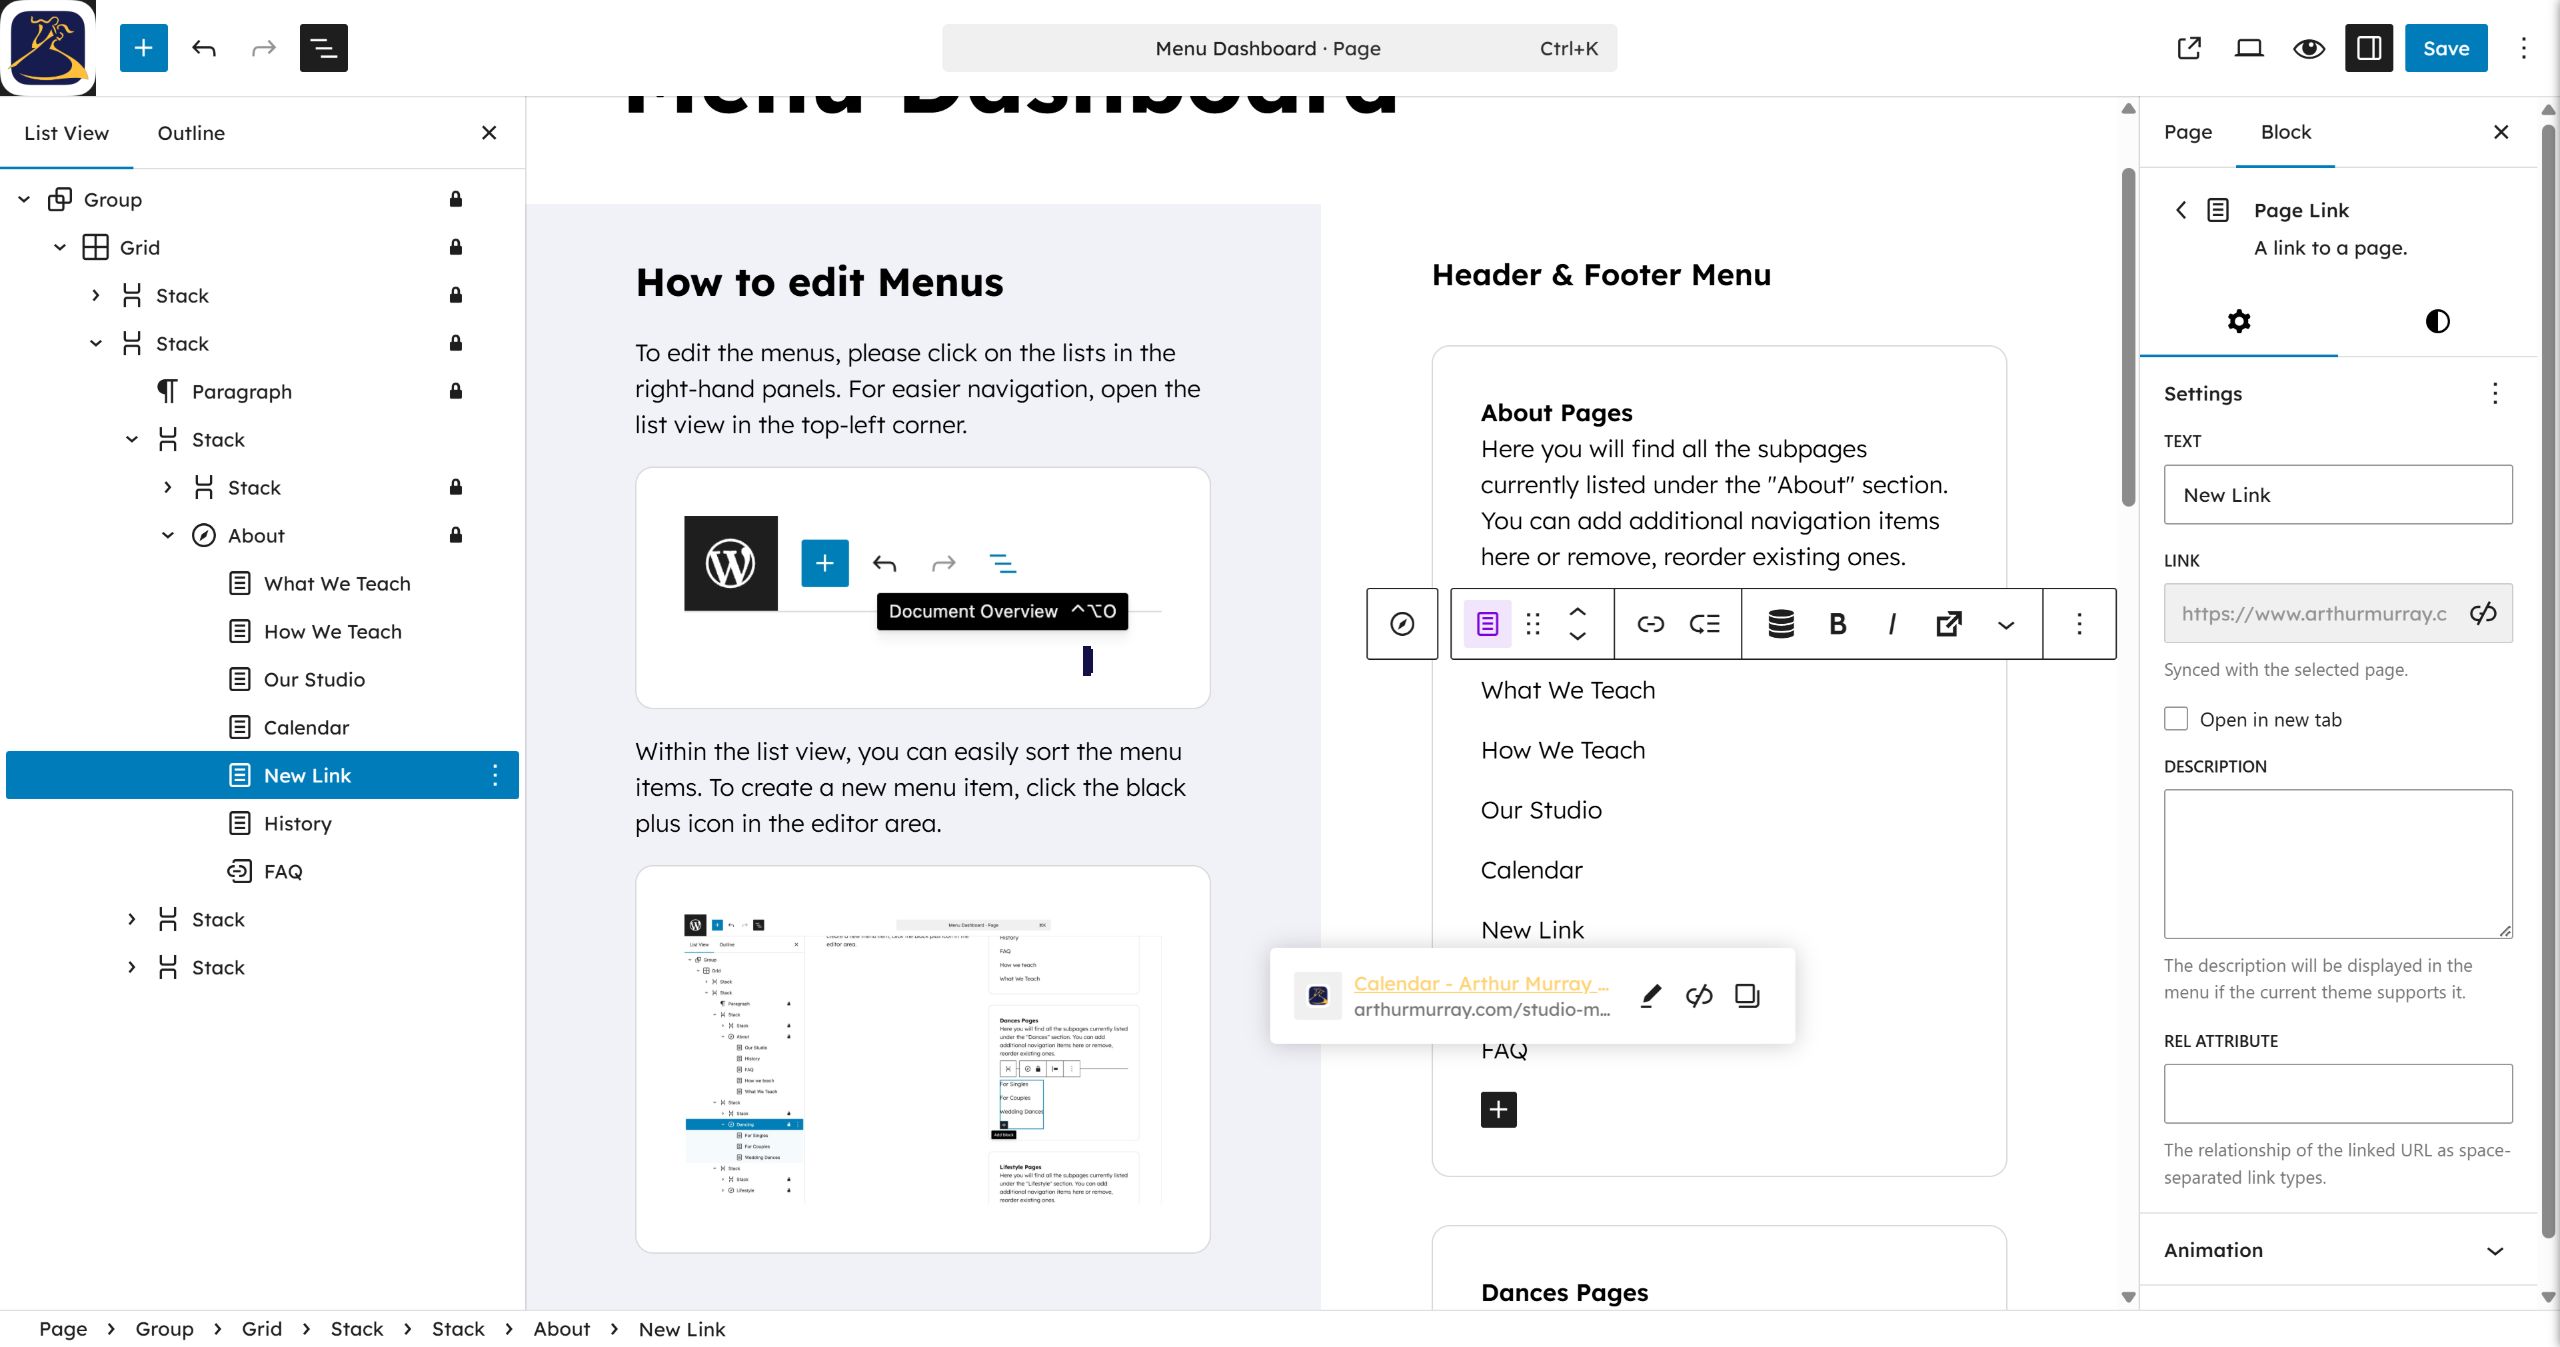
Step 17: Click the URL search field to search for an existing page. #
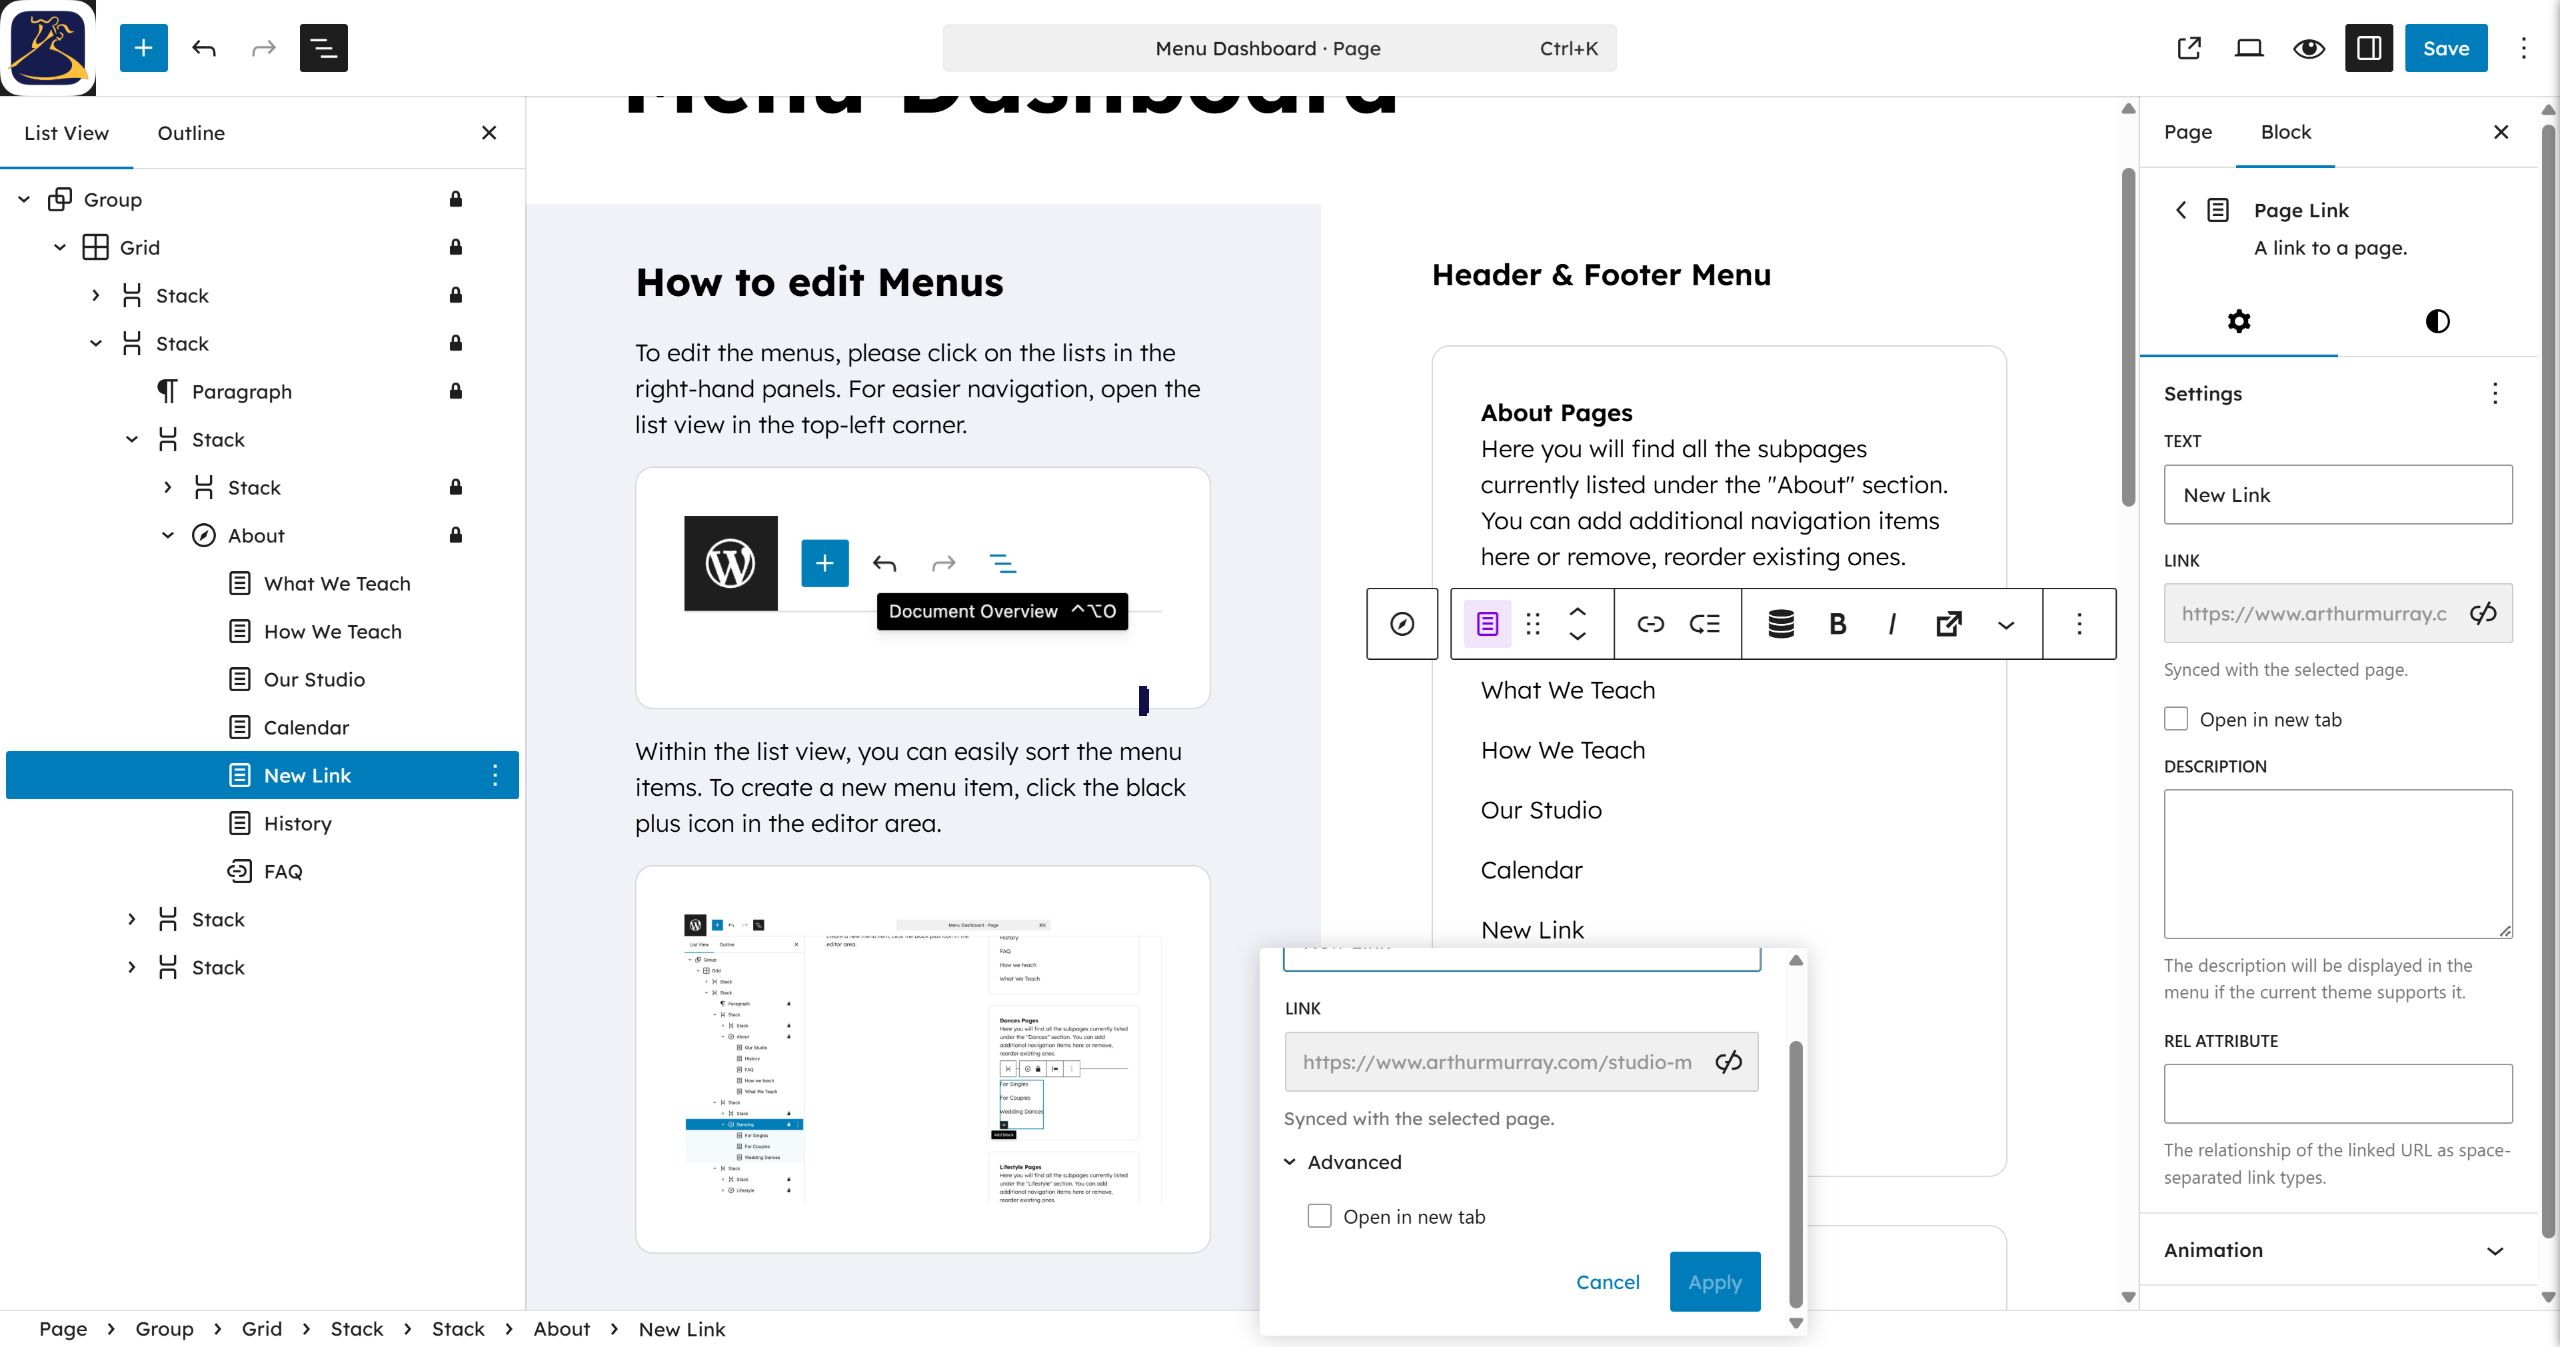
Step 18: Type the page name into the search box to locate your target. #
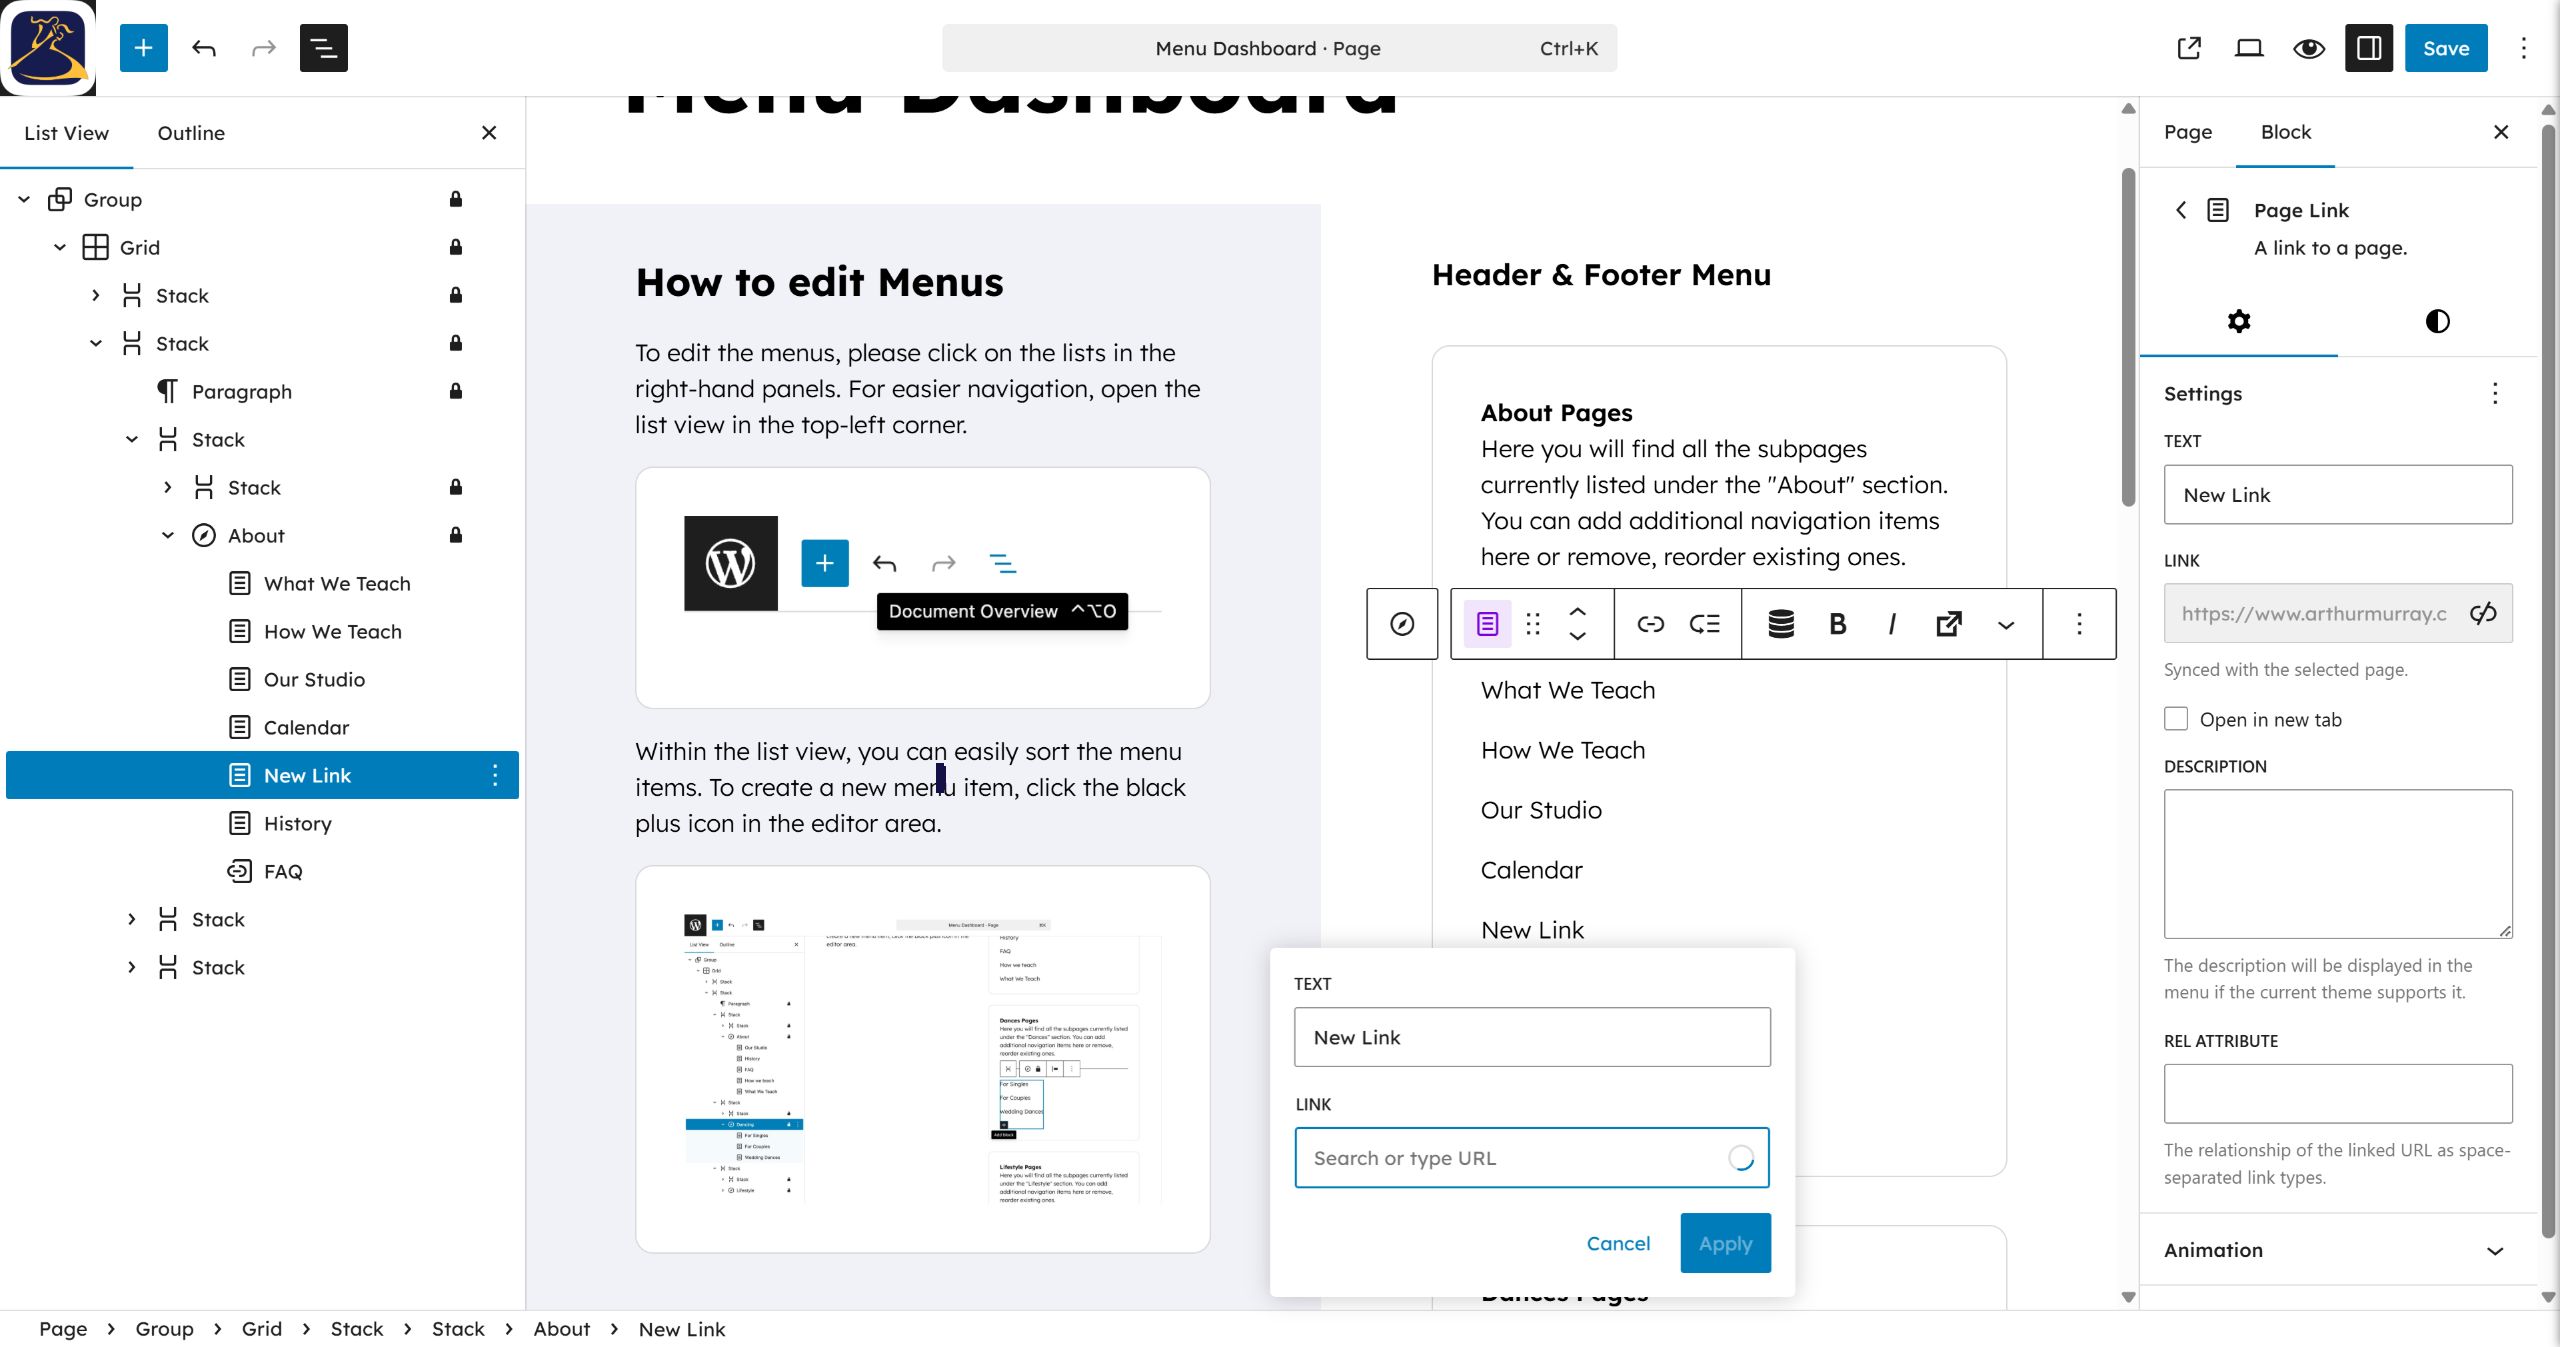
Step 19: Select the target page from the dropdown to link your menu item. #
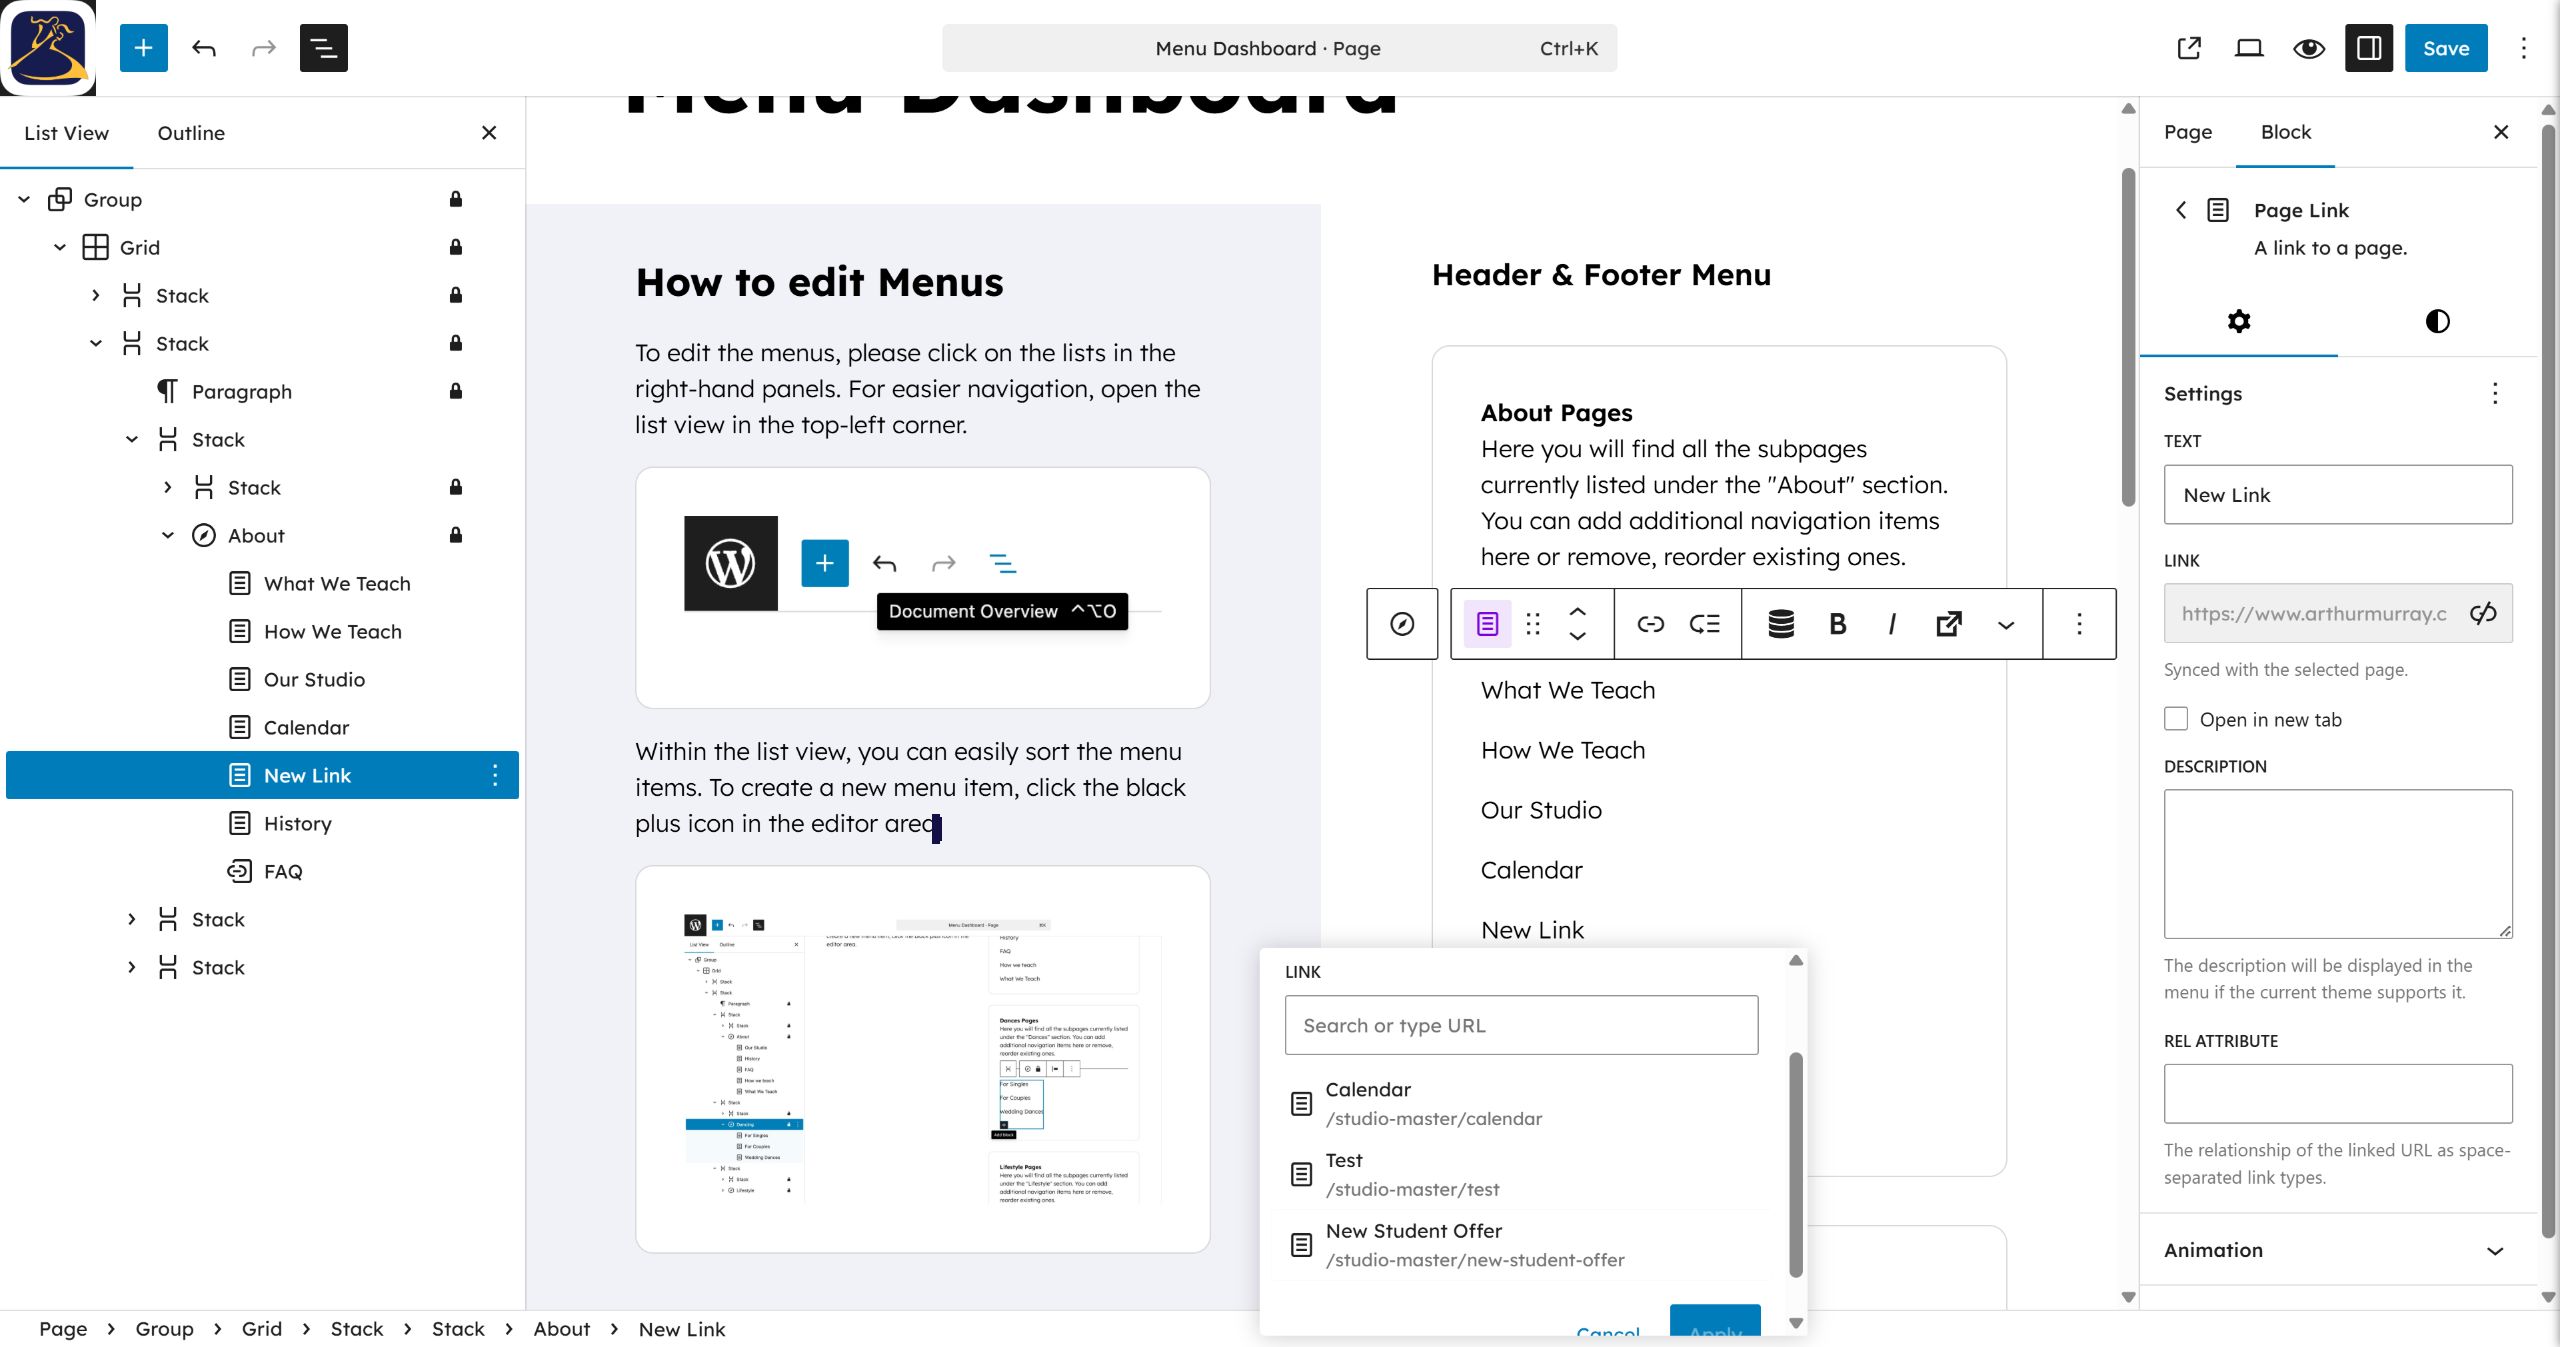
Step 20: Click the top right Save button to apply your menu changes. #
Step 21: Click Save on the confirmation panel to finalize and publish the updates. #